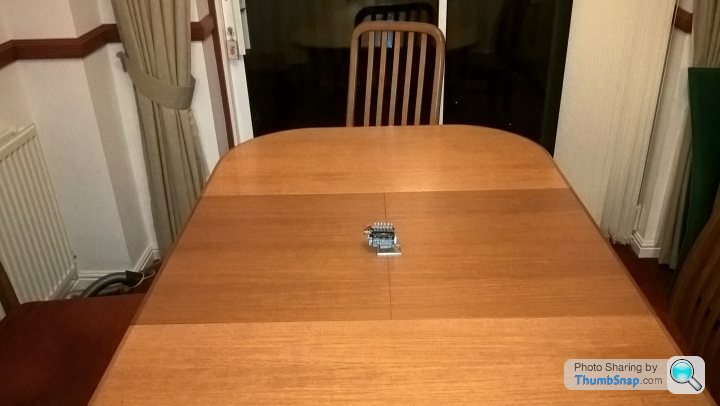
ferrari 250 gto realising a dream
Discussion
Just seen the price! https://www.hiroboy.com/112_Ferrari_250_GTO_1962_V...
I think I’ll sit back and watch your build.
I think I’ll sit back and watch your build.
I think this is a better picture. Thanks for the positive comments also as mentioined the cars from MFH are pricey but i feel worth it. If only once for the detail and quality of the materials supplied.I do have to say though this is testing my patience but im enjoying this project 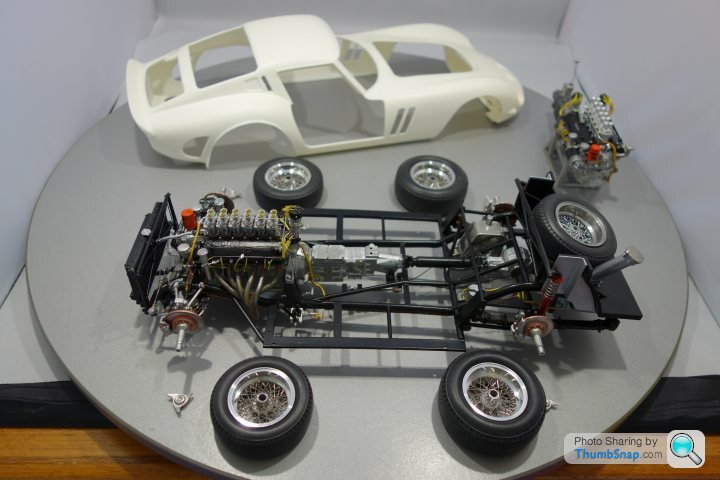

Edited by henryk001 on Wednesday 20th June 12:19
I do realise that unless i win the lottery im not going to get to owning a real 250 GTO. However i decided to buy the most detailed assembly kit of the car and try and put my modelling skills to good use. If i succeed to finish the car to a reasonable quality at least i can admire at any time what as far as im concearned is the most stunning car in the world of that era. The Factory Hiro 1/12 car is to say the least challenging and i had to buy the engine and gearbox as seperately knowing that once the body goes on a lot of engine detail will be lost.
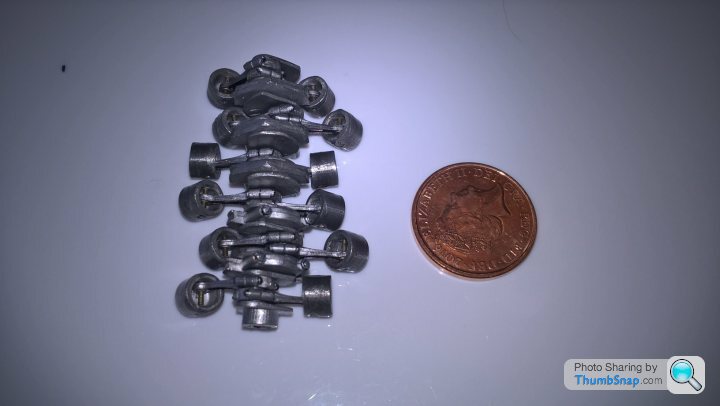
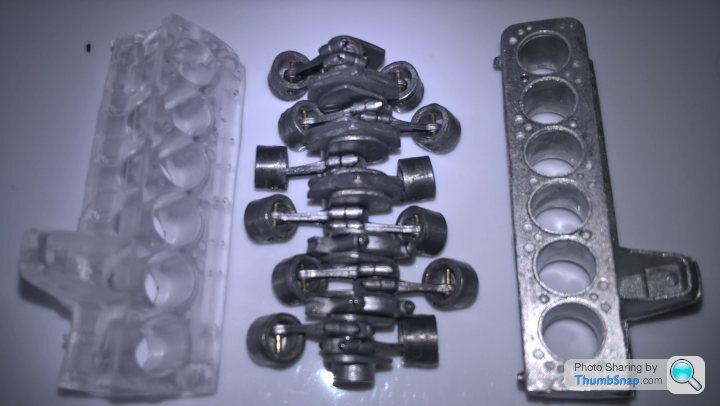
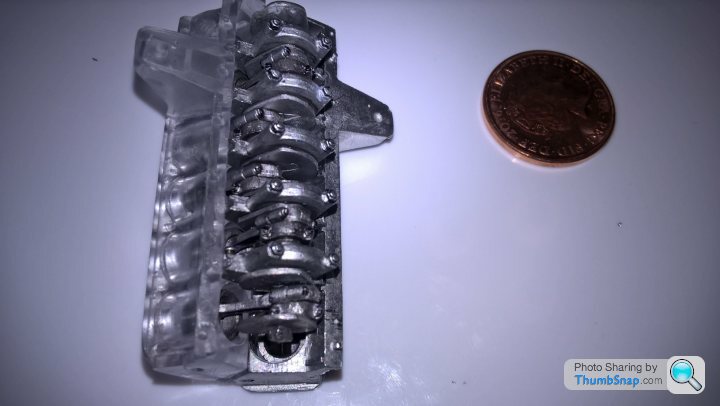
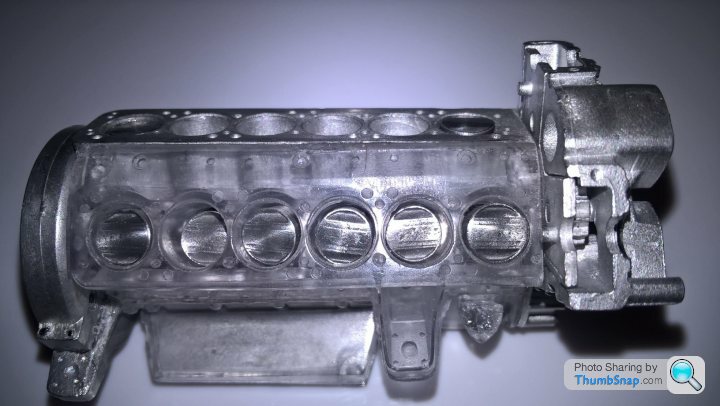
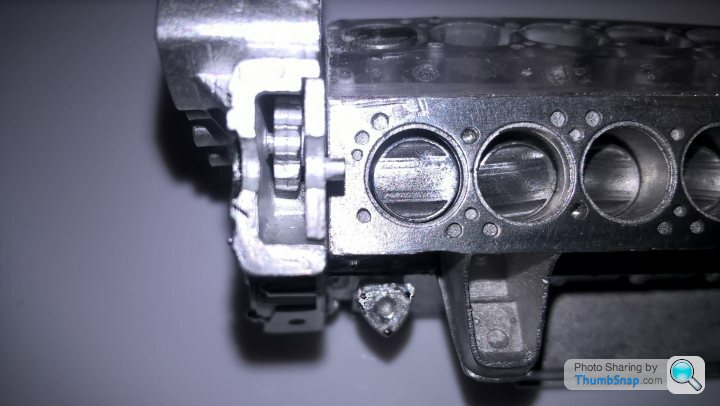
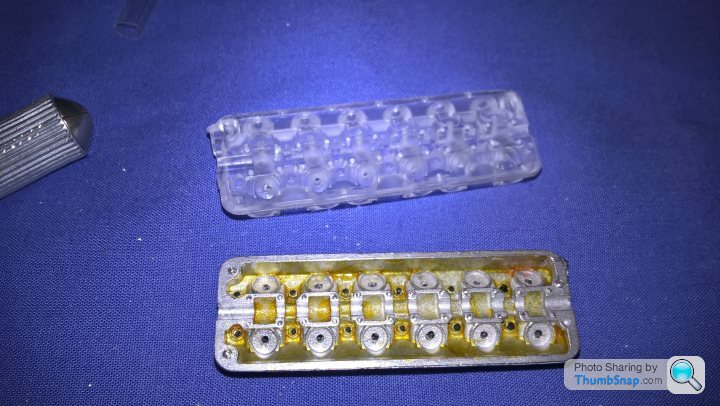
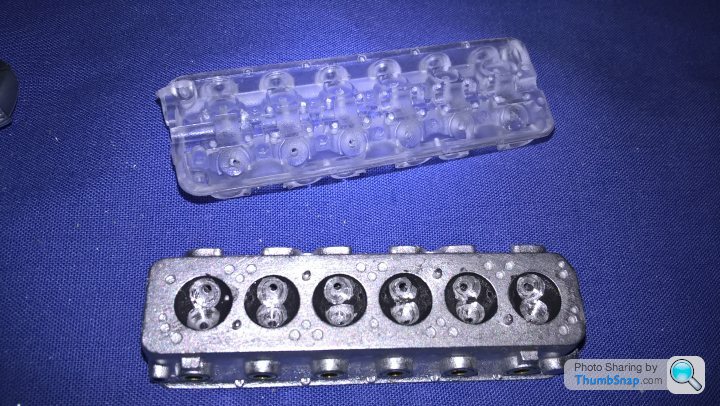
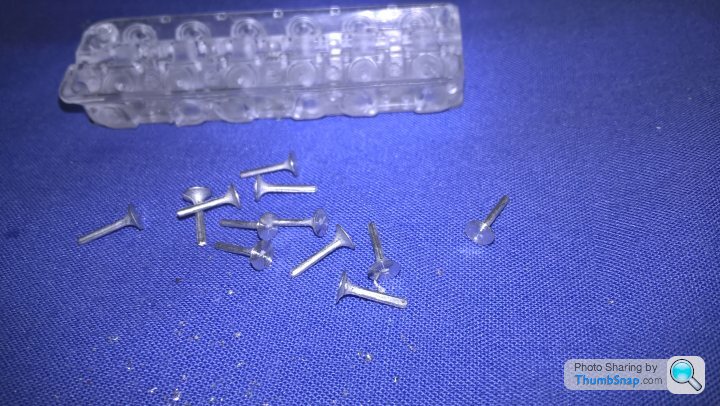
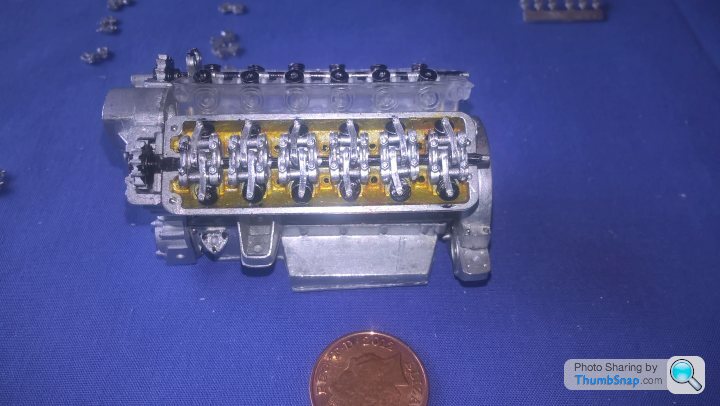
February this year locked me in for a couple of days due to the white stuff, so i decided to start the car, i had already completed the engine last year, took 3 months to build which has moving engine internals, crank, pistons, camshafts.
So i started what i thought was the most mundane part. The Borani wheels which had to be made up on a jig 72 nickel silver spokes cut and bent per wheel and ferrals
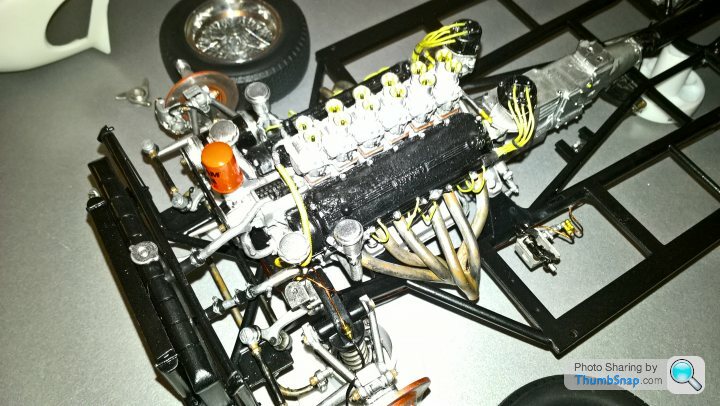
connected to turned polished aluminium rims. The first one took 4 days, but then as everything in life, once you get into doing something repeatidly it gets easier and the last wheel took about 8 hours.I thought i would fall at the 1st hurdle with this car but now im devoting a lot of "bad weather staying indoors time" to completing this project. At the moment ive got to a rolling chassis stage showing fuel lines, copper brake lines ignition wiring etc and am weathering the chassis to show rust here and there, not too much though.
Heres a photo of where i am with it at the moment. Please excuse the poor photo quality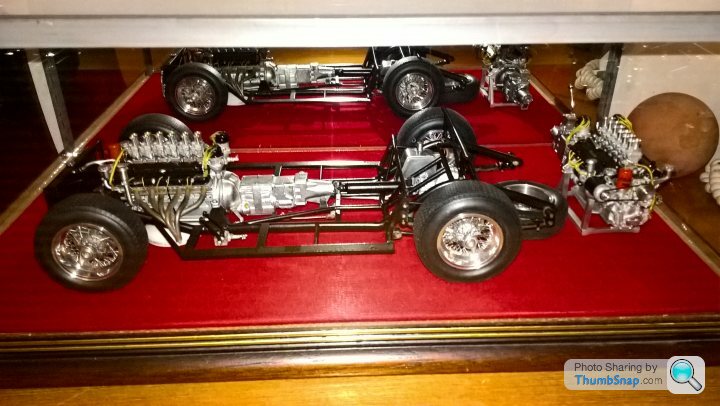

Edited by henryk001 on Wednesday 20th June 12:21
henryk001 said:
Yes sorry, i tried to make some changes and it went wrong so i had to put the threads on again.
I havent been on here for some time. sorry for any confusion.
posting more pics soon if anyones interested
You realise that I now claim ownership of this thread along with all of the kudos that will come its way.I havent been on here for some time. sorry for any confusion.
posting more pics soon if anyones interested
Schoolboy error, OP!

Post away!!!
Ha Ha you can claim ownnership if you like but i own the car. I was scared about the cost of purchase but ive been building tamiya for years and
would say its similar in technique other than having to use superglue a lot, epoxy as well, the car is becoming heavy and fragile as there are a lot of metal parts.In stages i have to prop up the chassis similar to if you were building the real thing. I know that if you lose a part or break anything you can e-mail MFH and they will send the part to you.
Heres a pic of the internals, you can also see a engine turning over on youtube which got my attention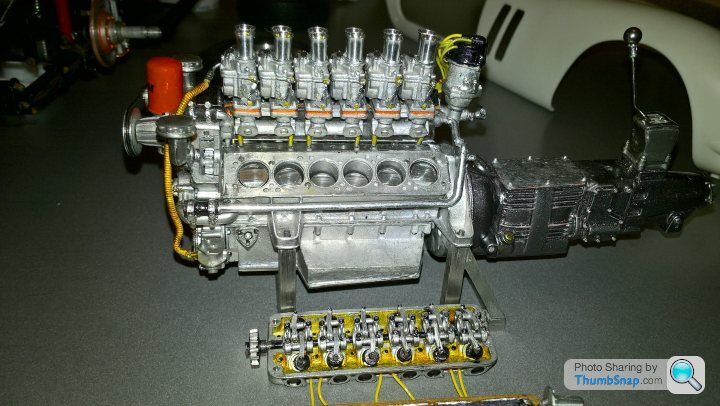

Thankyou Bertie, being over middle aged, this hobby allows me to keep the fingers working but im sure its not doing my eyes any good.
Once again thankyou for the nice comments . im going to put more pictures on as i go.I have lots of pictures at stages of build but dont want to swamp this thread to much .
Its a shame, the details will be lost soon as im at the point where im starting to cover over the detail with bulkhead and floor, interior components.
Just glad i took a lot of photographs to look at when ive finished. Regards
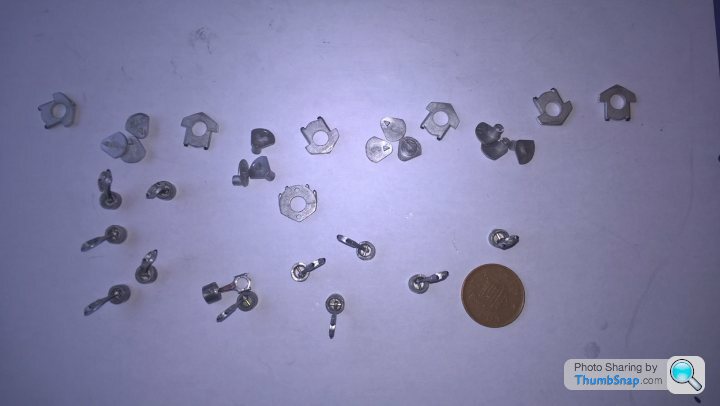
Ok then Chaps and if there are any Chapeses. Lets start at start at the begining.
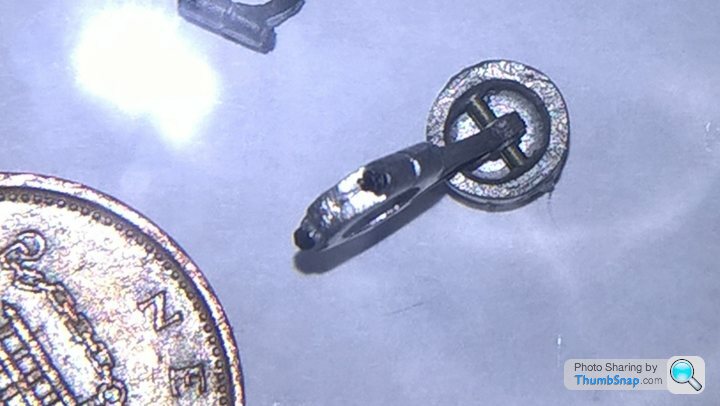
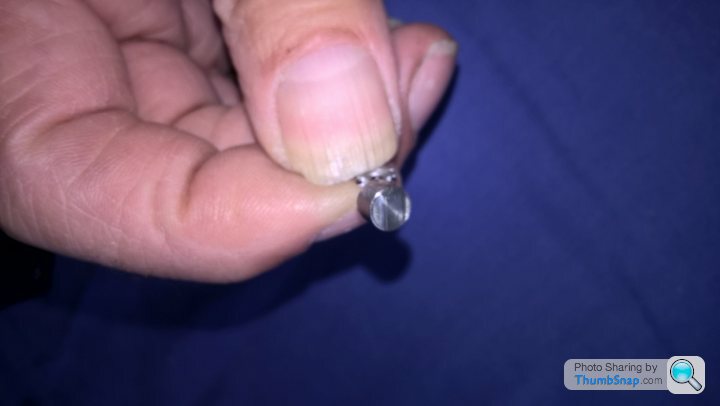
Static engine build 1st (semi half transparant cranckcase full detail engine and gearbox). .
.  .
.  .
.  .
.  .
.  .
.  .
.
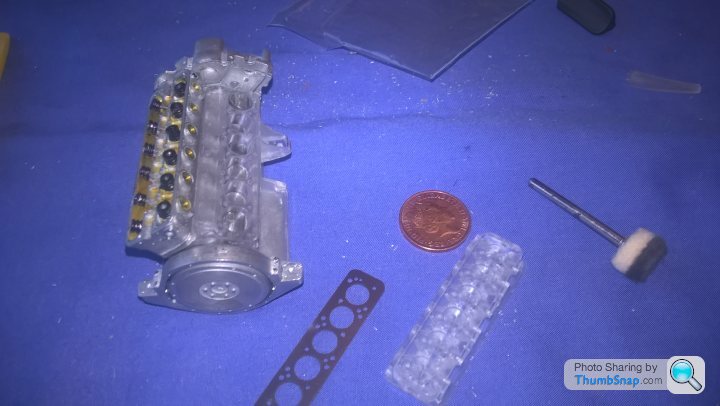
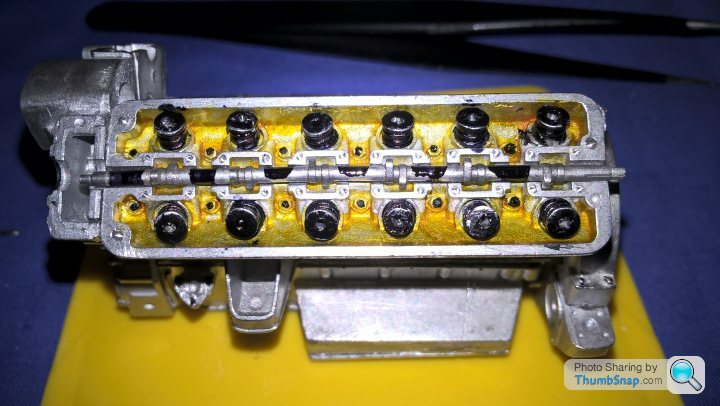
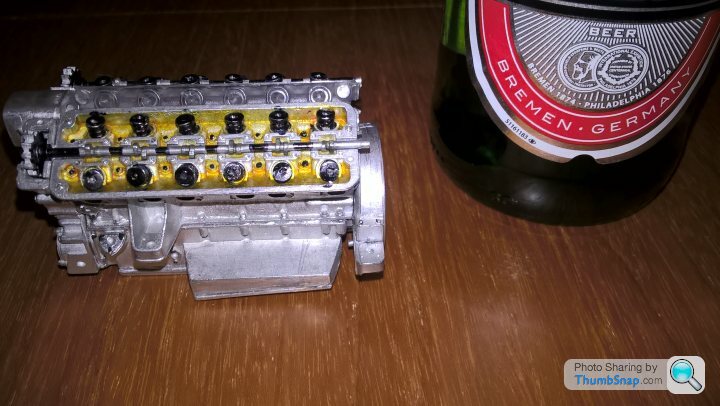
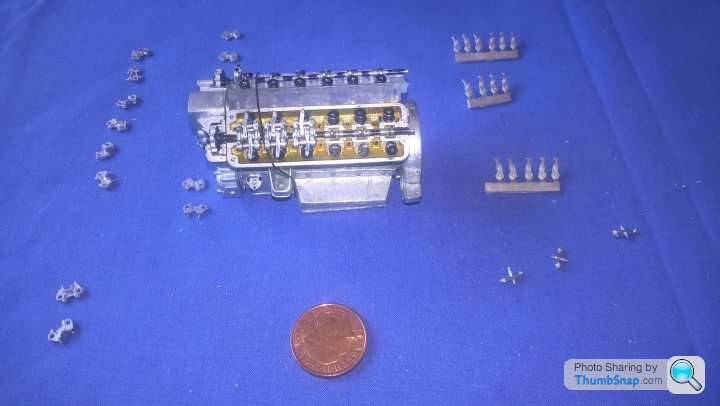
Quite a lot of filing,drilling went on to fitting these parts, crank turns and later mated to gears that drive the cams and rockers.
I will put some more on when i can. Regards
Static engine build 1st (semi half transparant cranckcase full detail engine and gearbox).
 .
.  .
.  .
.  .
.  .
.  .
.  .
. Quite a lot of filing,drilling went on to fitting these parts, crank turns and later mated to gears that drive the cams and rockers.
I will put some more on when i can. Regards
Some more here. As mentioned at the begining took aboput 3 months to build the engine and gearbox complete. Drilled my fingers a couple of times"didnt feel a thing". Smallest drill used was 0.25mm, smaller than a hypo needle. Hope you all enjoy the pictures of my toils. Will add some more promise. 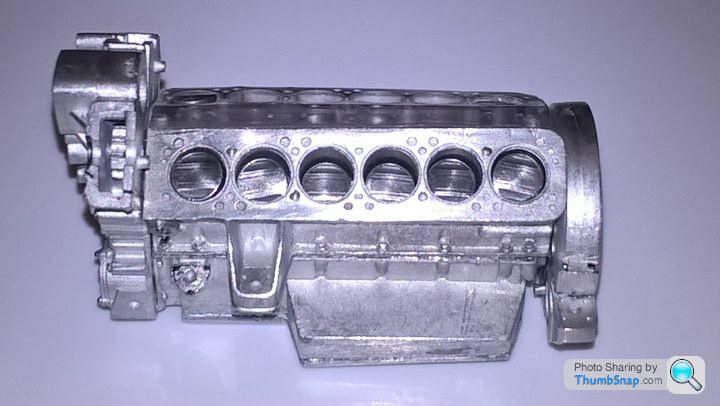 .
.  .
.  .
.  .
.  .
.  .
.  .
.  .
.  .
.  .
. 
 .
.  .
.  .
.  .
.  .
.  .
.  .
.  .
.  .
.  .
. 
Gassing Station | Scale Models | Top of Page | What's New | My Stuff



 .
.
