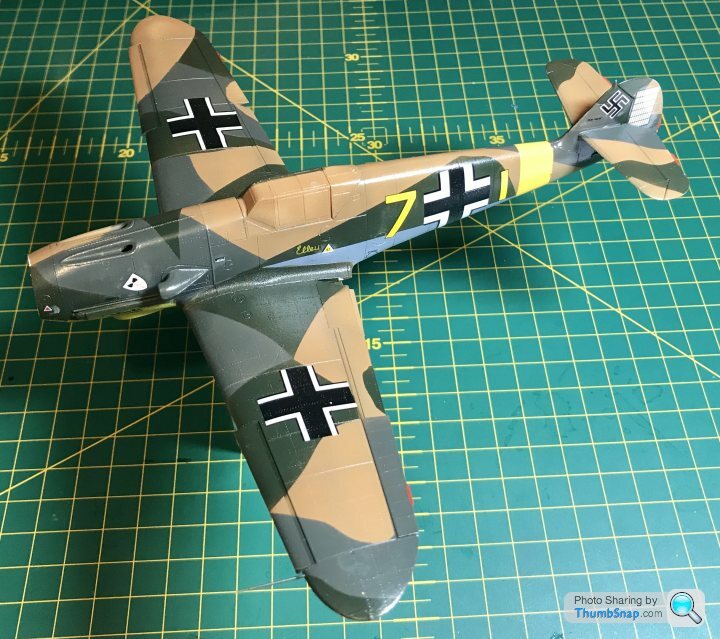
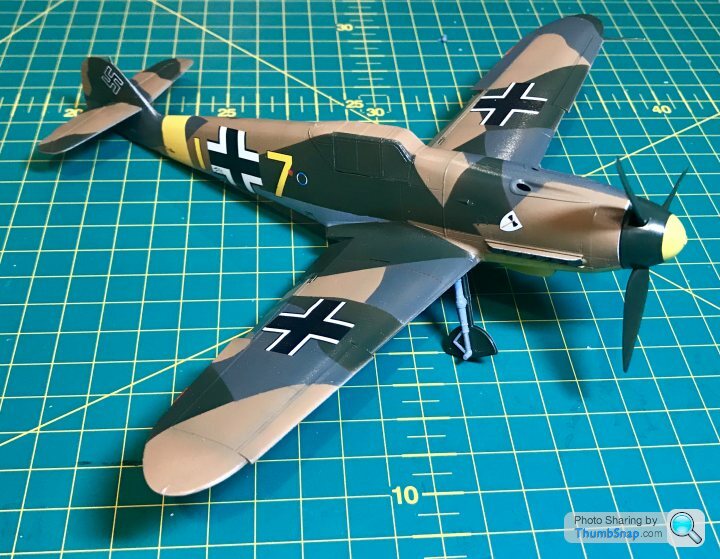
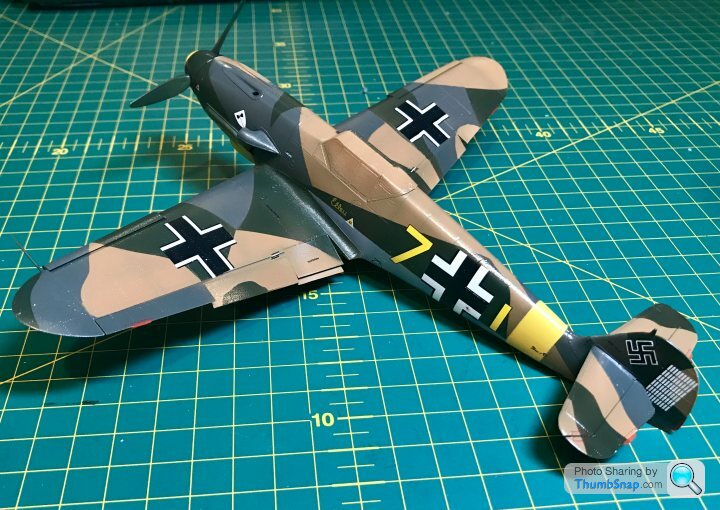
Eduard 1/48 BF109-F
Discussion
I have enjoyed my last couple of builds (both of which were Eduard kits) immensely, so thought I’d do another one straight away.
I haven’t built a 109 before, so thought it would be a good choice for my next project.
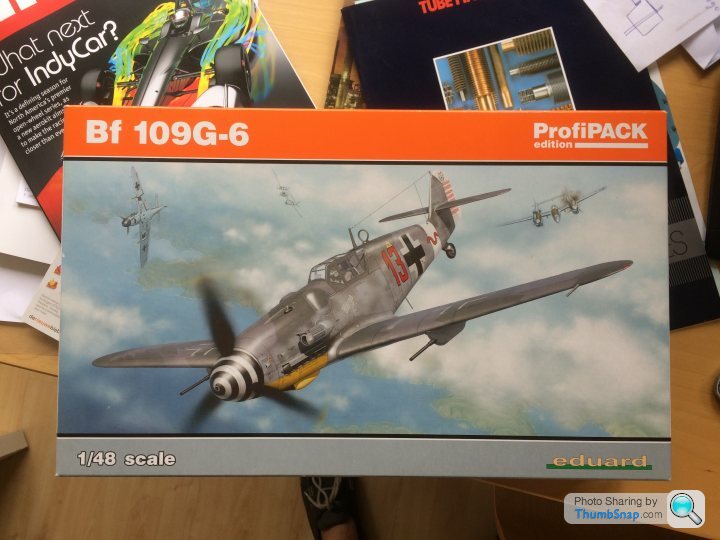
As with the previous builds I went for the profipack as it gives me all the detail I want in one package and is very reasonably priced.
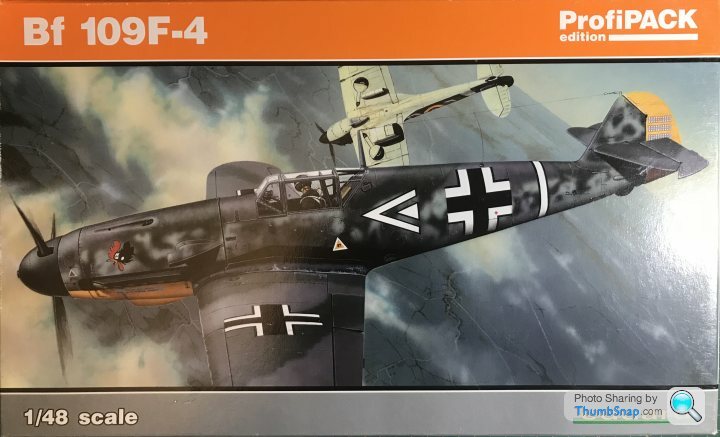
I’m not going to do lots of sprue shots for this one, but will just say it really is a very nice kit and as with all profipacks comes with a PE for the cockpit (and an additional fret for radiator and other bits), pre-cut canopy masks, and a variety of different livery choices.
I did consider the recent Tamiya kit as alternative as that looks very nice indeed, with a fully detailed engine and trick magnet removable panels. Everything I’ve read and watched suggest it’s a great kit, but having been a bit spoiled now I’d want the P.E instruments and pre-cut masks. At which point it ends up being twice as much as the Eduard kit, for no real improvement on the end result.
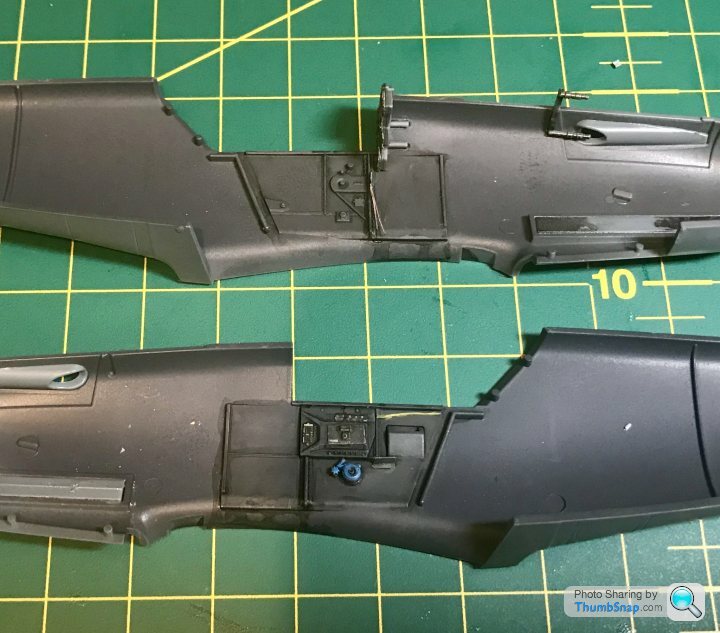
The first step as always is the cockpit. Which is assembled from injection mounded and PE parts
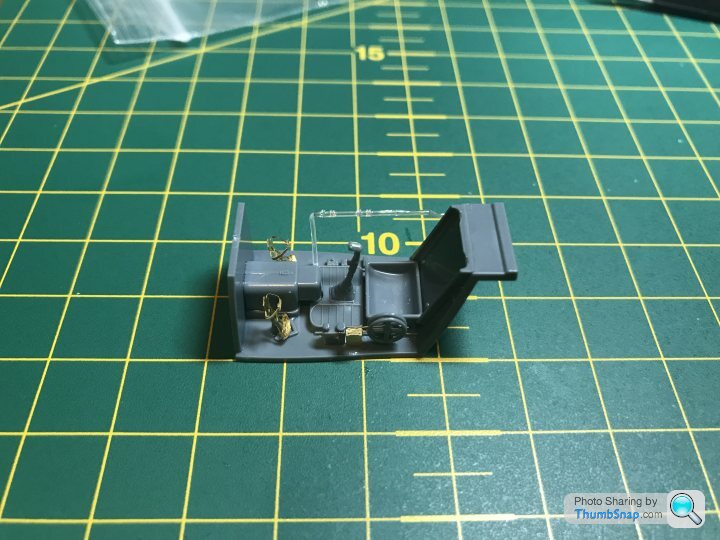
Next up I sprayed the assembly in German grey, painted some details and added the harnesses
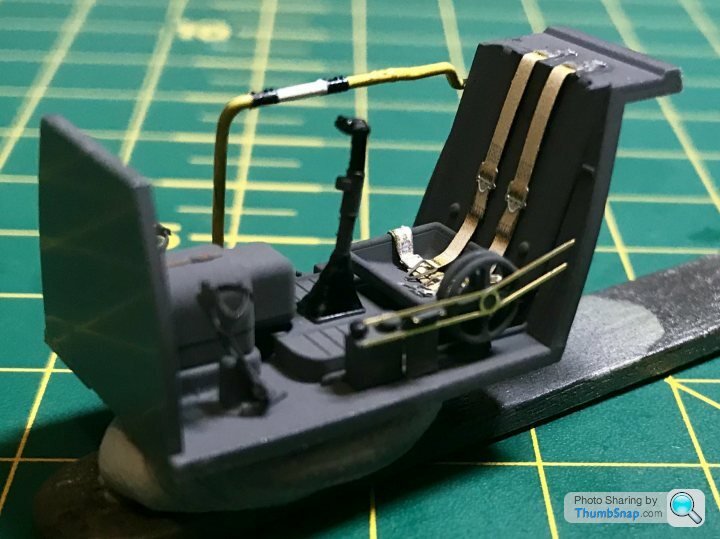
The next step was a gloss coat. Pledge with future used for the first time in anger.
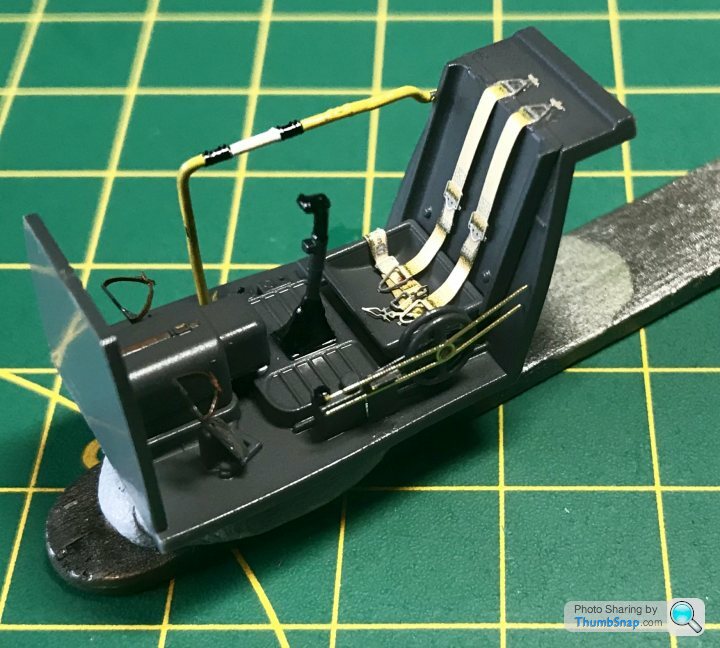
Panel line accent and weathering powder was the next step.
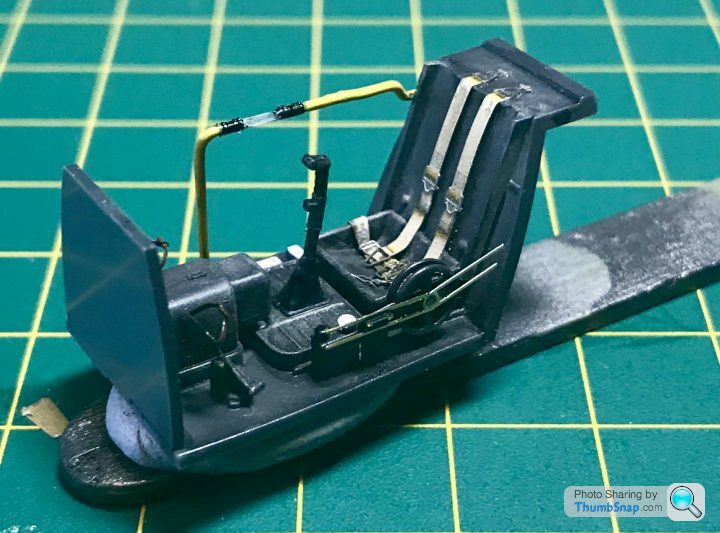
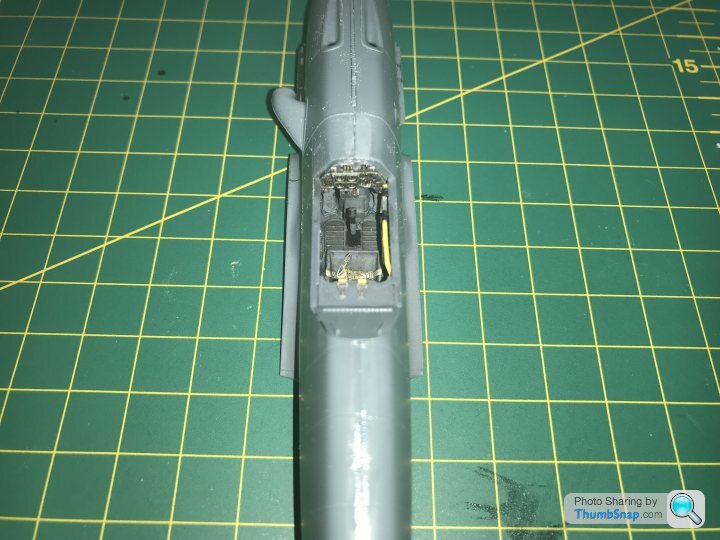
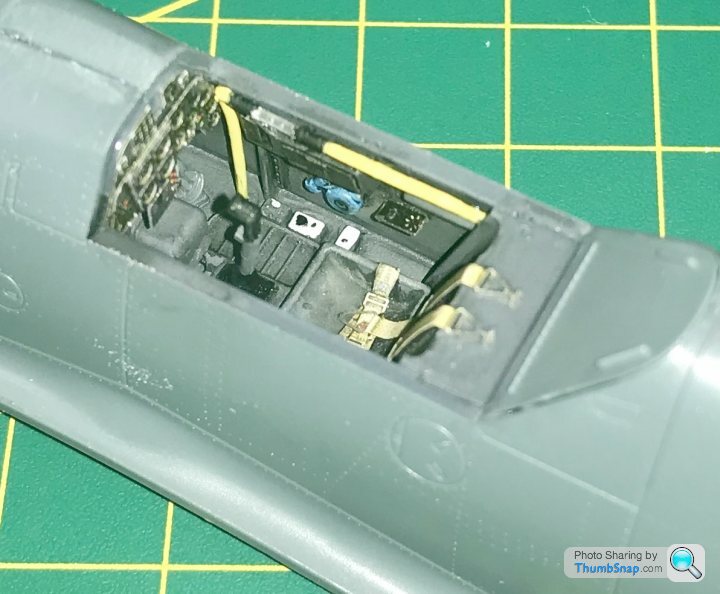
Finally a little more detail painting and a coat of Matt clear.
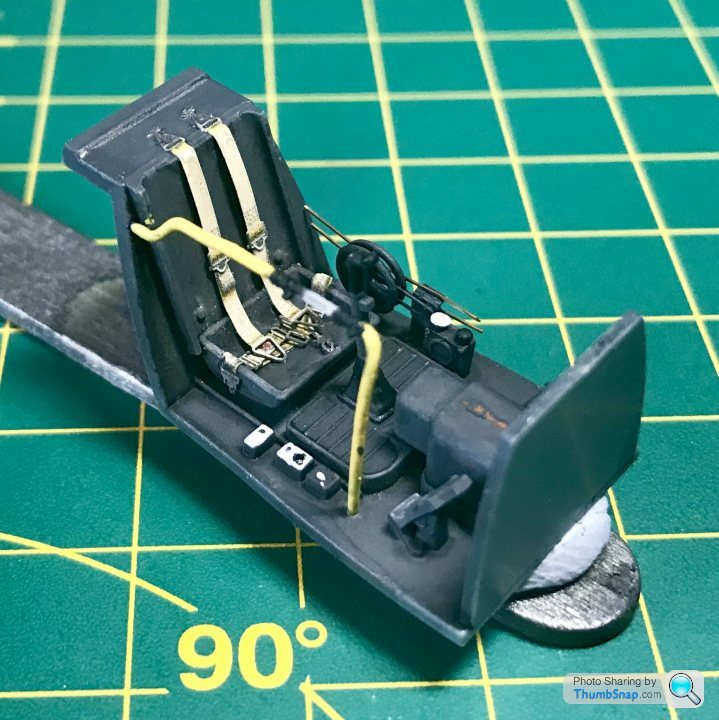
The more observant of you will notice the PE pedals didn’t make it through the process. They were very fragile and basically disintegrated. I need to be more careful handling very fine PE. Fortunately plastic items were also included, which have now been substituted.
I haven’t built a 109 before, so thought it would be a good choice for my next project.
As with the previous builds I went for the profipack as it gives me all the detail I want in one package and is very reasonably priced.

I’m not going to do lots of sprue shots for this one, but will just say it really is a very nice kit and as with all profipacks comes with a PE for the cockpit (and an additional fret for radiator and other bits), pre-cut canopy masks, and a variety of different livery choices.
I did consider the recent Tamiya kit as alternative as that looks very nice indeed, with a fully detailed engine and trick magnet removable panels. Everything I’ve read and watched suggest it’s a great kit, but having been a bit spoiled now I’d want the P.E instruments and pre-cut masks. At which point it ends up being twice as much as the Eduard kit, for no real improvement on the end result.
The first step as always is the cockpit. Which is assembled from injection mounded and PE parts

Next up I sprayed the assembly in German grey, painted some details and added the harnesses

The next step was a gloss coat. Pledge with future used for the first time in anger.

Panel line accent and weathering powder was the next step.

Finally a little more detail painting and a coat of Matt clear.

The more observant of you will notice the PE pedals didn’t make it through the process. They were very fragile and basically disintegrated. I need to be more careful handling very fine PE. Fortunately plastic items were also included, which have now been substituted.
wolfracesonic said:
So the yellow tubing is a fuel line is it? Not ideal if it got punctured by shrapnel and sprayed petrol all over the pilot I wouldn't have thought; Did all single seat fighters route the fuel from tank to engine this way?
It might just be a transfer pipe. Most WW2 fighters have large amounts of fuel/oil stored around the pilot.robemcdonald said:
I’m pretty sure the pilot seat base and back are only separated from the main fuel tank by a thin firewall.
The fuel tank base and rear will have protection though; the tank conformed to the seat (at least on the E-4). The sight glass was probably for verifying fuel flow from the drop tank to the main tank - definitely not for supplying the engine directly. I'd assume that during a transit flight, the pilot would confirm he was using fuel from the drop tank using the sight glass. Once in combat he'd isolate the transfer pipe and let the tank go.Canopy masks done. There are three sections. The front and back have been permanently fixed in place with canopy glue. The middle section is just held in place by the other two pieces. The idea is that it will eventually be posed open.
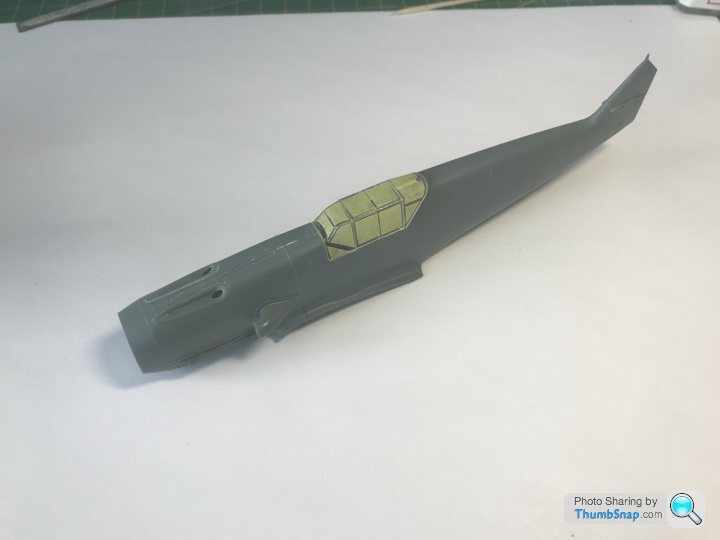
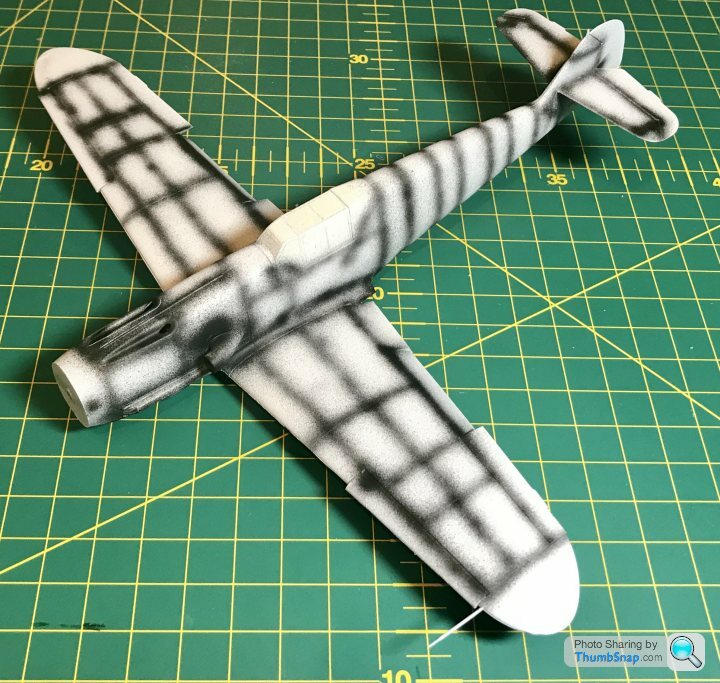
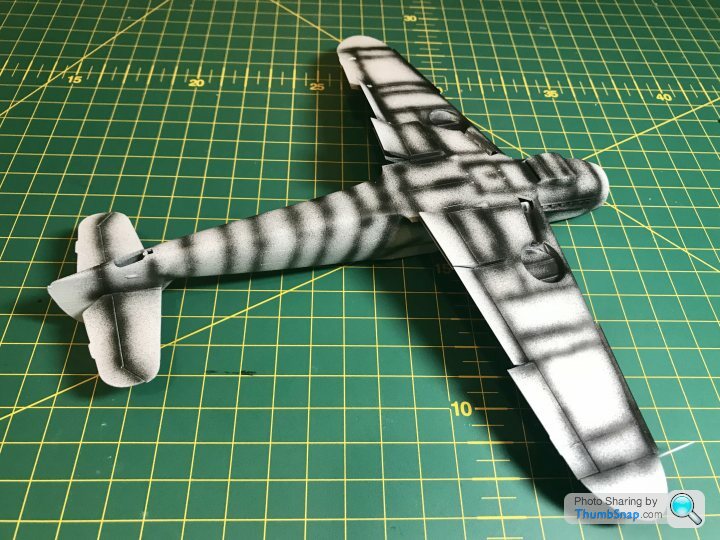
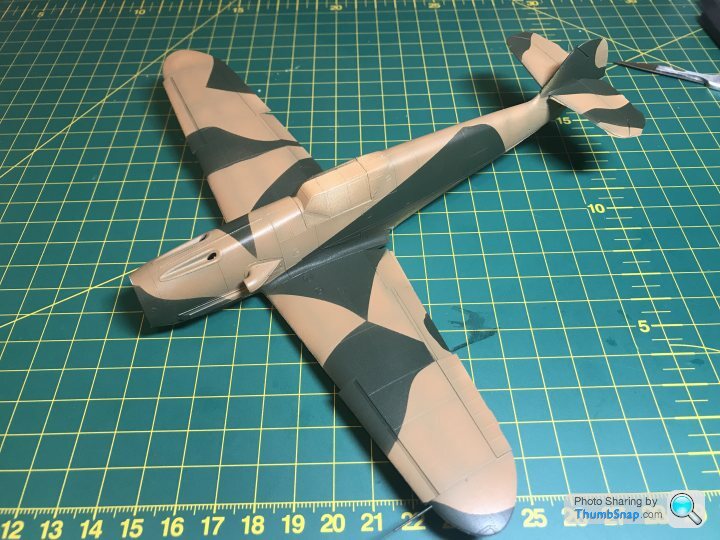
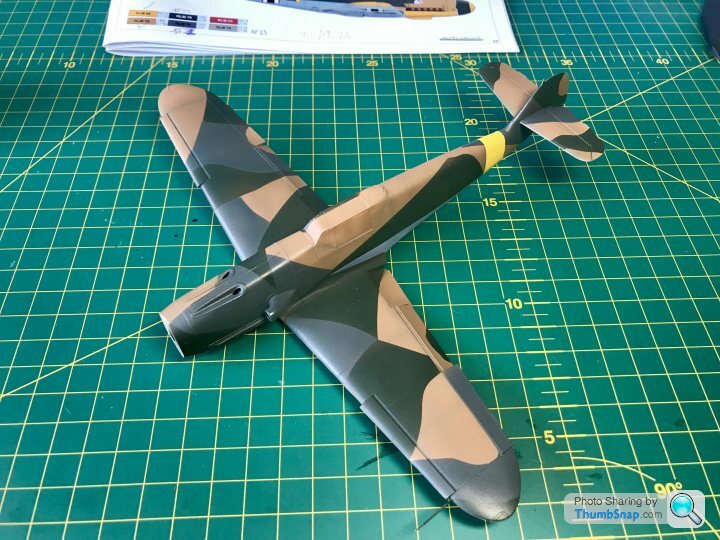
It was then on with the rest of the assembly. Simple stuff really and I managed to get a coat of primer on, ready for more progress tomorrow.
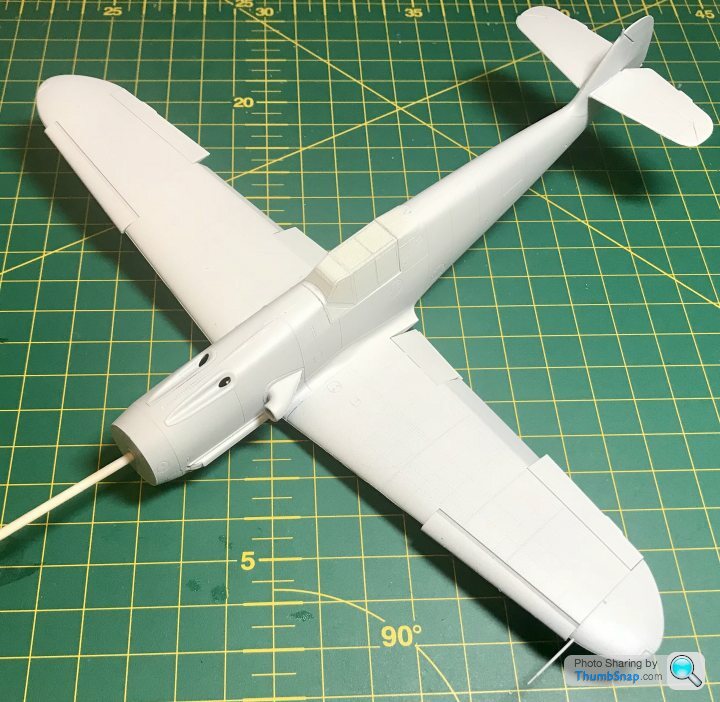
I have to say the level of surface detail on the kit is amazing. I hope I will be able to do it justice.

It was then on with the rest of the assembly. Simple stuff really and I managed to get a coat of primer on, ready for more progress tomorrow.

I have to say the level of surface detail on the kit is amazing. I hope I will be able to do it justice.
Very nice work on the cockpit and solid progress!
I can't keep up with the speed of you professionals. I am still doing my research on the SAS jeep, haven't even opened up the bags yet and you are already 3 kits further. And the Dr built a paper boat in the meanwhile.
I bought this one recently, amongst others for the Erla canopy. A bottle of Johnsons's Klear is on its way to Holland.

robemcdonald said:
Did you remember to spray the canopy with interior colour before priming?Eduard surface detail has to be near best in class, even at 1:72; one of the things (along with quality of transparent parts) that makes or breaks a model.
dr_gn said:
The fuel tank base and rear will have protection though; the tank conformed to the seat (at least on the E-4). The sight glass was probably for verifying fuel flow from the drop tank to the main tank - definitely not for supplying the engine directly. I'd assume that during a transit flight, the pilot would confirm he was using fuel from the drop tank using the sight glass. Once in combat he'd isolate the transfer pipe and let the tank go.
Here’s the schematic for a K-4, same basic principle, the engine always feeds from the main tank under/behind the pilot. 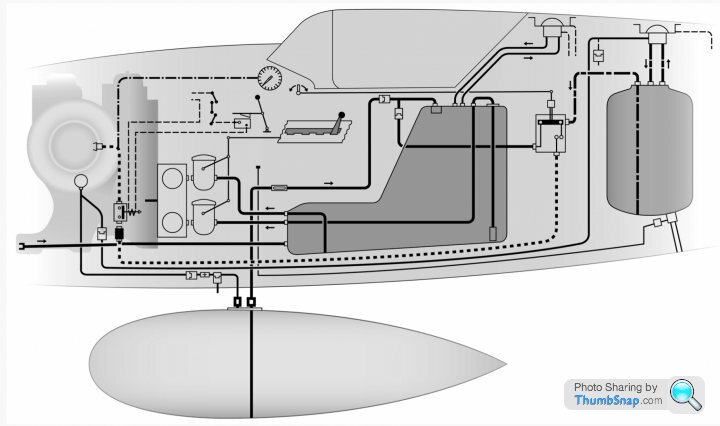
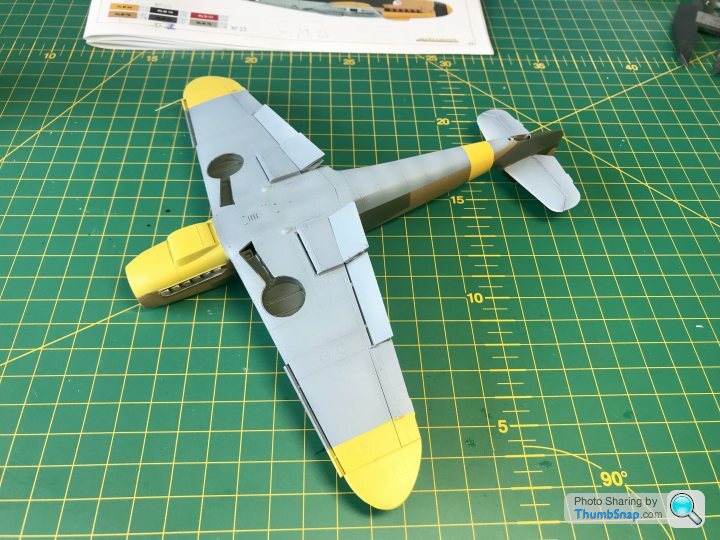
Finished it last night!
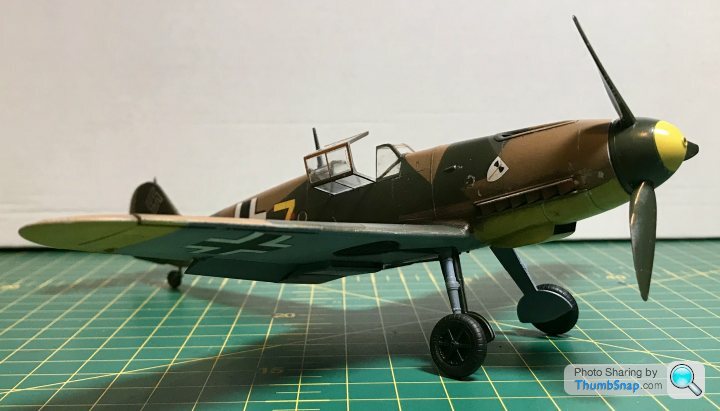
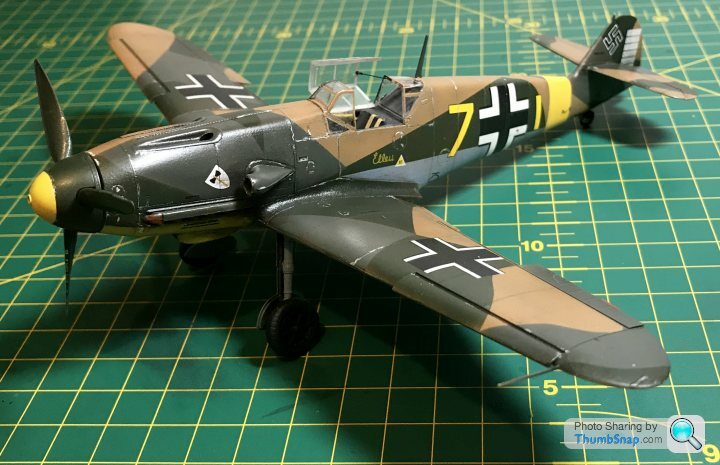
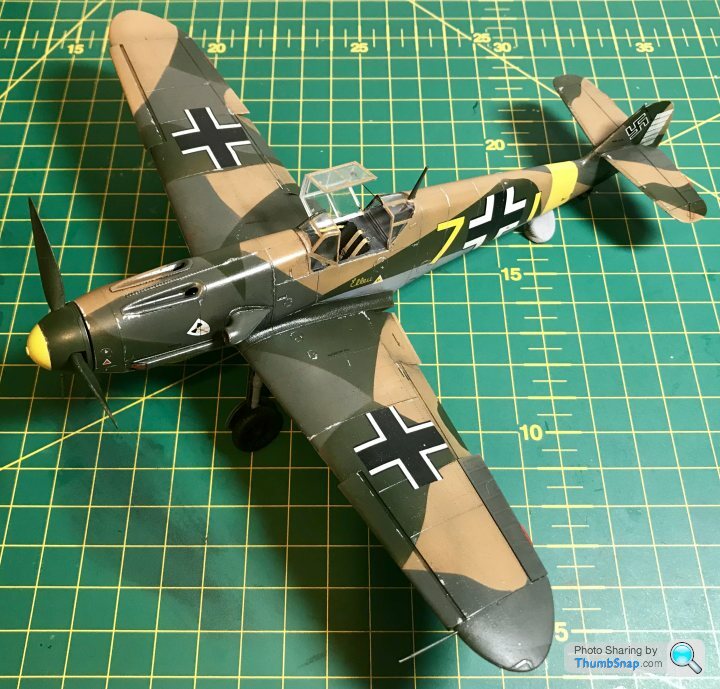
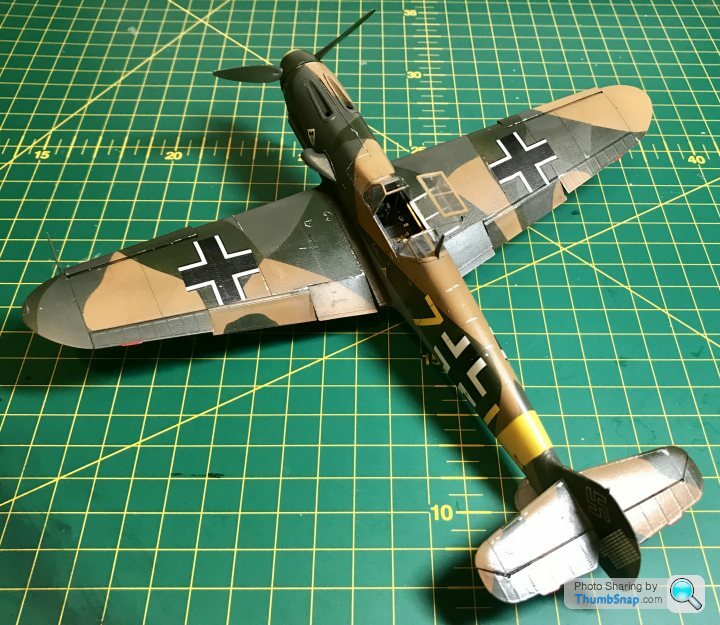
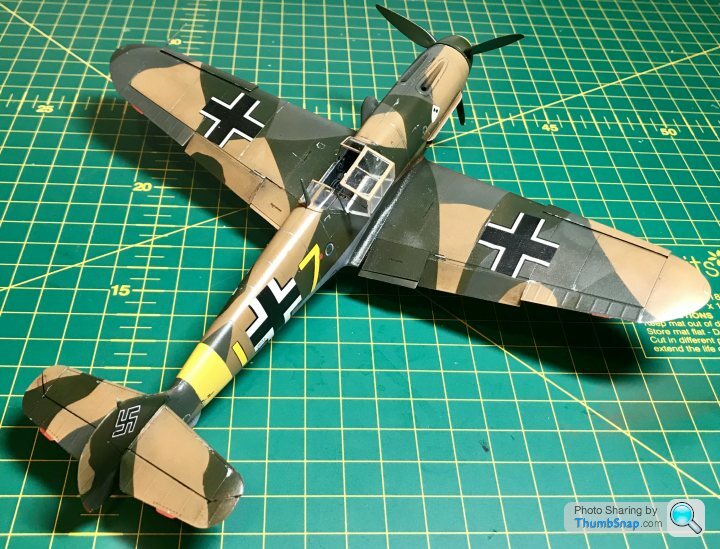
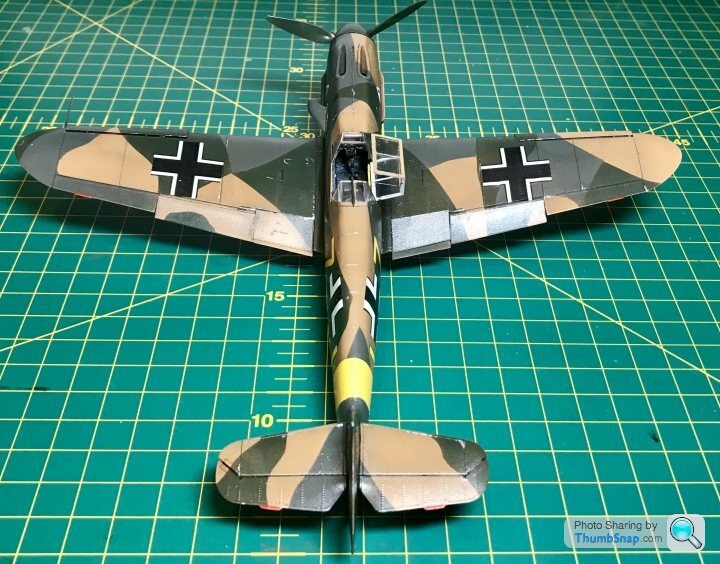
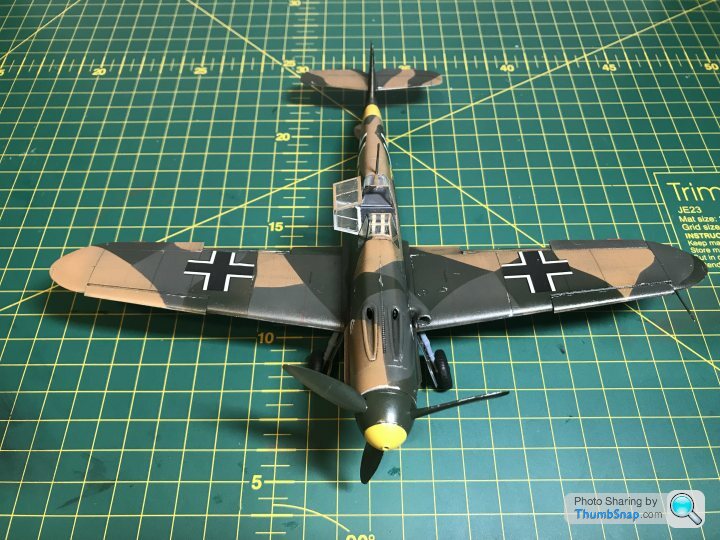
There are a few issues with the paint not sticking to the canopy. I dipped it in that pledge with future I mentioned previously. I can only assume it must have silicone in it or something. Odd thing is it doesn’t seem to have stopped the paint adhering anywhere else. Perhaps there was some release agent on the canopy or something.
As always it’s far from perfection, but I think there are incremental improvements with every build.
Gassing Station | Scale Models | Top of Page | What's New | My Stuff


