Yamaha YA1 ultra-realistic.
Discussion
It begjns again, I'm building this.
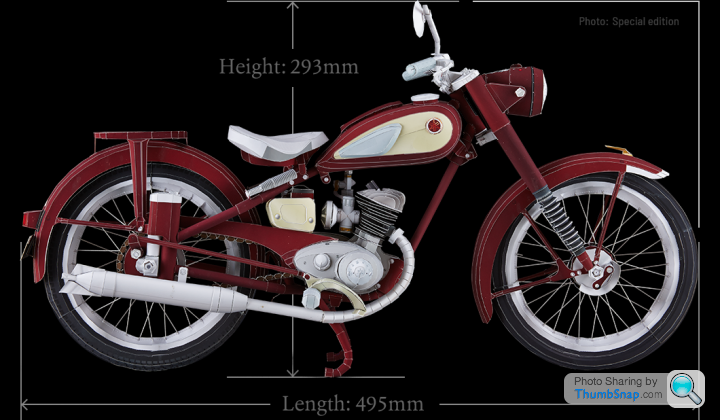
https://global.yamaha-motor.com/showroom/papercraf...
It may go on the boy's ceiling. Or it may go on my desk. I attempted one of the yamaha ones a few years ago and it was hard going. My skills have come on a long way since then, and I fancy the challenge.
Im doing the 'special edition' with the wire wheels, I have some silver thread, but if it looks crap I'll do the default wheels.
Anyway, the biggest books are written one page at a time.
Step 1.
Pieces 1 and 2 of appx 900.

shortar53 said:
It begjns again, I'm building this.

https://global.yamaha-motor.com/showroom/papercraf...
It may go on the boy's ceiling. Or it may go on my desk. I attempted one of the yamaha ones a few years ago and it was hard going. My skills have come on a long way since then, and I fancy the challenge.
Im doing the 'special edition' with the wire wheels, I have some silver thread, but if it looks crap I'll do the default wheels.
Anyway, the biggest books are written one page at a time.
Step 1.
Pieces 1 and 2 of appx 900.

I really enjoyed building some of these a couple of years ago. I even tried the big Daddy R1. I worked out I could have built a Caterham in the time it took.
https://global.yamaha-motor.com/showroom/papercraf...
It may go on the boy's ceiling. Or it may go on my desk. I attempted one of the yamaha ones a few years ago and it was hard going. My skills have come on a long way since then, and I fancy the challenge.
Im doing the 'special edition' with the wire wheels, I have some silver thread, but if it looks crap I'll do the default wheels.
Anyway, the biggest books are written one page at a time.
Step 1.
Pieces 1 and 2 of appx 900.

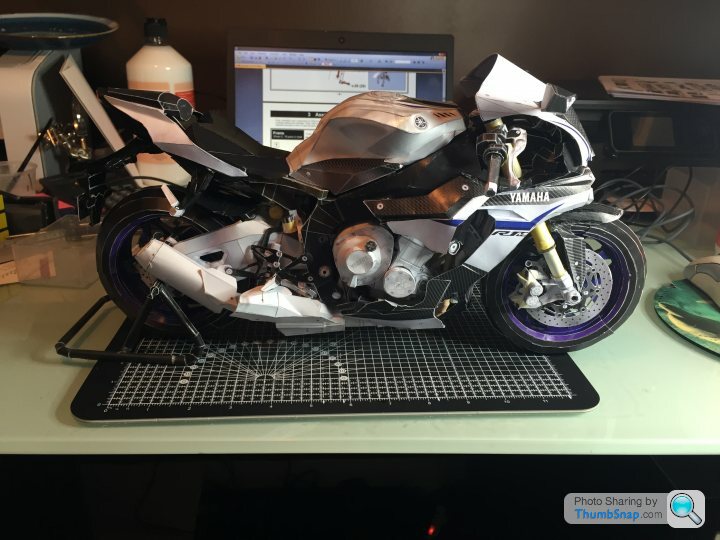
robemcdonald said:
I really enjoyed building some of these a couple of years ago. I even tried the big Daddy R1. I worked out I could have built a Caterham in the time it took.

Thats really nice. 
I started on the YZR-M1 a few years ago, but my eyes were bigger than my belly so to speak so i canned it and started on some easier ones.
Im gonna take this one slow, try and do a really good job of it.
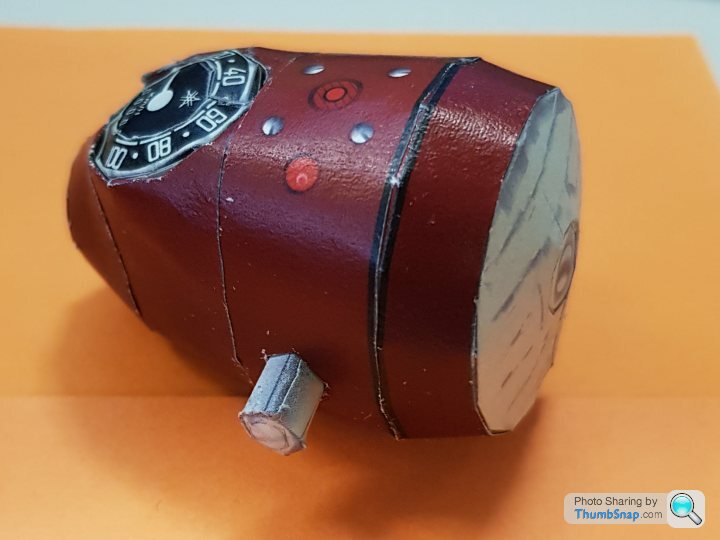
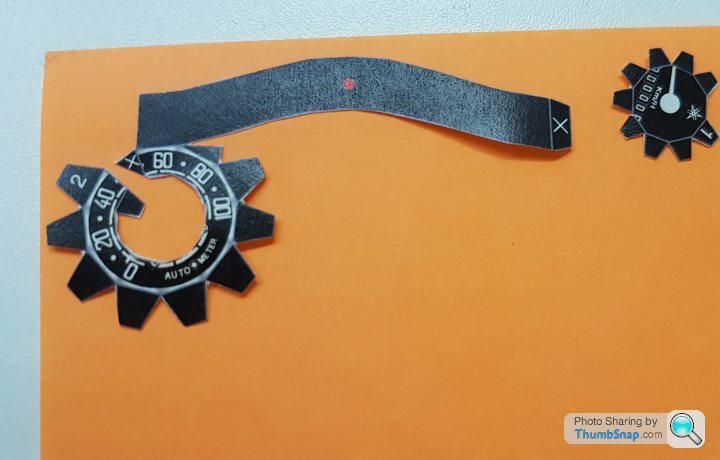
Headlight completed.
Not overly happy with a bit leaching of ink on the other side - possibly too much glue. Dont think it will be visible once the light is mounted. If so I'll re-skin that part once its all dry using some very thin paper, also, the design of the section where the speedo is could be better.
I'm trying to knock back the bright white of the cut edges using a good old hb pencil.
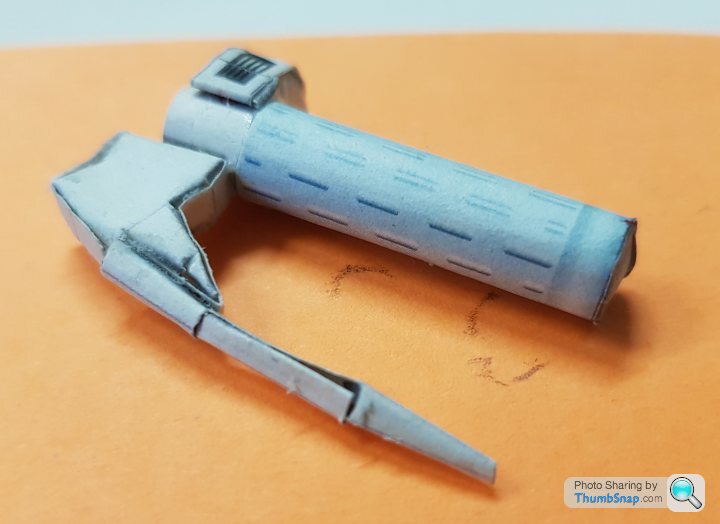
Handlebar grip. One of two, obviously. :-)
Edited by shortar53 on Friday 16th March 14:59
As Granny Weatherwax would say, there's a lot of jommetry going on...
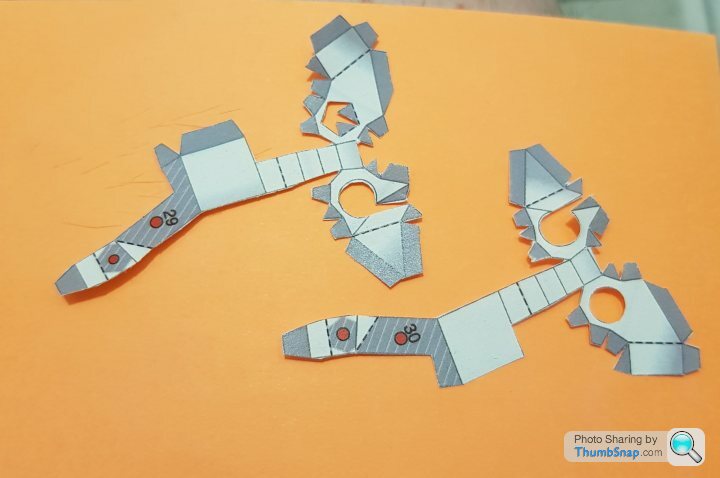
These are the risers for the handlebars.
Quality of the kit is below that of an HMV kit, but it is also free.
Id have preferred these to maybe in two or three pieces that went together rather than very compound folds.
Also, several areas are very thin which makes folding the tabs without distorting the piece tricky.
Depending on the folds its either PVA, or if its a tight space, CA to glue it.
At this rate i might be done by christmas
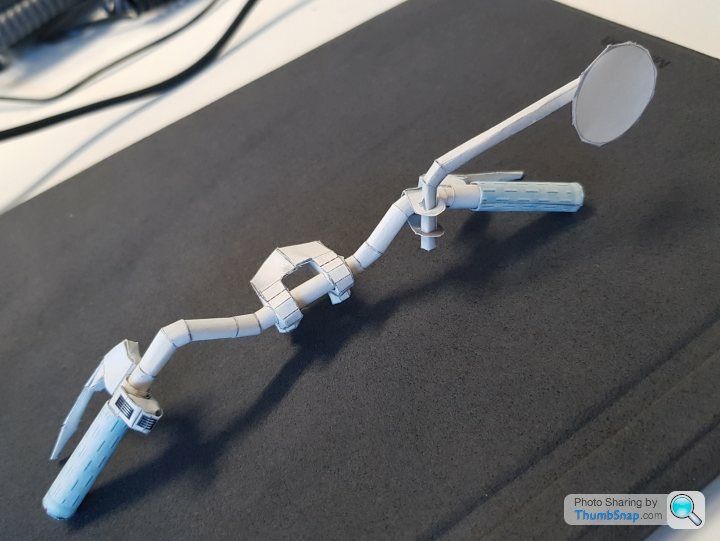

Continued adventures in jommetry.
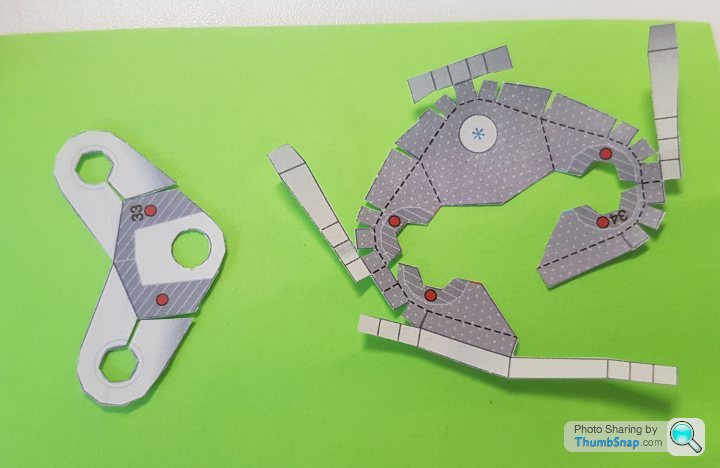
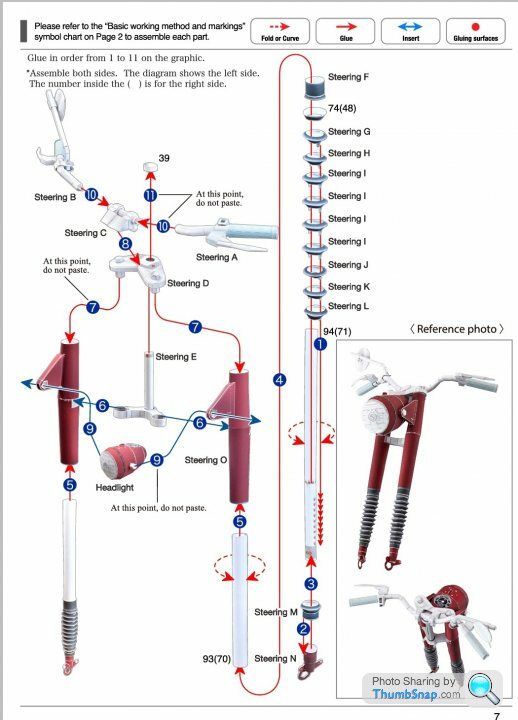
One of the minor things with this kit is the fold markings can be inconsistent.
Its not clear from the instructions but this piece on the right is effectively built inside out... the printed part is the inside of the structure and the thin "sprues" form the outside edge.
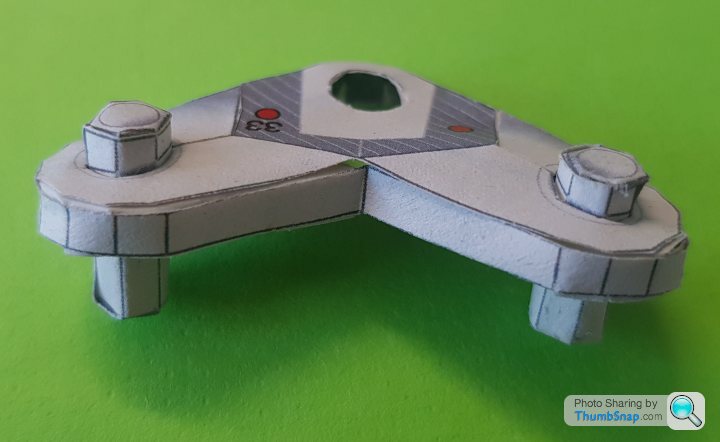
The other part is then attached to form the top (to which the handlebars will mount soon)
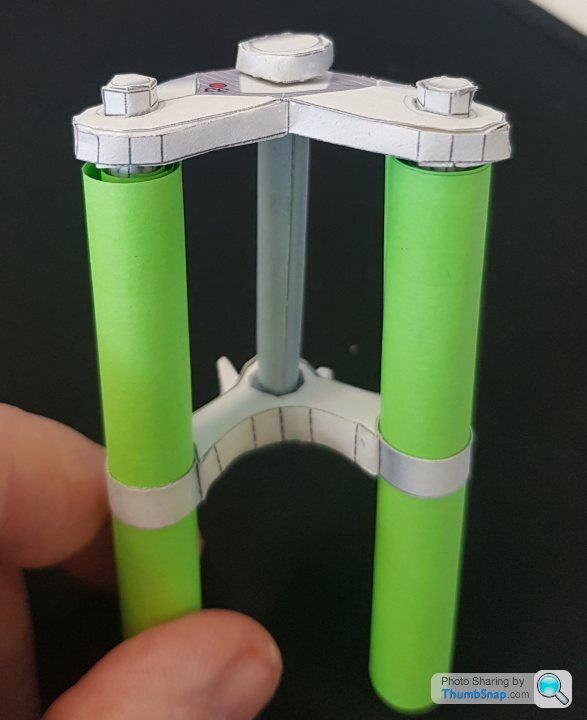
Mocked up using post-it front forks. I'll CGI them out in post production dont worry.

One of the minor things with this kit is the fold markings can be inconsistent.
Its not clear from the instructions but this piece on the right is effectively built inside out... the printed part is the inside of the structure and the thin "sprues" form the outside edge.
The other part is then attached to form the top (to which the handlebars will mount soon)

Mocked up using post-it front forks. I'll CGI them out in post production dont worry.

Made a little bit of progress last night.. but a word of warning.
Id taken the stuff home from the office as i knew i had a spare hour but missed one sheet.
Same laptop, same model printer, but a setting must have been awry.
Result? One fork about 12% too big in every dimension.
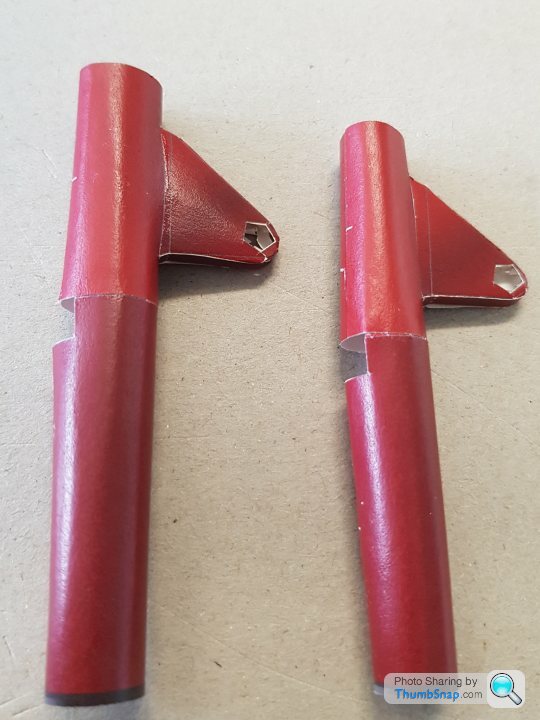
Bugger.
Confirmed the other parts were to the correct scale, made a little progress then quickly knocked the offending article out to the correct scale whilst on a teleconference this morning.
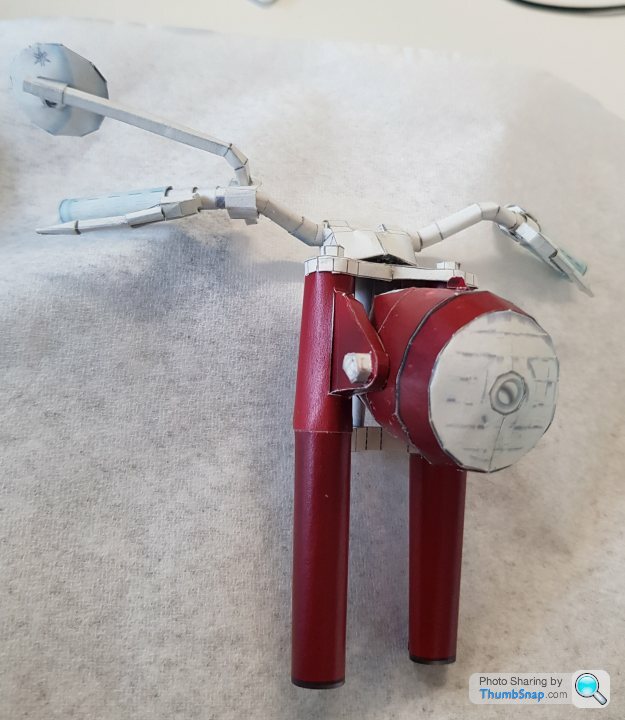
Quick mockup of the frontend so far.
Most of it isnt glued yet, just wanted to see
Id taken the stuff home from the office as i knew i had a spare hour but missed one sheet.
Same laptop, same model printer, but a setting must have been awry.
Result? One fork about 12% too big in every dimension.

Bugger.
Confirmed the other parts were to the correct scale, made a little progress then quickly knocked the offending article out to the correct scale whilst on a teleconference this morning.
Quick mockup of the frontend so far.
Most of it isnt glued yet, just wanted to see
Front forks partially assembled, looking quite good, I think.
Need to find a colour match for the burgundy so I can knock back the seams a bit.
Handlebars are attached but their position not fixed, as is the headlight.
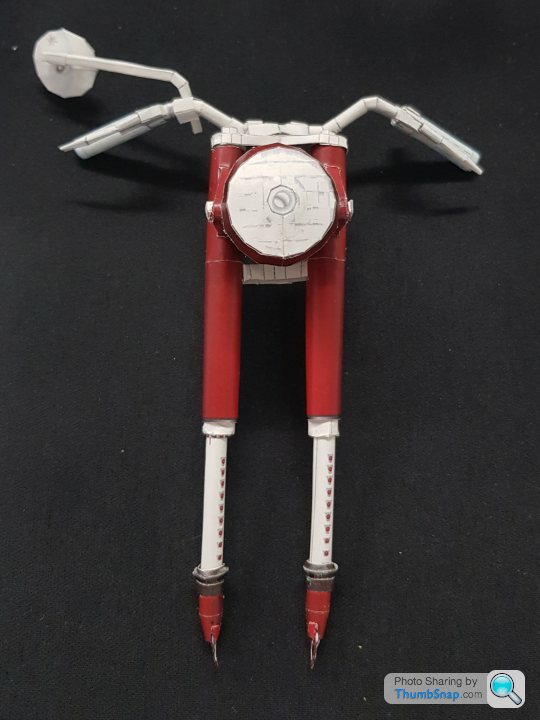
Slowly chewing through the rubber gaiters, there are 10 segments per fork, each with two bits (each one forms a 'ridge' of the gaiter)
Its the worst part if this kind of modelling, lots of tedious, similar parts.
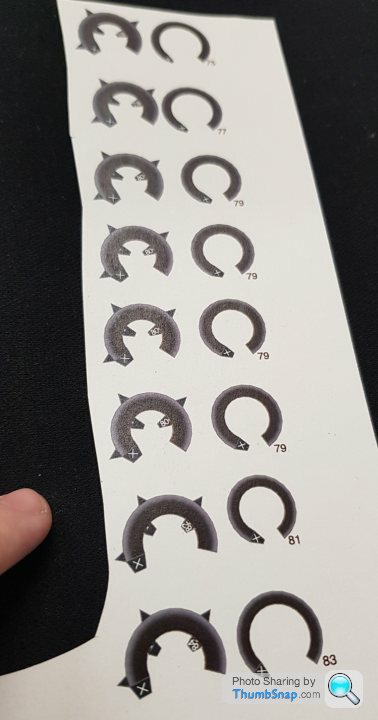
I'm cutting them and gluing them as I go, labelling incase they have to be fitted in order, as I suspect they will. Once I have both sets assembled, they can be slid onto the forks and glue applied.
Need to find a colour match for the burgundy so I can knock back the seams a bit.
Handlebars are attached but their position not fixed, as is the headlight.

Slowly chewing through the rubber gaiters, there are 10 segments per fork, each with two bits (each one forms a 'ridge' of the gaiter)
Its the worst part if this kind of modelling, lots of tedious, similar parts.

I'm cutting them and gluing them as I go, labelling incase they have to be fitted in order, as I suspect they will. Once I have both sets assembled, they can be slid onto the forks and glue applied.
Gassing Station | Scale Models | Top of Page | What's New | My Stuff


