Revell 1:72 F4U-4 Corsair
Discussion
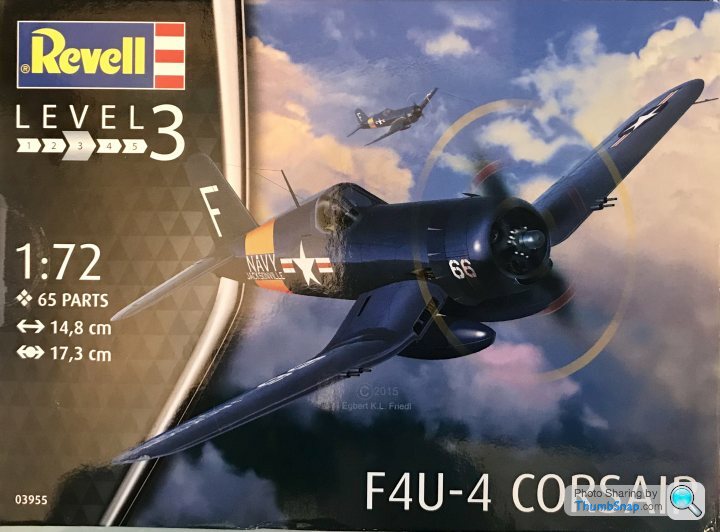
Having finished my favourite USAF fighter from WW2 the P-47 (although not the D) I thought I’d have a go at my favourite USN fighter. I really like the box art on this kit.
According to scalemates it’s a rebox of a fairly recent kit (less than ten years old) quite a bit less flash than on the thunderbolt too so clean up is a bit easier, but still required as the mouldings aren’t quite as crisp as some manufacturers.
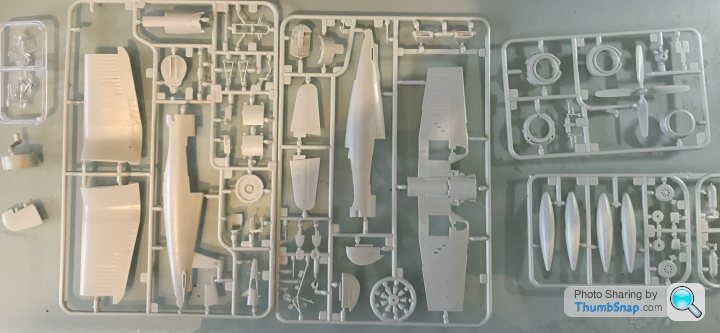
Here are the sprues
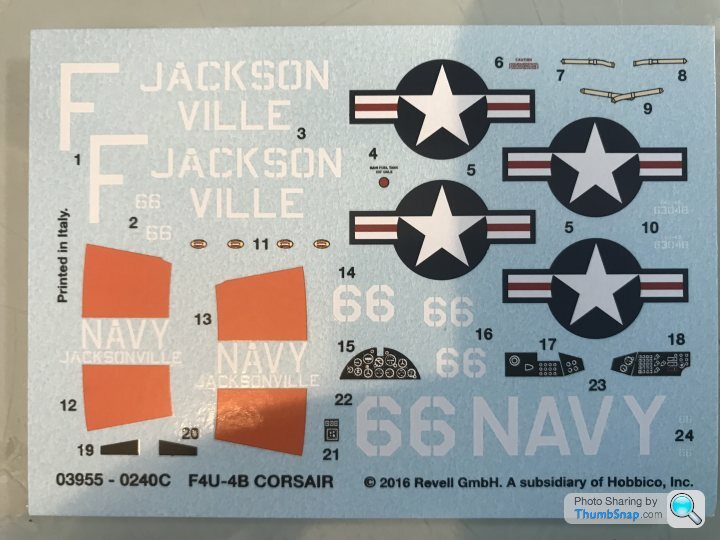
And the decals, which look nice enough
Might as well get stuck straight into it.
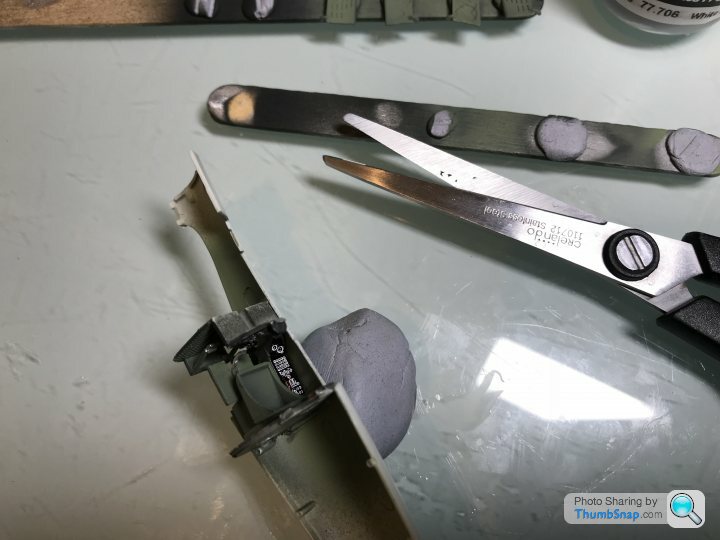
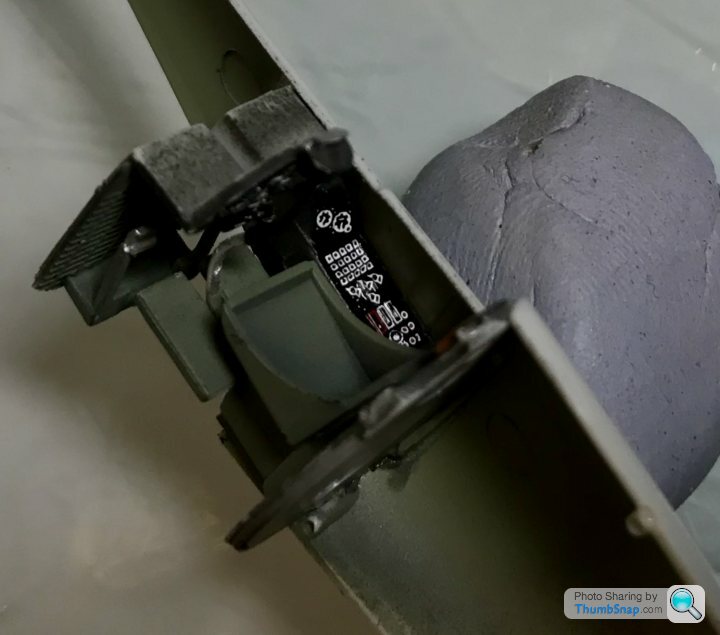
As with seemingly all aircraft kits you start with the cockpit. This all went together without too much drama.
Next it was assembling the wings and tail to the fuselage. This was a slightly unusual process due to the unusual geometry of the wings. It was actually a bit tricky to get everything lined up and glued in place as a lot of the joints seemed to be in a bit of tension.
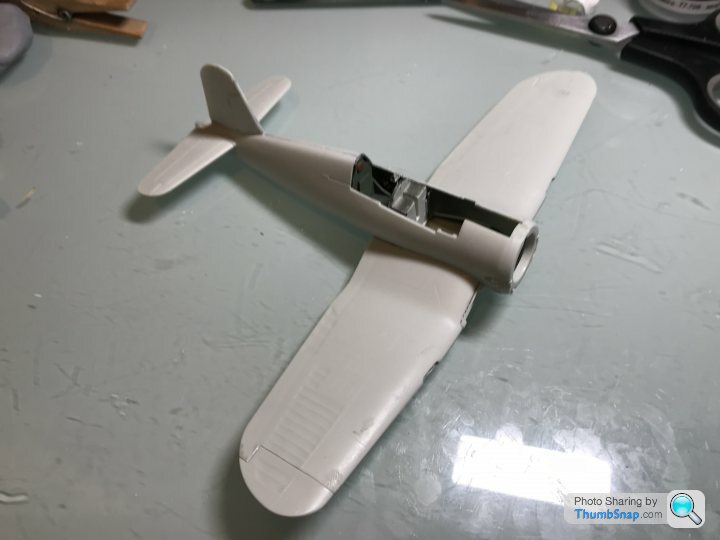
The next stage is to assemble the rest of the airframe before going on to paint. I think I’m going to try pre-shading on this as the main colour is a dark blue and I want to get some tonal variation. I think the black bass works best with lighter schemes.

According to scalemates it’s a rebox of a fairly recent kit (less than ten years old) quite a bit less flash than on the thunderbolt too so clean up is a bit easier, but still required as the mouldings aren’t quite as crisp as some manufacturers.
Here are the sprues

And the decals, which look nice enough

Might as well get stuck straight into it.


As with seemingly all aircraft kits you start with the cockpit. This all went together without too much drama.
Next it was assembling the wings and tail to the fuselage. This was a slightly unusual process due to the unusual geometry of the wings. It was actually a bit tricky to get everything lined up and glued in place as a lot of the joints seemed to be in a bit of tension.

The next stage is to assemble the rest of the airframe before going on to paint. I think I’m going to try pre-shading on this as the main colour is a dark blue and I want to get some tonal variation. I think the black bass works best with lighter schemes.
More progress tonight.
The fit of the top part of the fuselage front was the first real problem. It just didn’t sit right and had a large gap on one side.
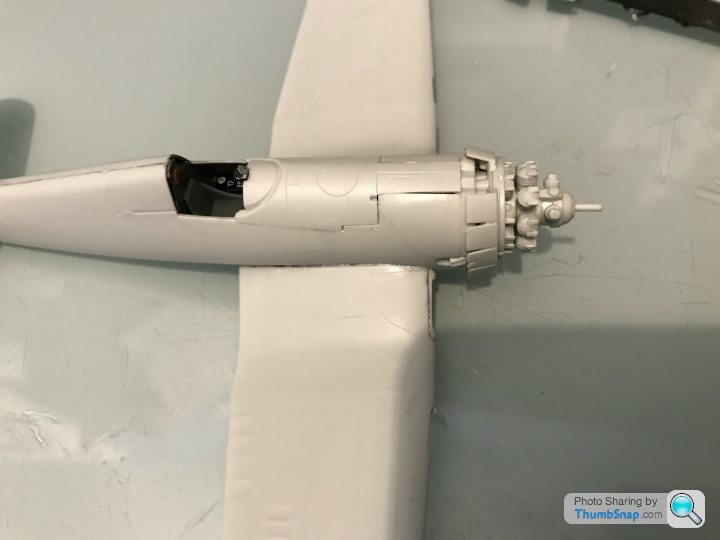
Sorted with some filler.
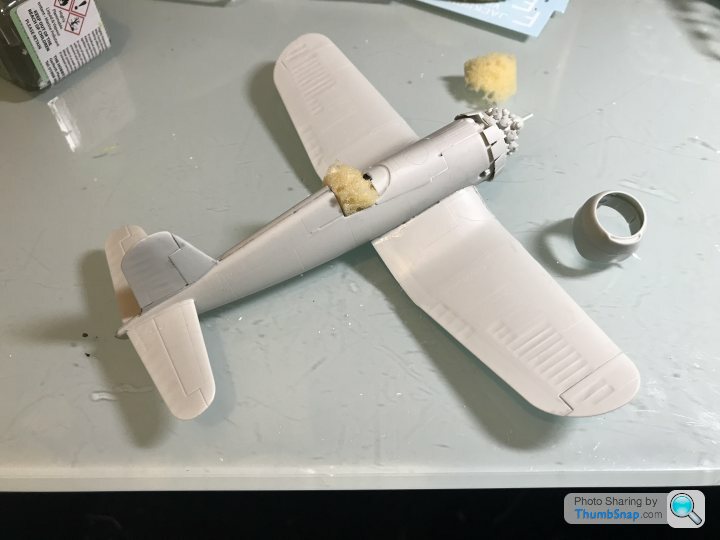
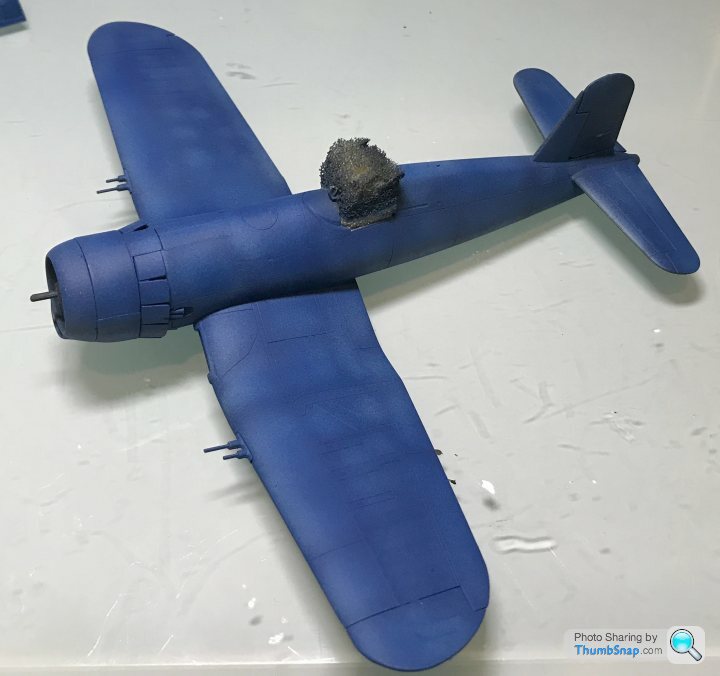
I decided to go with the black undercoat after all. It’s a good way of identifying any issues.
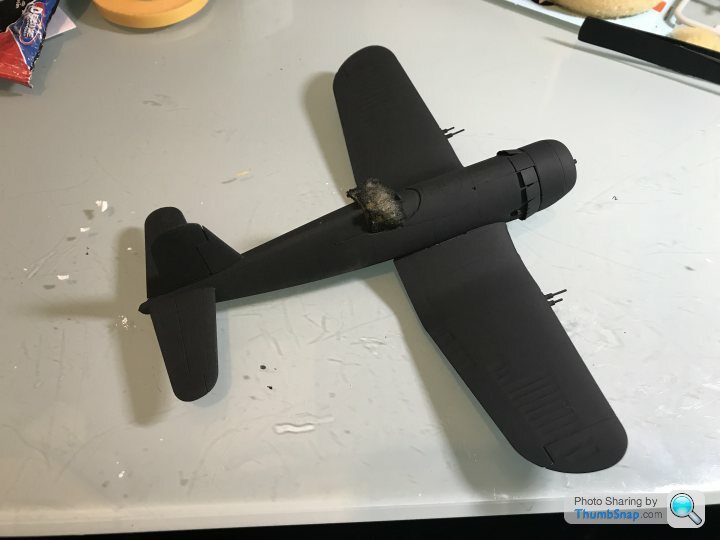
I used a lighter colour to highlight some of the panels.
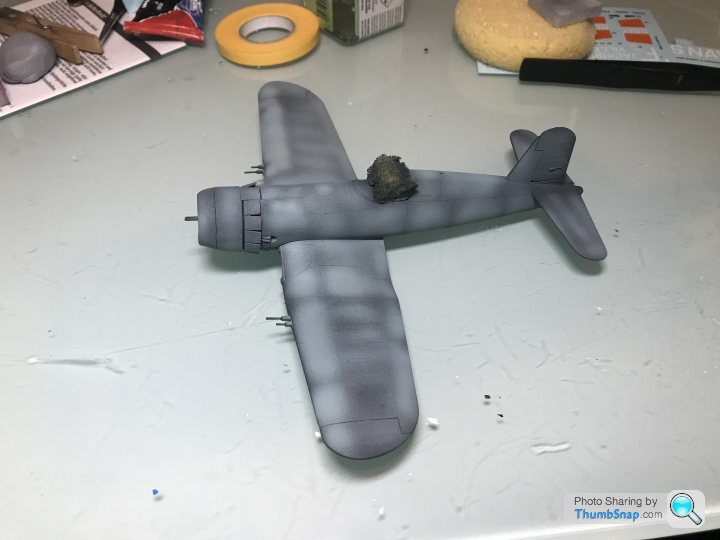
Finally I built up the top coat in fine layers. Unfortunately the tonal variations don’t really show up in the picture.
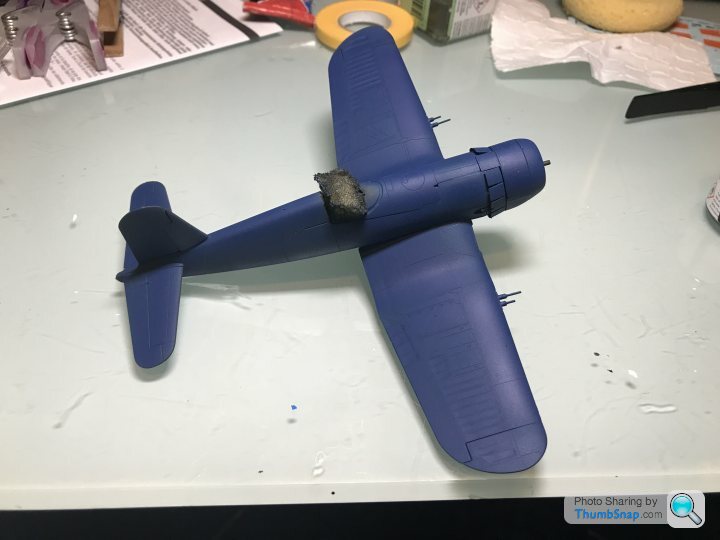
The fit of the top part of the fuselage front was the first real problem. It just didn’t sit right and had a large gap on one side.

Sorted with some filler.

I decided to go with the black undercoat after all. It’s a good way of identifying any issues.

I used a lighter colour to highlight some of the panels.

Finally I built up the top coat in fine layers. Unfortunately the tonal variations don’t really show up in the picture.

robemcdonald said:
I used a lighter shade on the middle of some panels and then another thinned down coat of the final colour. The previous effect was too subtle and looked like a solid colour (although it wasn’t)
FWIW my method is to paint a base coat of the final top colour, then preshade the panel lines only with something like NATO black, then lightly overspray with thinned top colour again. That way, I'm starting with a solid top colour, so there's no issue with covering a primer coat, and no chance of any preshading underneath getting obliterated (unless you overdo it with the thinned top coats). Of course for multiple colours you have to repeat the process after masking, so it's time consuming, but the end result is OK.robemcdonald said:
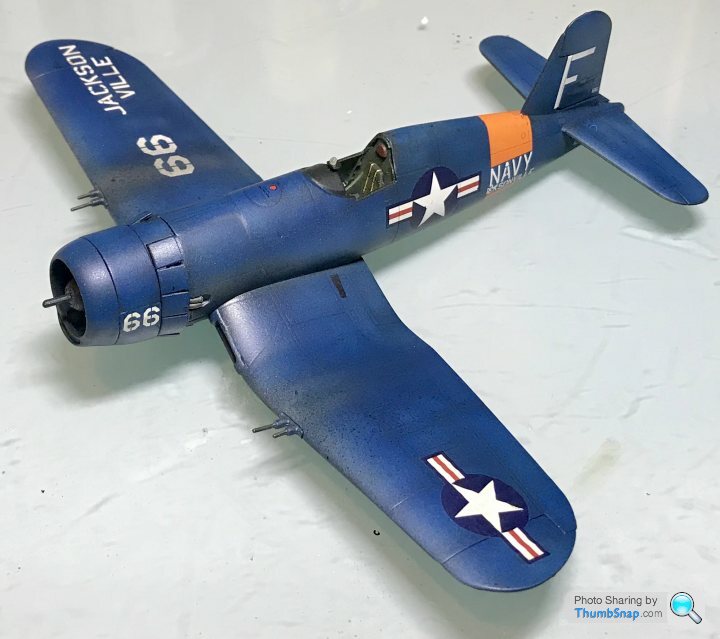
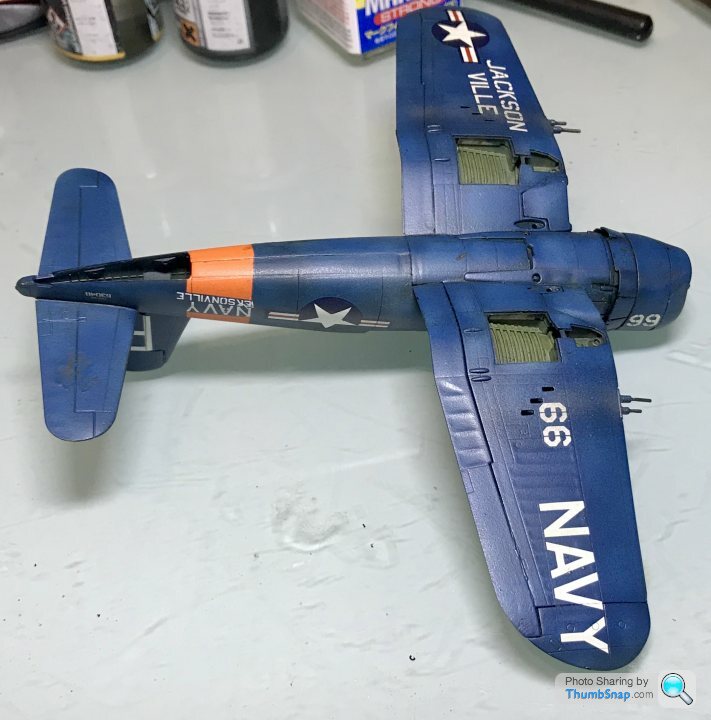
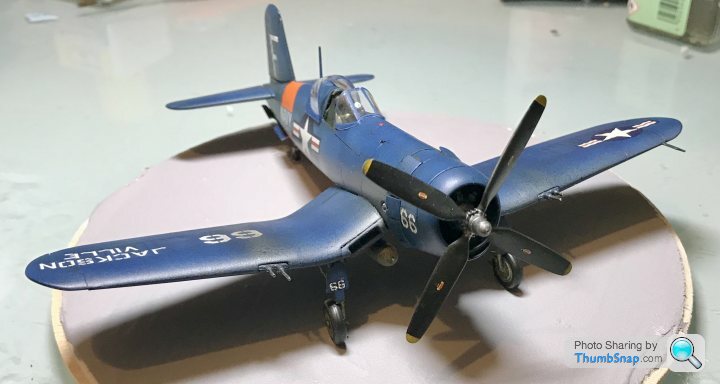
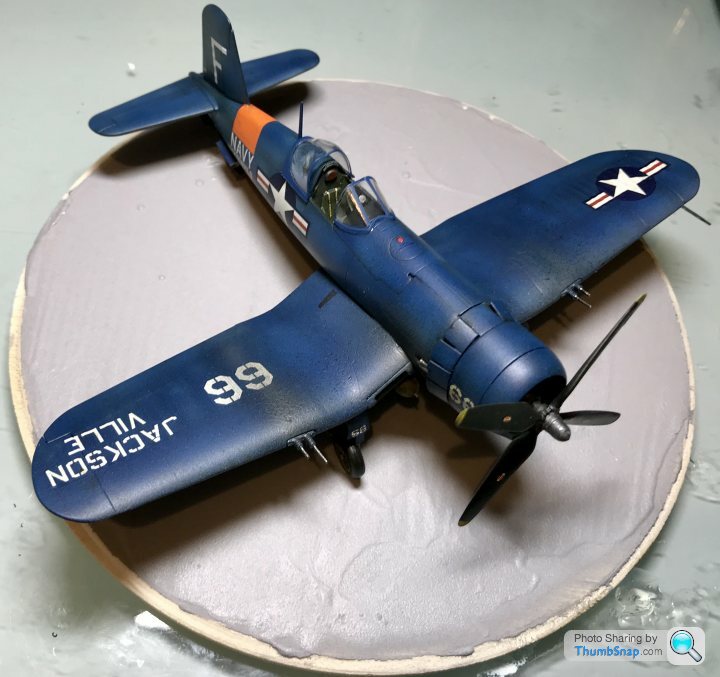
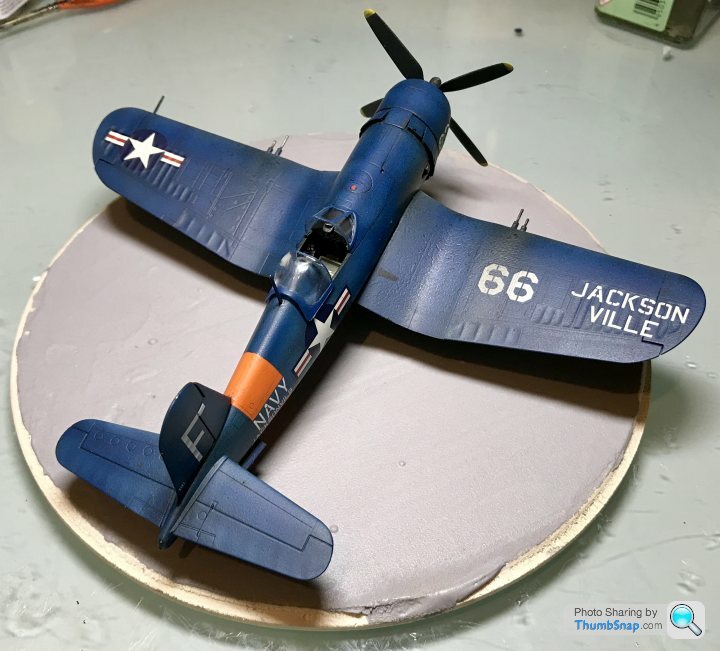
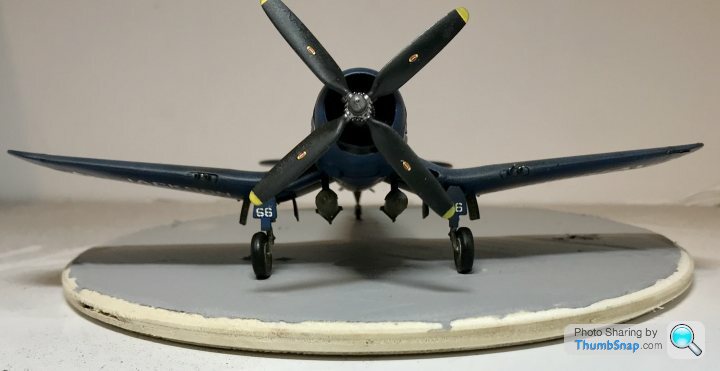
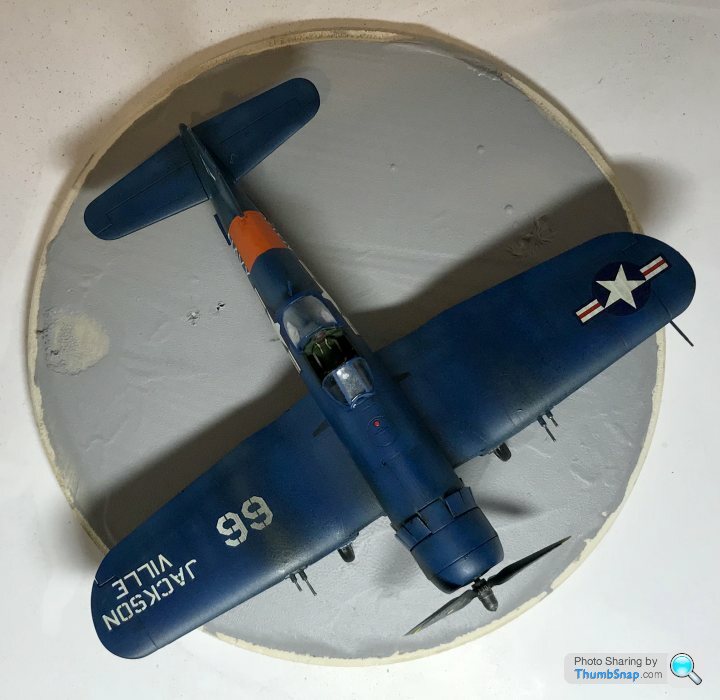
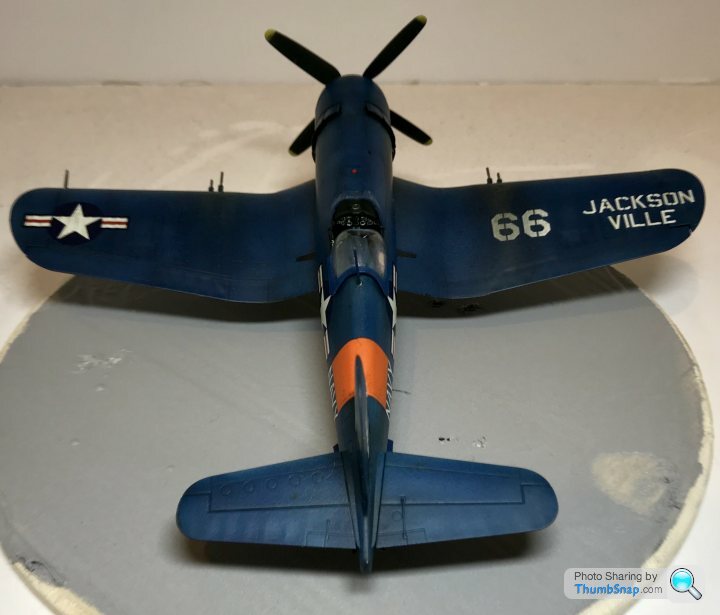
Finished this morning. There are quite a few issues, most notably a bit of a problem with the flat clear coat having an issue. Not to sure why...
Anyway it looks ok in all but close up.
Both this and your P-47 are undoubtedly very nice looking models, you’ve done a great job, and quickly too.Anyway it looks ok in all but close up.
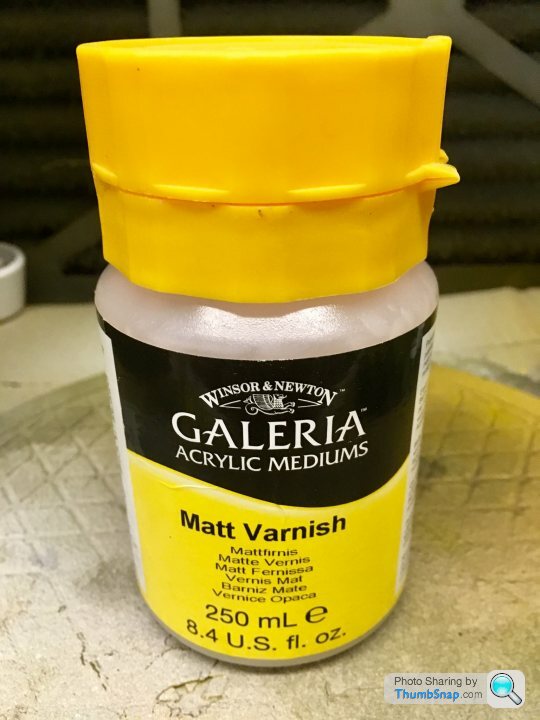
I’ve had big problems with matt varnish over the years. I’ve tried most of them, and thought I’d found the solution in Humbrol aerosol matt acrylic. I then had two disasters with it. I think (hope) I’ve now found the answer in Winsor&Newton Galleria Matt (available from Hobbycraft). It’s very, very flat once dry (takes a few hours, ideally overnight) and seems totally benign in terms of compatibility with base coats (it’s water based). So far, no issues with crazing or the dreaded white residue either.
Wow. Thanks for your kind comments Doc. The work you do is on a different level. Is the Windsor and newton clear coat and aerosol? Or does it need to be airbrushed? I might try and get to hobby craft tomorrow (weather permitting)
The next project is already lined up.... it’s another Jug. This time a 1/48 Hasagawa kit. I thought it would be nice to try something a bit more upmarket than a bargain basement Revell kit.
The next project is already lined up.... it’s another Jug. This time a 1/48 Hasagawa kit. I thought it would be nice to try something a bit more upmarket than a bargain basement Revell kit.
robemcdonald said:
Do you use thinners with it? Or does it go through the airbrush straight out of the pot?
Shake it up for a minute and spray it straight on. Seems thick, but goes on fine. Aim for a slightly wetted look all over, but with the thinnest possible coat- don’t let it pool anywhere! Definitely try it on scrap first to get used to it and make sure you’re happy with the result. You can handle gently after 2 hours or so in the airing cupboard.
If you try to use it on the Corsair, don’t forget to mask the canopy!
Gassing Station | Scale Models | Top of Page | What's New | My Stuff


