Building a Tamiya Unimog, 1st timer!!!
Discussion
Well I threatened to do this a while ago but finally got around to starting it today, I bought the Tamiya 406 Unimog kit a couple of months ago and then went onto Tamiya club and immediately went and bought the GP steering upgrade, a 45t motor, some green slime for the shock assembly a full bearing set and a couple of other extras!!! 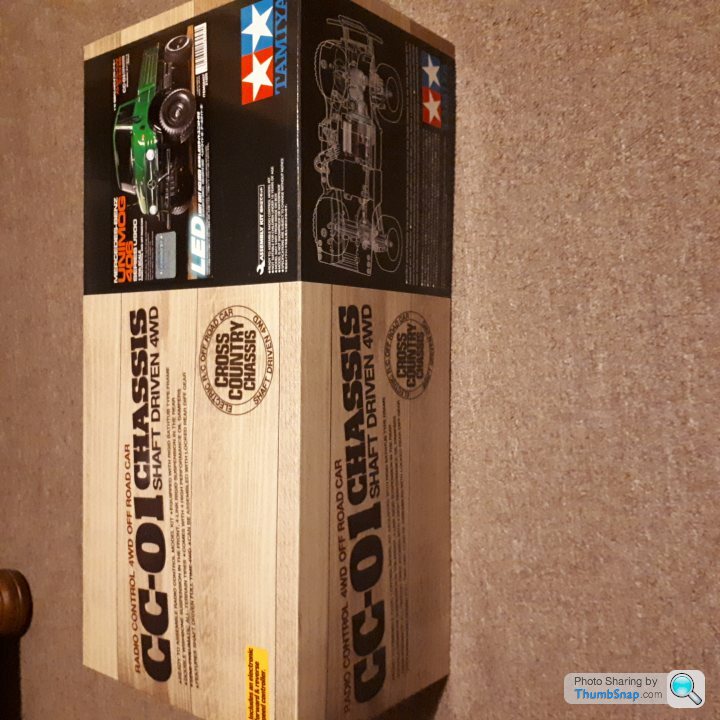
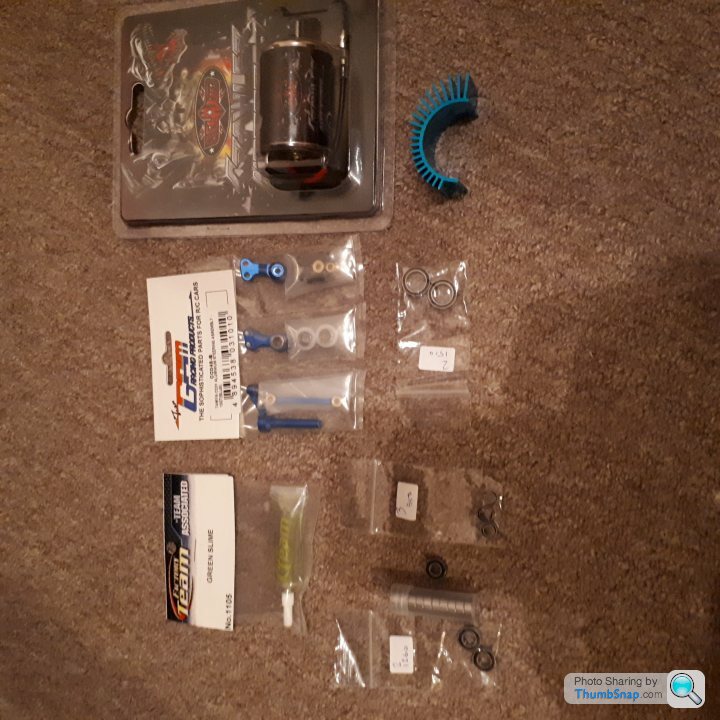 |https://thumbsnap.com/vGmtwXgp[/url]
What with a high wok load and family issues I haven't had time to start the project, until today.......
Unboxing.
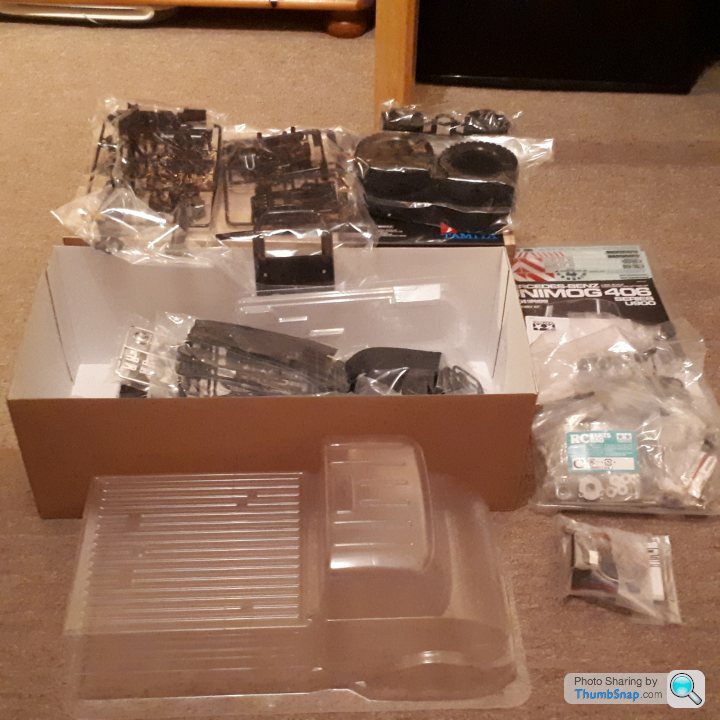
Front different assembled.
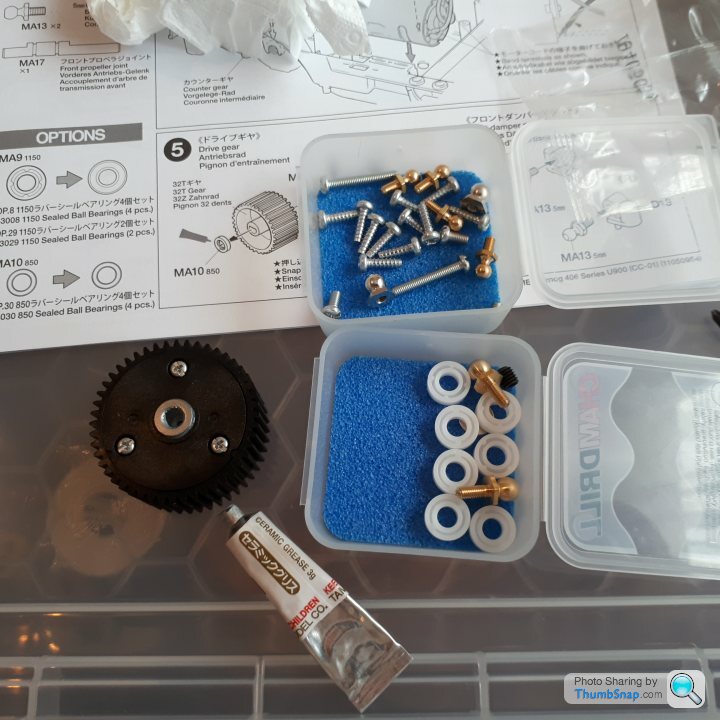
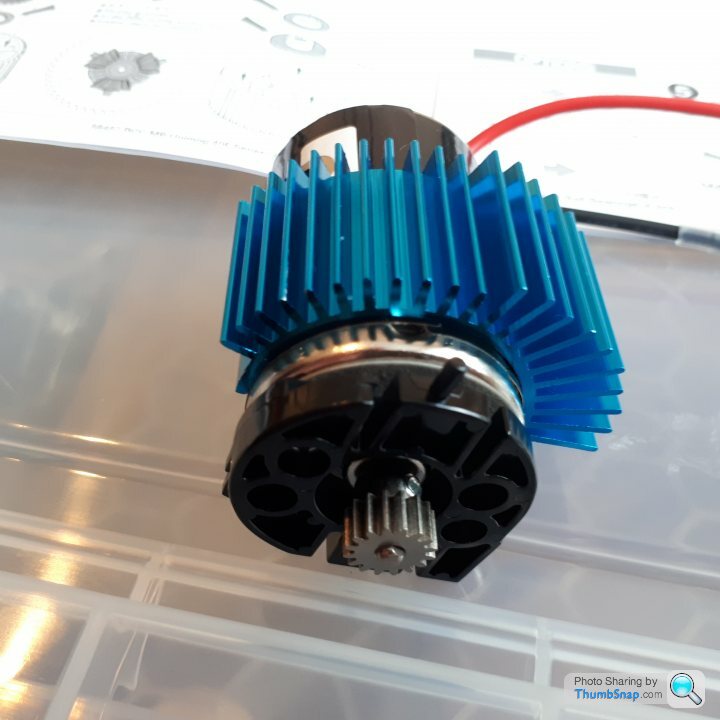
Motor and support.
Transfer diff before assembley with sealed bearings.
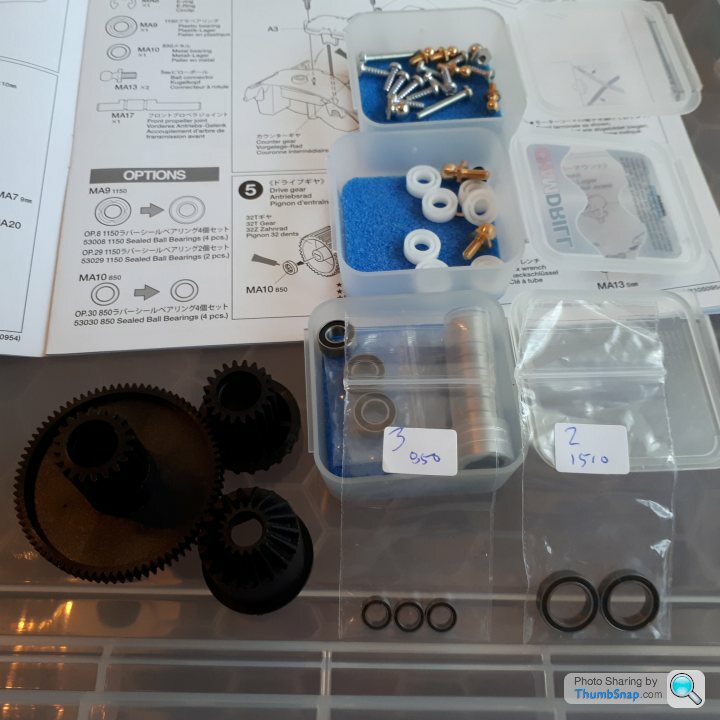
With the bearings in.

Front drives in.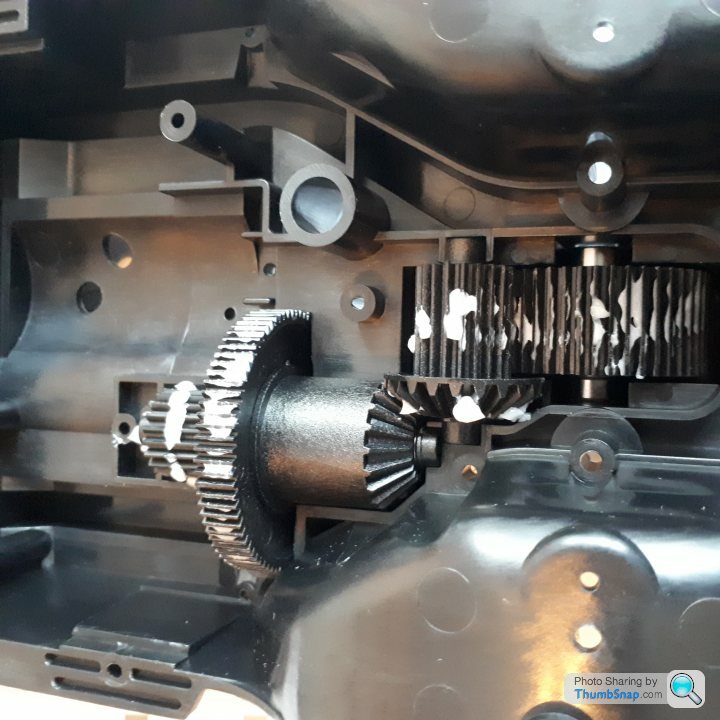
All encased.

Part of the uprated steering, it's very well made!!
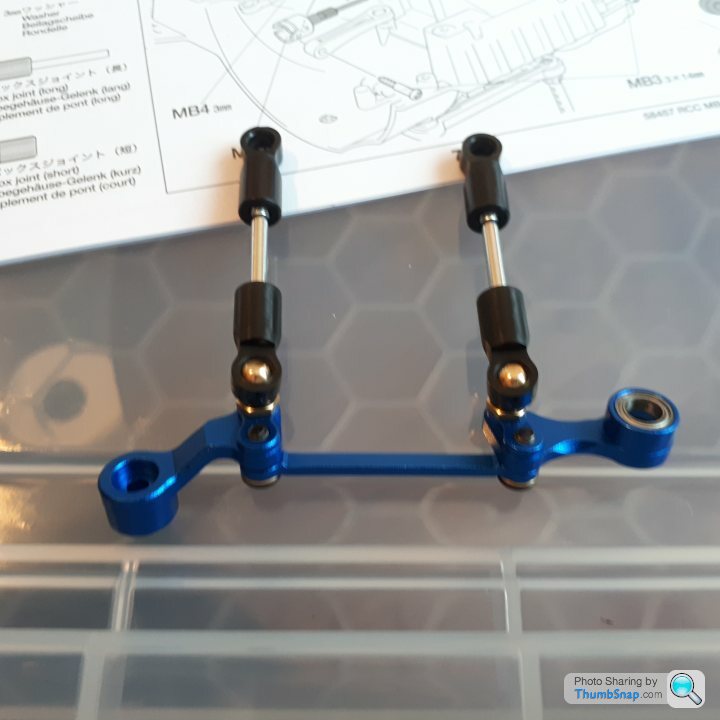
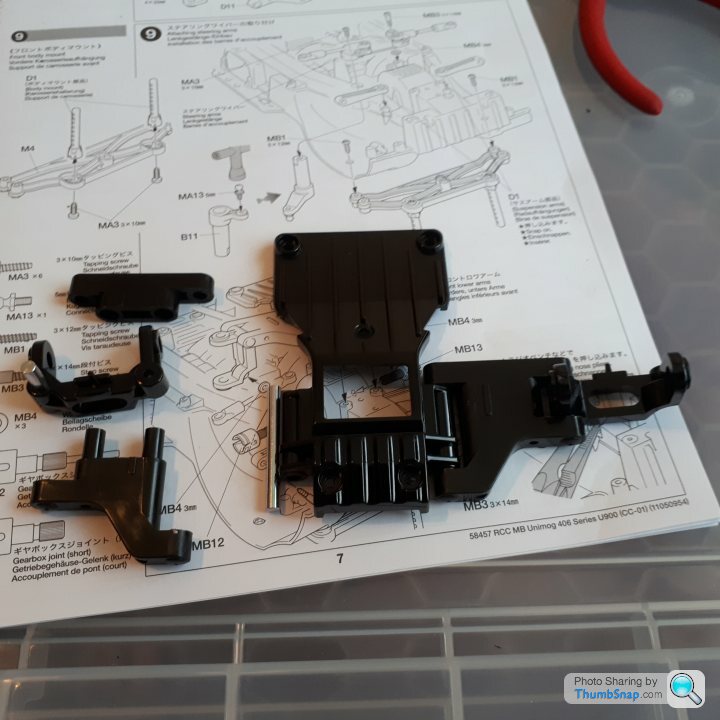
Skid plate and wishbones during assembly.
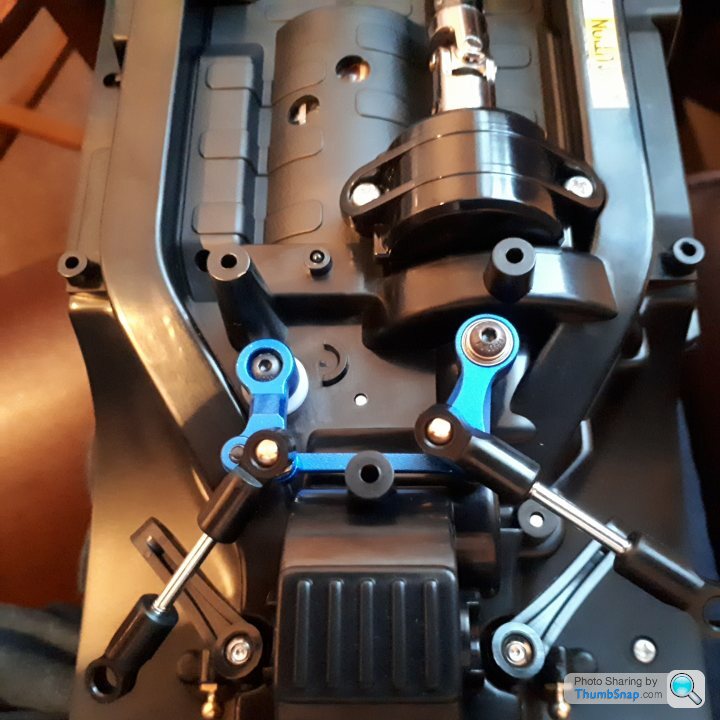
Steering control arms mounted.
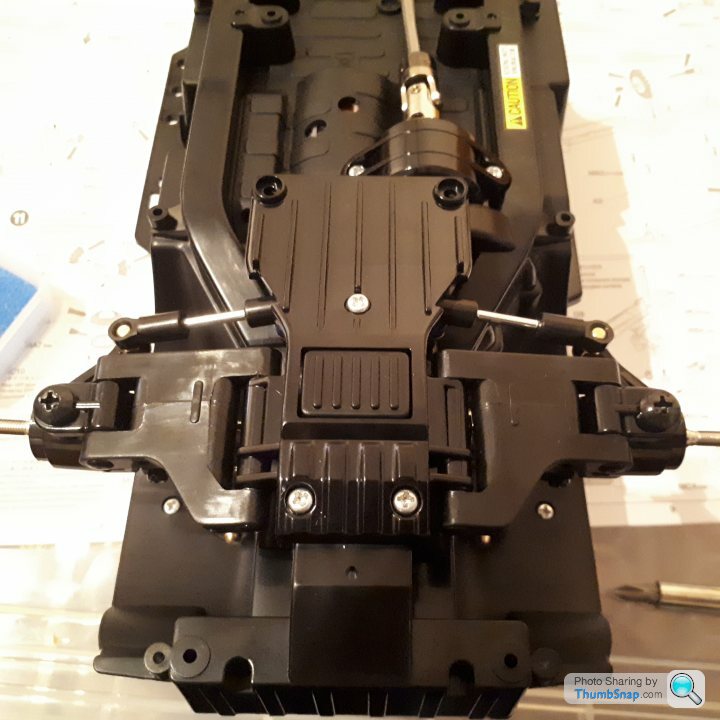
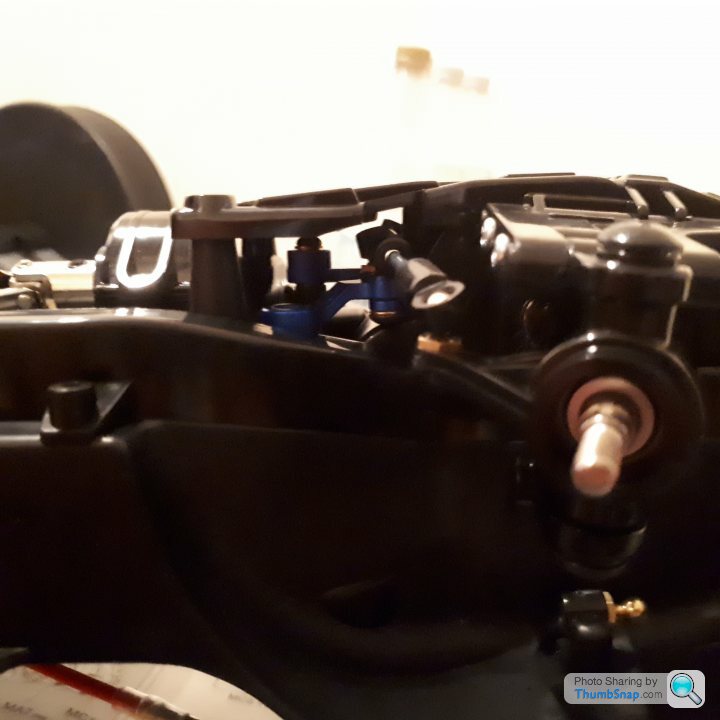
Skid plate, wishbones and front uprights/hubs on this is where I stopped!!
Well I hope it's of interest to some, I'll be doing more on New year's day!!

 |https://thumbsnap.com/vGmtwXgp[/url]
What with a high wok load and family issues I haven't had time to start the project, until today.......
Unboxing.

Front different assembled.

Motor and support.

Transfer diff before assembley with sealed bearings.

With the bearings in.

Front drives in.

All encased.

Part of the uprated steering, it's very well made!!

Skid plate and wishbones during assembly.

Steering control arms mounted.

Skid plate, wishbones and front uprights/hubs on this is where I stopped!!


Well I hope it's of interest to some, I'll be doing more on New year's day!!
dr_gn said:
The Tamiya Unimog was on my Christmas list, but ultimately I couldn’t decide/determine which upgrades to get, particularly in terms of reduction gearbox ratio, suspension, steering, even tyres. It seems like the chassis is good, but quite compromised.
I have to be honest it won't be used outside much!! For that i have a desert truck, which is really good fun!! As for gearing, a 45T motor is a very good compromise, enough speed but bags of torque, a full bearing set to stop slack/wear and tear and the ally steering upgrade would be plenty to make it usable! sutts said:
Looking good. Please keep us updated on today’s progress! Are these kits purely ‘crawlers’ or are they geared out of the box to go similar speeds to other Tamiya trucks/buggies?
Thanks for the interest, they run the standard 510 motor and are geared the same as the other models sharing the CC01 chassis, I knew I wanted it to be, slower sounds wrong, but I wanted it more in keeping with the style of vehicle so it was recommended that I use a 45T motor for more torque and a slight speed reduction.And today's efforts went rather well!!! Firstly the rear diff which i left open as i won't be using it on lose surfaces.
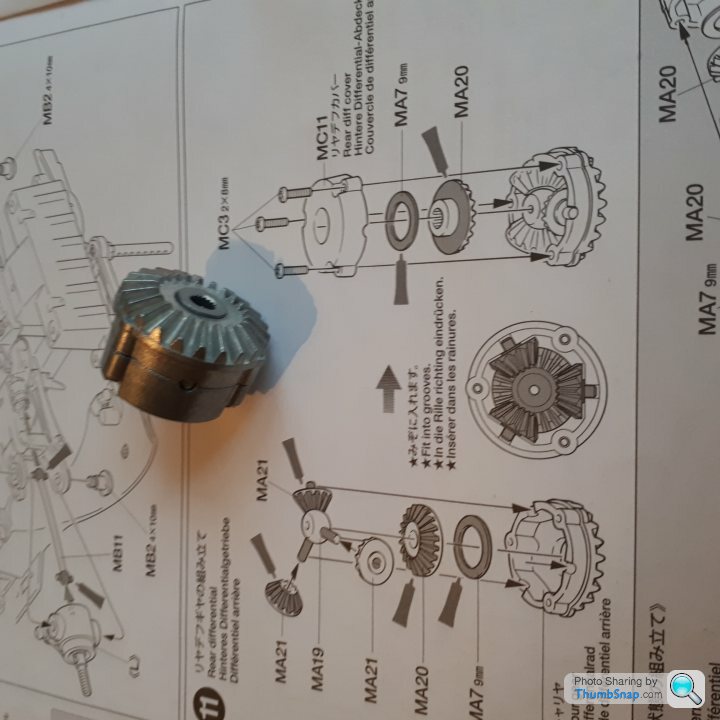
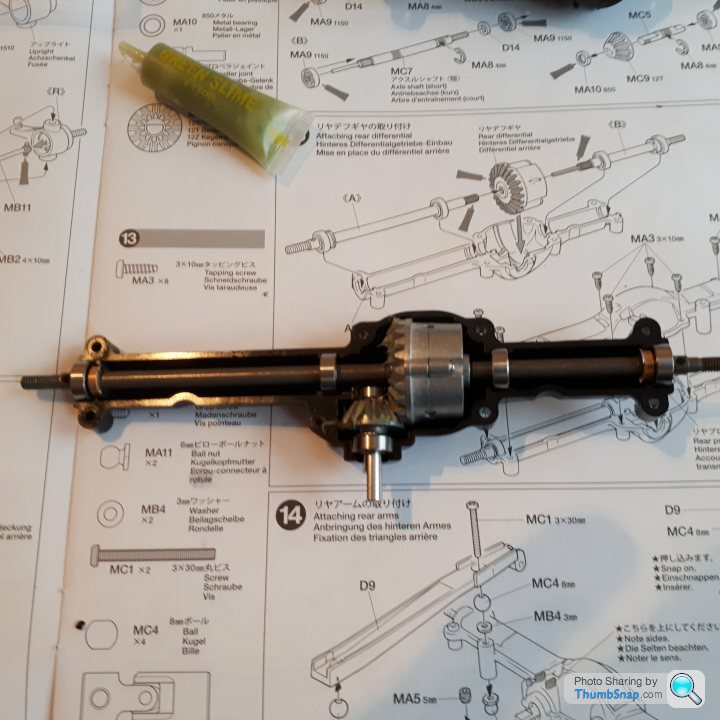
Rear axle with the sealed bearings ready to be assembled.

And all together and installed in the chassis.
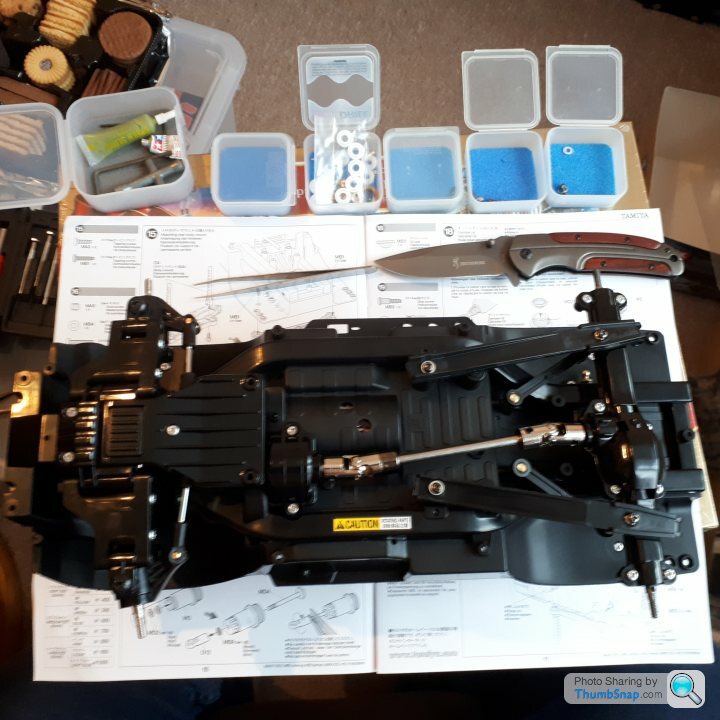
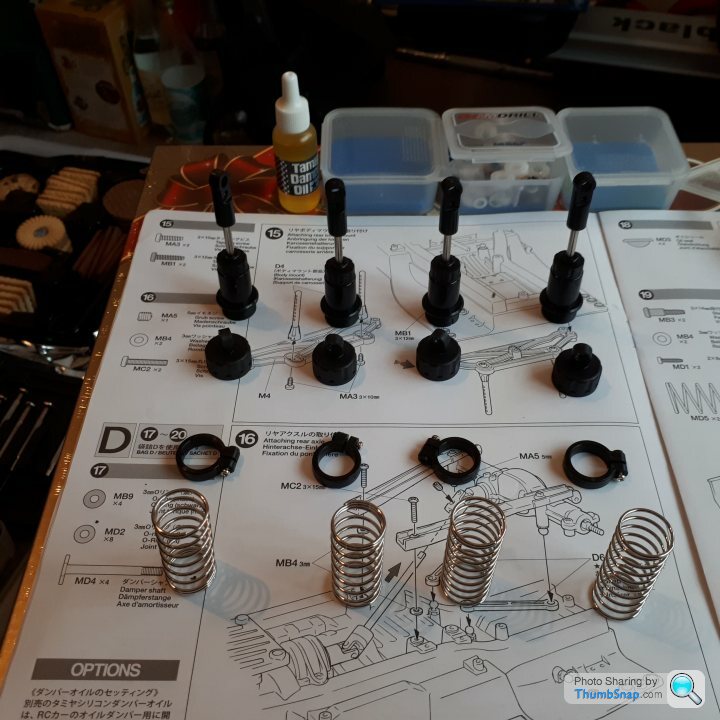
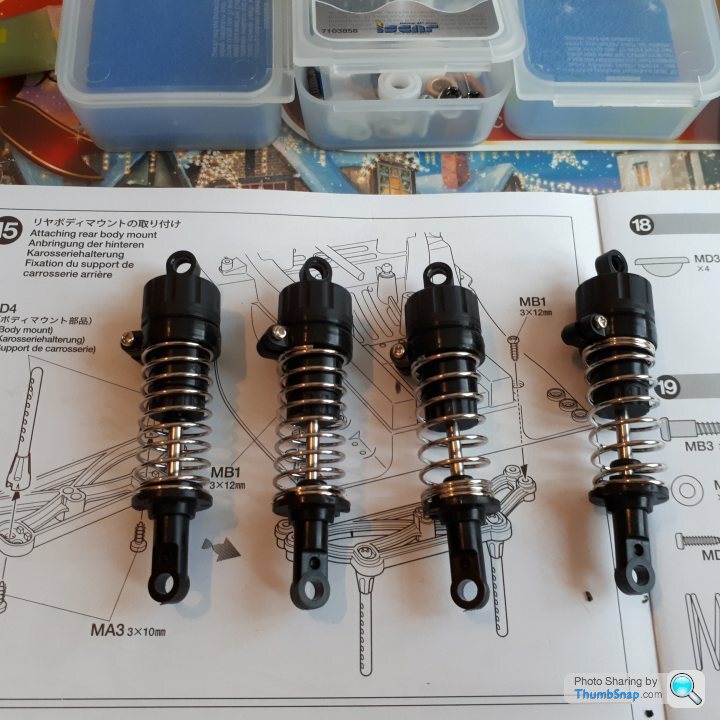
Shock absorber bodies all ready for assembley and all made up ready for fitting.
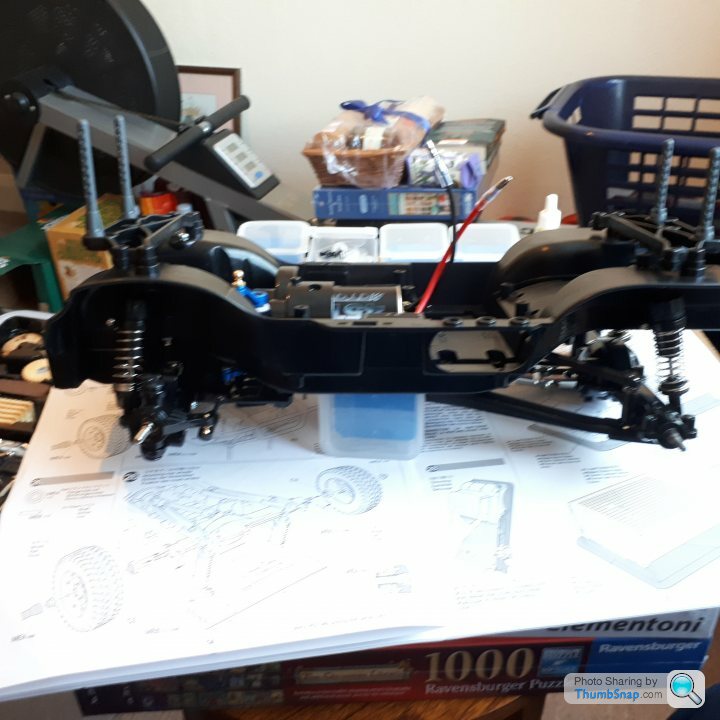
All on and ready for wheels.
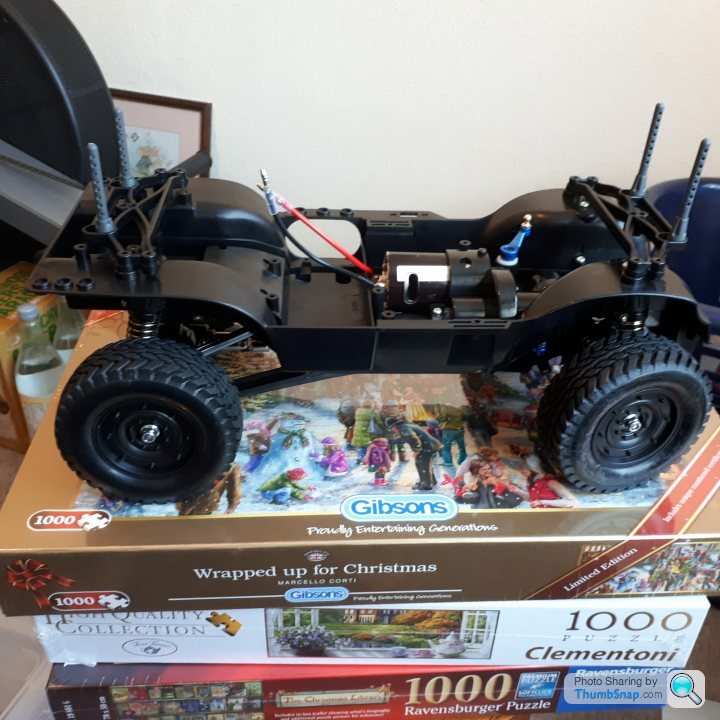
So it would be rude not to oblige and sit it on it's wheels!!

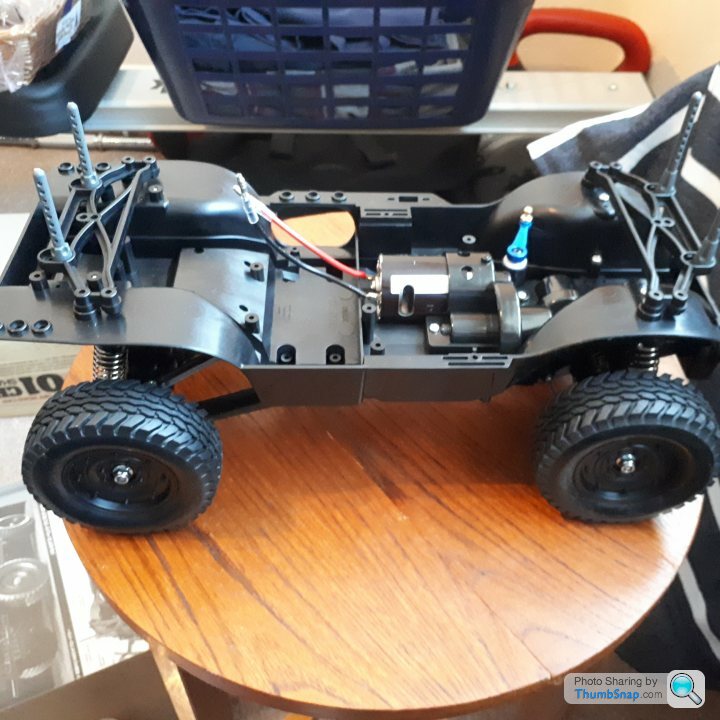
In the next thrilling instalment I shall breathe life into it bbwwwaaaah hahahaha!!!! Sorry got a bit carried away!! Next up will be the electronic bits! Thanks for reading!!

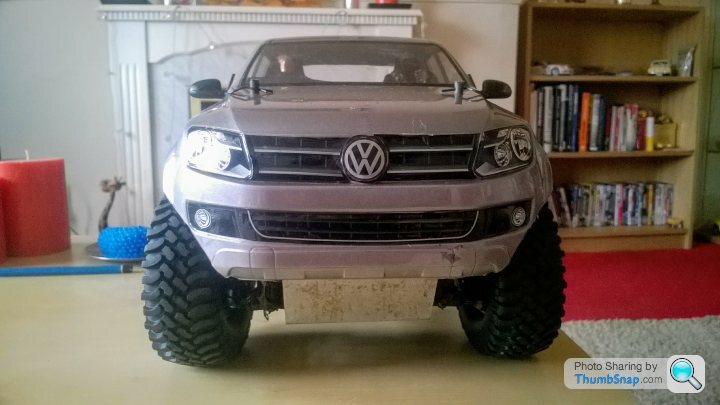
Good choice, I have the VW Amarok kit. I've recently been giving it a spruce up after a couple of years of abuse. They're fairly tough little things, don't think I've broken anything yet.
The best upgrades I have found have been decent tyres, the steering kit you have, rear 4 link suspension kit and to remove the 'brick' on the front of the chassis.
Good luck keeping it indoors
 .
.
The best upgrades I have found have been decent tyres, the steering kit you have, rear 4 link suspension kit and to remove the 'brick' on the front of the chassis.
Good luck keeping it indoors

 .
.Lugy said:
Good choice, I have the VW Amarok kit. I've recently been giving it a spruce up after a couple of years of abuse. They're fairly tough little things, don't think I've broken anything yet.
The best upgrades I have found have been decent tyres, the steering kit you have, rear 4 link suspension kit and to remove the 'brick' on the front of the chassis.
Good luck keeping it indoors
 .
.
Well i have a 1/10th scale desert truck for hooning around outdoors and a 1/24th crawler for having fun indoors, i think this will be a bit of a shelf queen!! What's the "brick" then? Sounds like it's something i need to look at!The best upgrades I have found have been decent tyres, the steering kit you have, rear 4 link suspension kit and to remove the 'brick' on the front of the chassis.
Good luck keeping it indoors

 .
.AWG said:
I would absolutely love a project like this over Christmas! How many parts are included?
Everything you need to build it is included, apart from paint, a controller/receiver, steering servo and battery/charger. If you want to just build it as a static model then everything bar the paint is in the box, all you'll need is a small tool kit!! I opted to buy some upgrades to build into it and will probably do more as I progress, I have plans to do a second body but quite highly modified!!Evening all latest update on the progress of the Unimog, all electronics are done, bit of a faf getting it to pair and work but got there in the end!
Where we were so far.
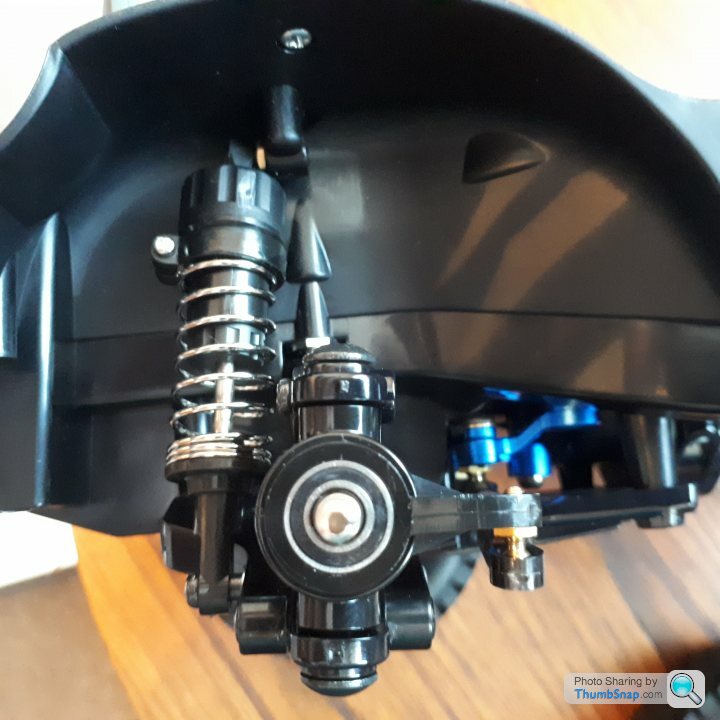
Bonus shot of the front hub with the sealed bearings installed.
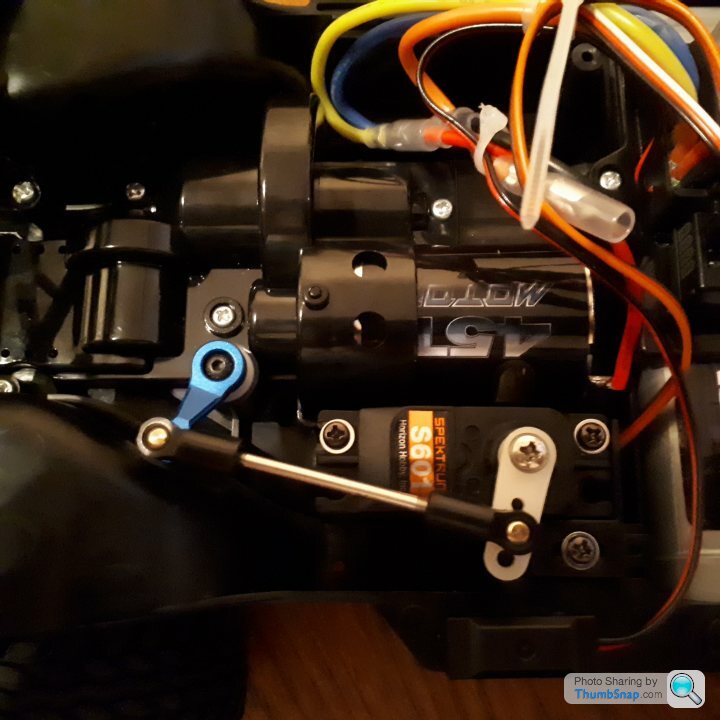
The steering servo and yoke finished.
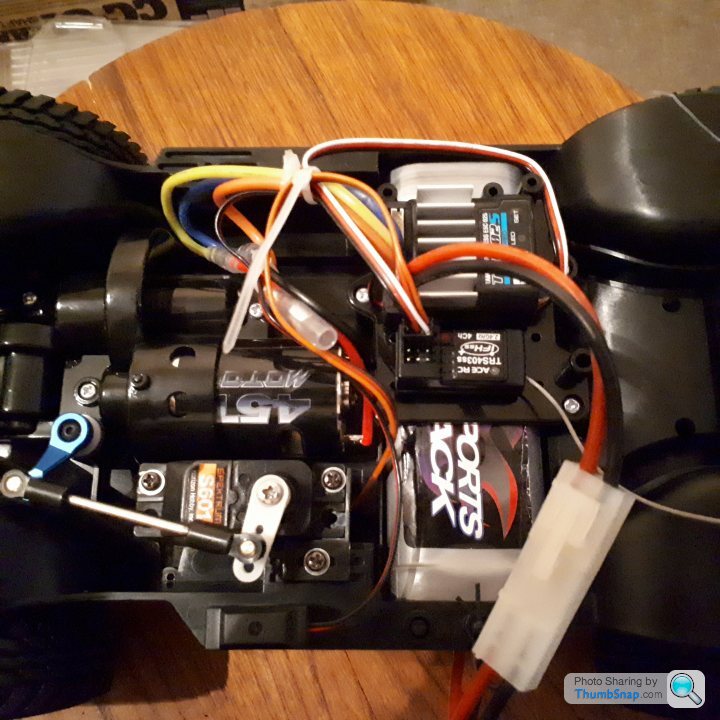
Bit of a spaghetti junction but everything in, routed and done!
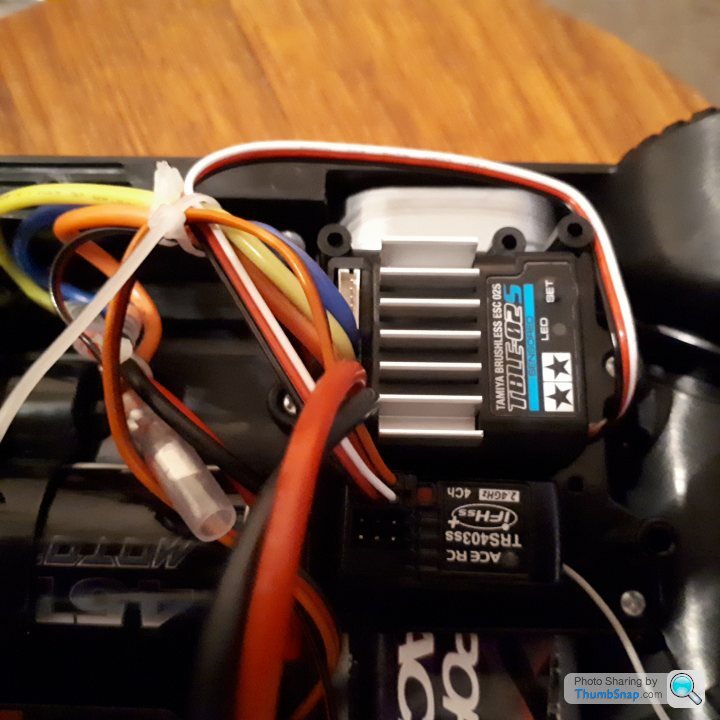
Close up of the ESC and receiver, I have a third channel on my controller and I'm hoping I can use it for the lights, not sure how I'll have to do some research!!
Where we were so far.

Bonus shot of the front hub with the sealed bearings installed.

The steering servo and yoke finished.

Bit of a spaghetti junction but everything in, routed and done!

Close up of the ESC and receiver, I have a third channel on my controller and I'm hoping I can use it for the lights, not sure how I'll have to do some research!!

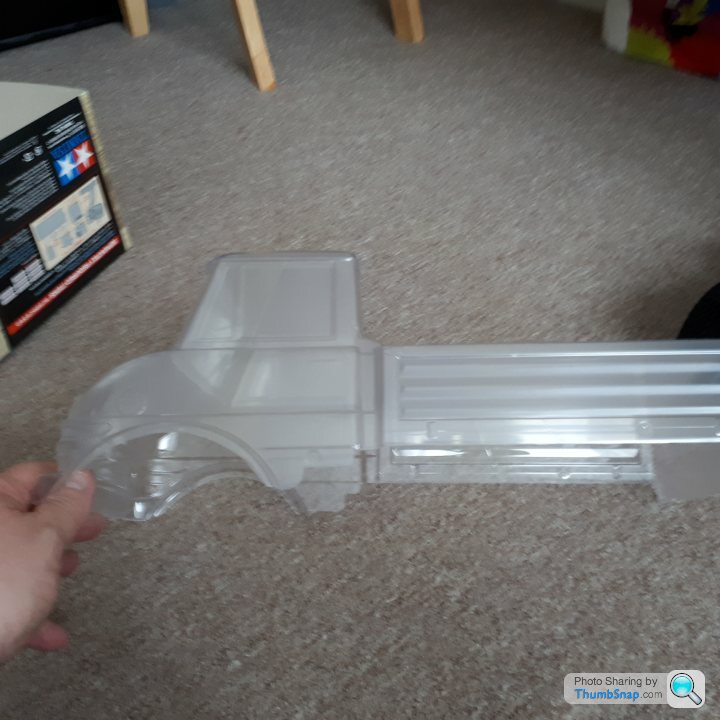
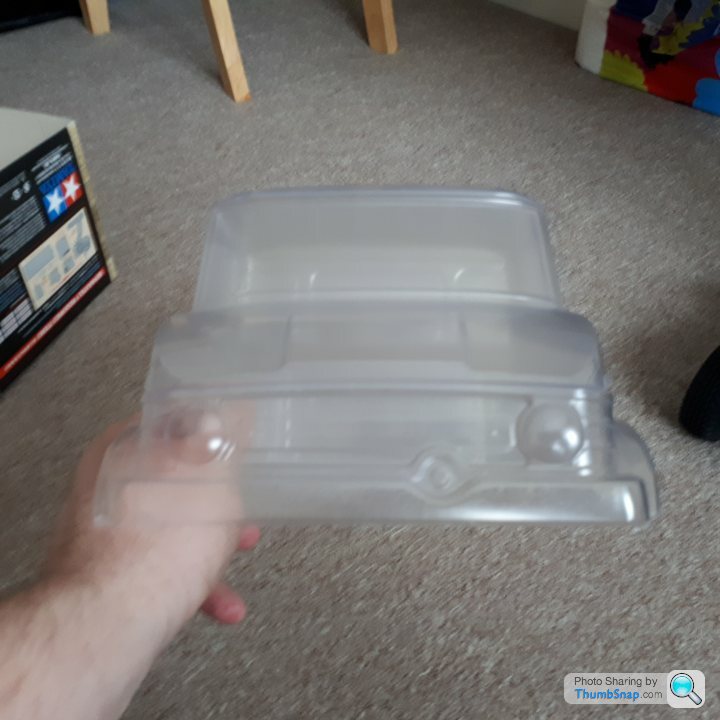
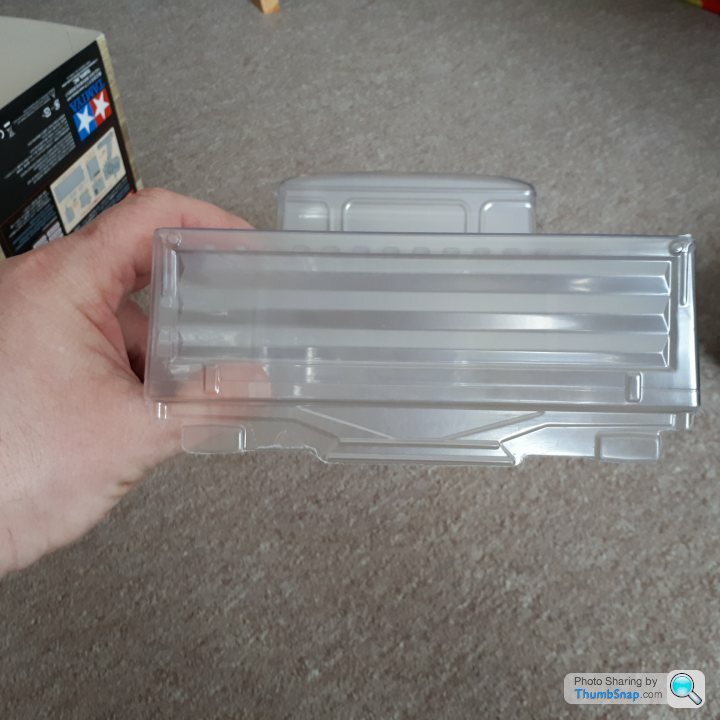
Well I finally got around to finishing the Unimog, the body was painted a while back, chose a dark metallic blue and gloss black.

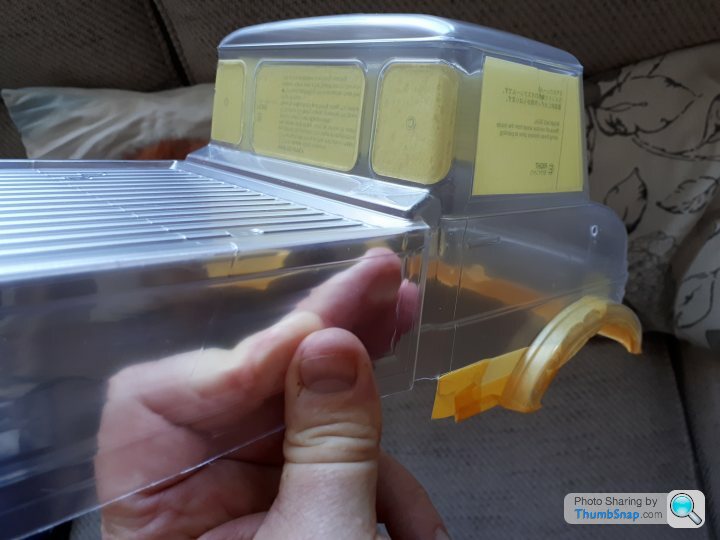
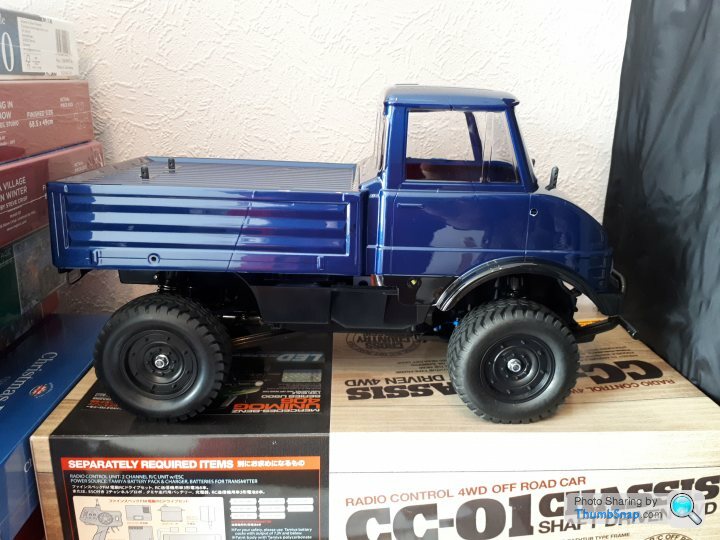
And today I finished it off, mirrors, lights and controller, grille, stickers, and side mouldings trimmed and fitted,

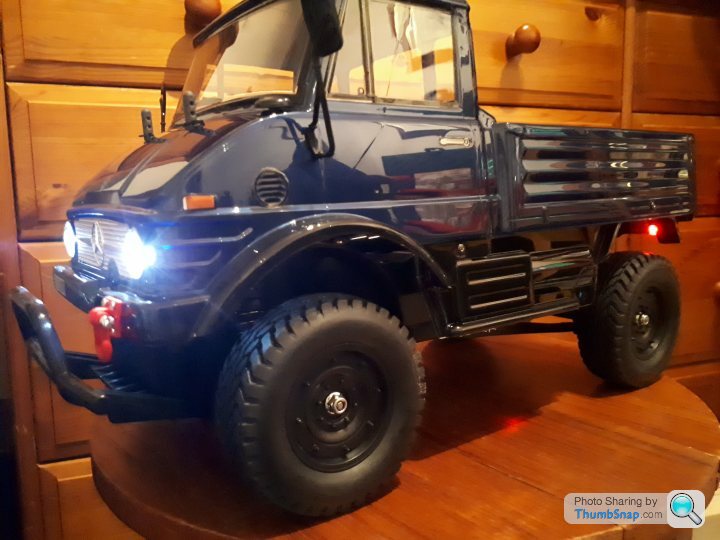
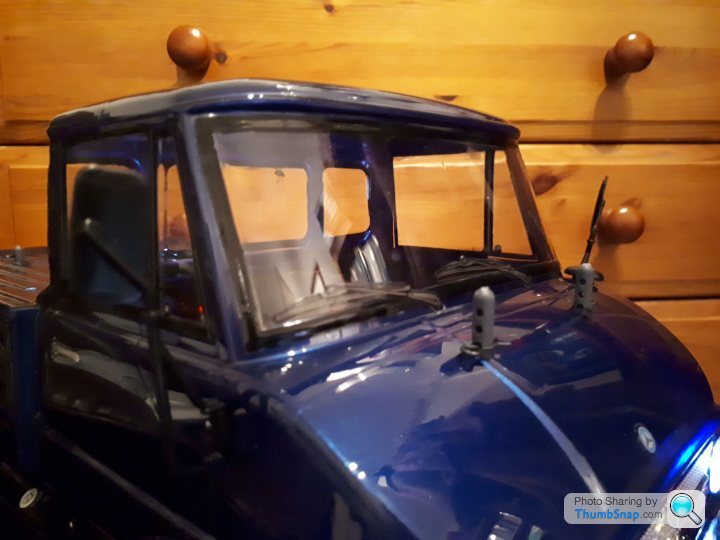
Overall very pleased, trimming the body and side mouldings was hard work, stickers easier than I was expecting, won't be doing another one for a while as this years toys are a couple of Lego Technics sets!! Thanks for reading!!


And today I finished it off, mirrors, lights and controller, grille, stickers, and side mouldings trimmed and fitted,


Overall very pleased, trimming the body and side mouldings was hard work, stickers easier than I was expecting, won't be doing another one for a while as this years toys are a couple of Lego Technics sets!! Thanks for reading!!
Thanks soad, I kind of lost interest over the summer until Mrs Bobbers asked what I going to get to keep me occupied this Christmas, I did think about another R/C car, Alpha Romeo, but then I'd have four R/C models, so I went looking at Lego Technics sets and bought a couple, she then told me I couldn't start them till the Unimog was finished!!! 

soad said:
Good stuff, nicely done!!
I wouldn't have the patience needed.
You should read this thread if you think thats tricky....I wouldn't have the patience needed.
https://www.pistonheads.com/gassing/topic.asp?h=0&...
Gassing Station | Scale Models | Top of Page | What's New | My Stuff


