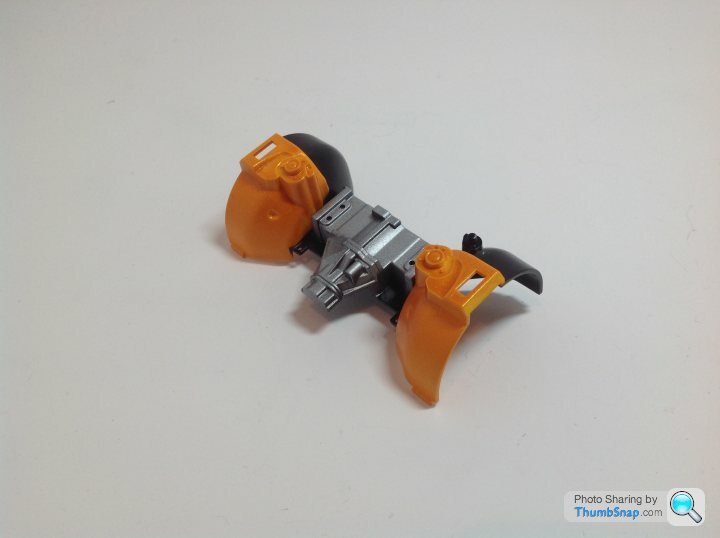
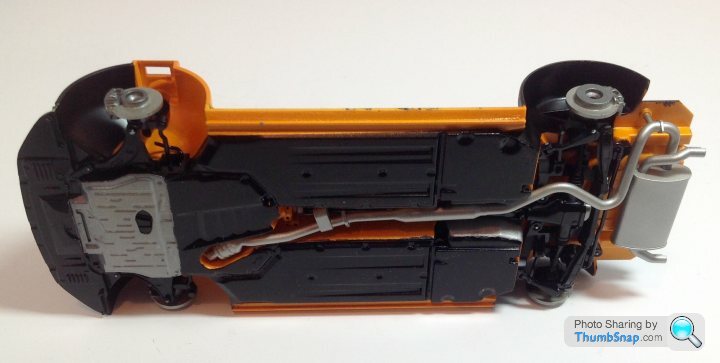
Tamiya GT86 1/24 scale
Discussion
After the struggle with the F40. I tried another older kit. The 930 turbo. I didn't bother with a build thread as it only had a handful of parts and only took a day to build. (I was off work with man flu) it didn't come out too well. A lot of the masking didn't work for some reason. I know I rushed it and it's my fault, but a real step backwards.
Here's a couple of pictures.
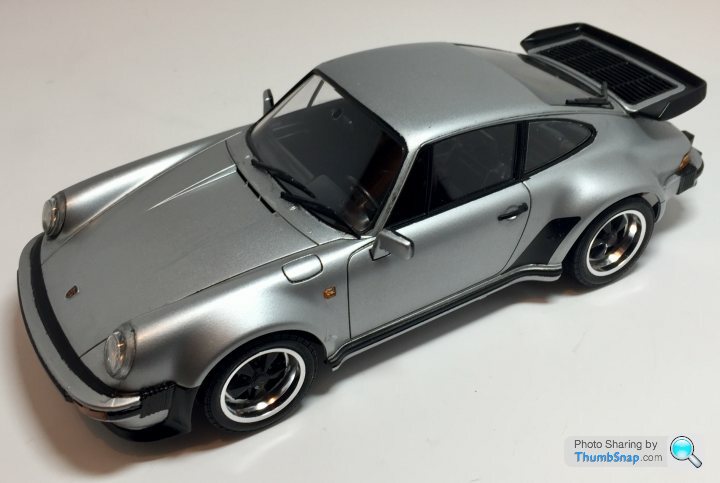
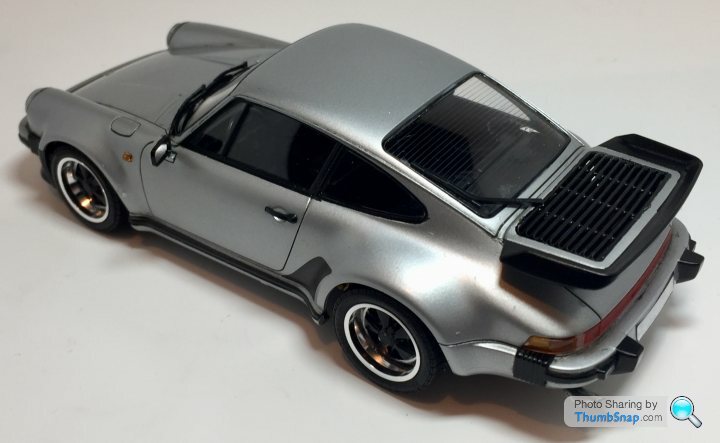
It looks ok from a distance, but not my best work.
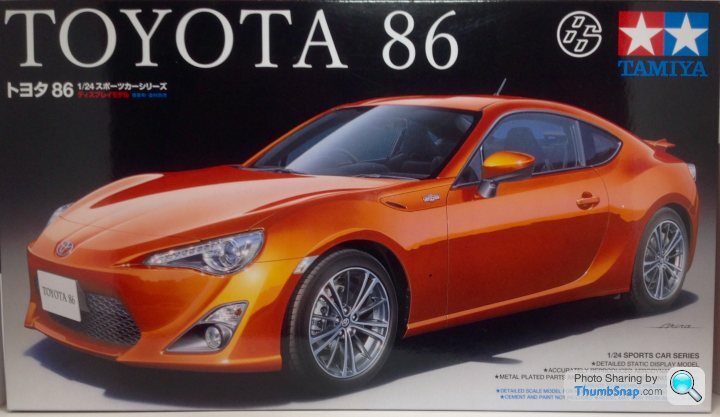
Next up (in case you were thinking I mis named the thread) is Tamiyas recent GT86 kit.
Unusually for a new Tamiya kit it has an opening bonnet and fully detailed engine.
There's a lot of sprues in the box.
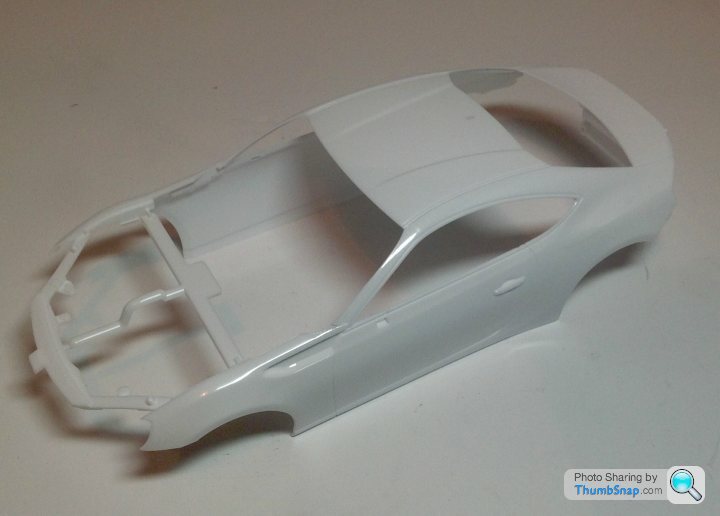
Starting off with the body. As mentioned there is a separate bonnet, but also the bumpers and side vent panels are separate pieces. That makes it all the more strange that the door handles are moulded with the body. A bit of panel lining should make it look ok though.
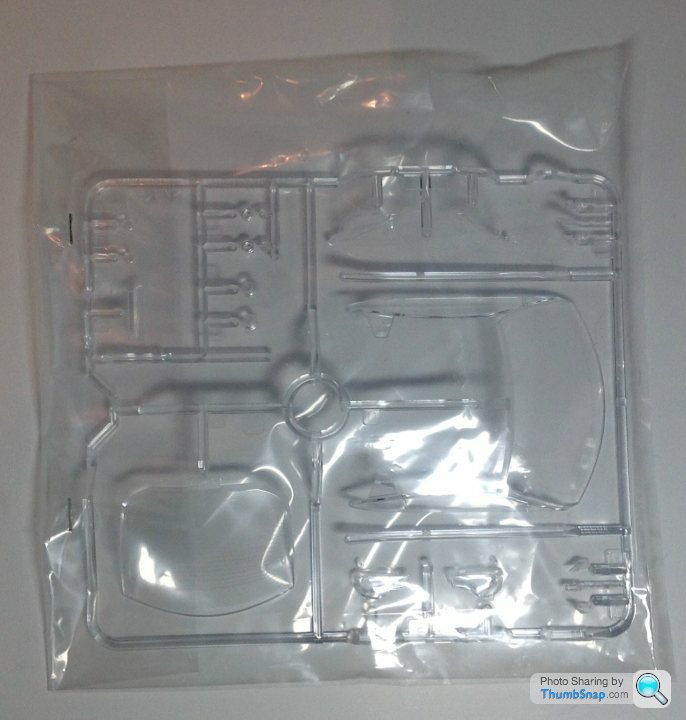
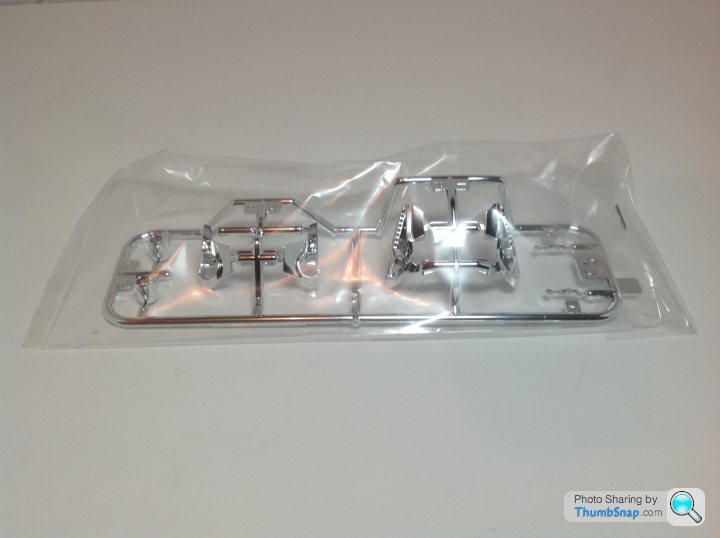
Next up some pictures of the various sprues. Not going to add too much, but the quality is good as you would expect. I'm not sure how I am going to tackle the wheels yet. I'm thinking I might strip the plating, paint them gunmetal and add the chrome with a marker. I've done this before and it looks pretty good. As always I'm open to suggestions.
[url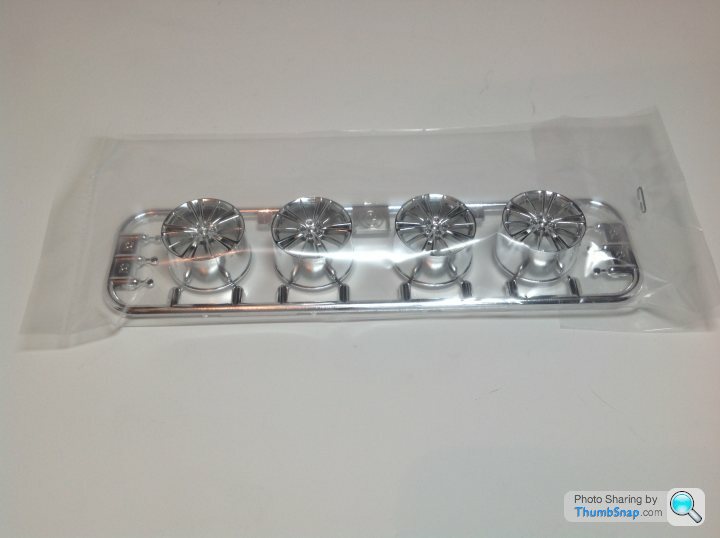 |https://thumbsnap.com/3aBGhYWU[/url]
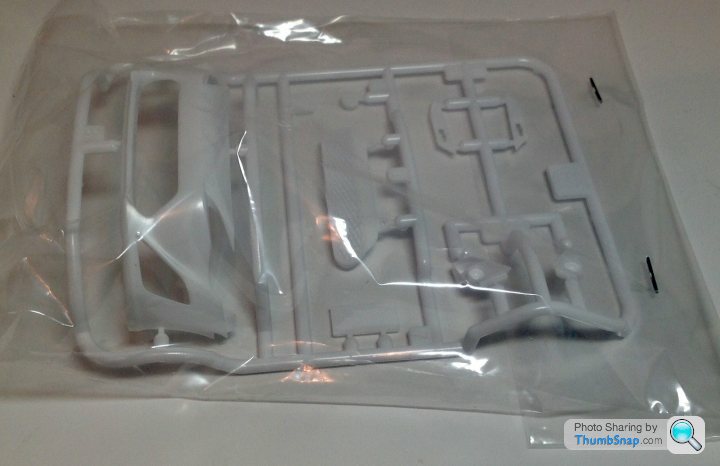
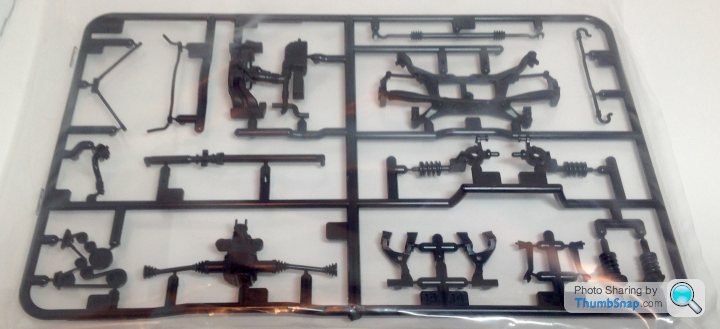
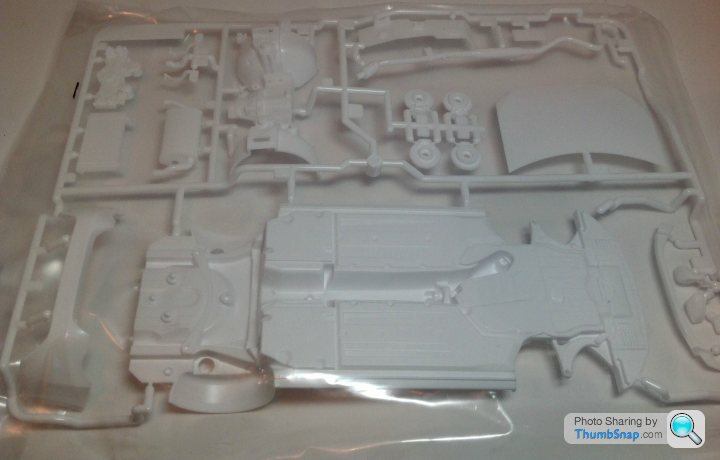
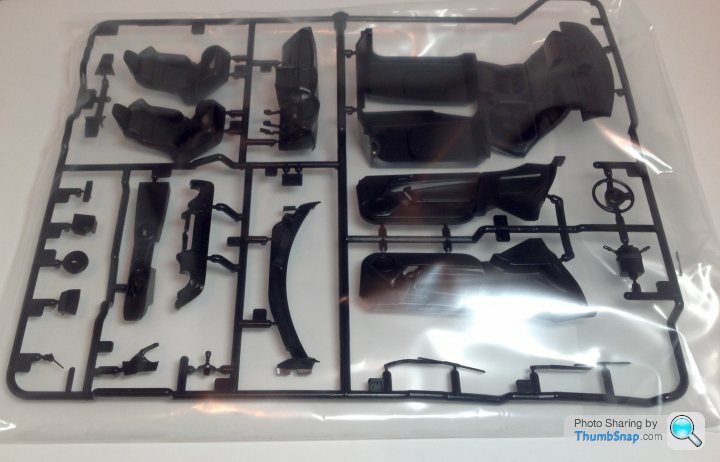
As normal for modern Tamiya kits they provide masks for the windscreens, but oddly not the side windows...
Progress on this might be slower than normal. I will try for daily update (providing progress is made daily)
Here's a couple of pictures.


It looks ok from a distance, but not my best work.
Next up (in case you were thinking I mis named the thread) is Tamiyas recent GT86 kit.
Unusually for a new Tamiya kit it has an opening bonnet and fully detailed engine.
There's a lot of sprues in the box.

Starting off with the body. As mentioned there is a separate bonnet, but also the bumpers and side vent panels are separate pieces. That makes it all the more strange that the door handles are moulded with the body. A bit of panel lining should make it look ok though.

Next up some pictures of the various sprues. Not going to add too much, but the quality is good as you would expect. I'm not sure how I am going to tackle the wheels yet. I'm thinking I might strip the plating, paint them gunmetal and add the chrome with a marker. I've done this before and it looks pretty good. As always I'm open to suggestions.


[url
 |https://thumbsnap.com/3aBGhYWU[/url]


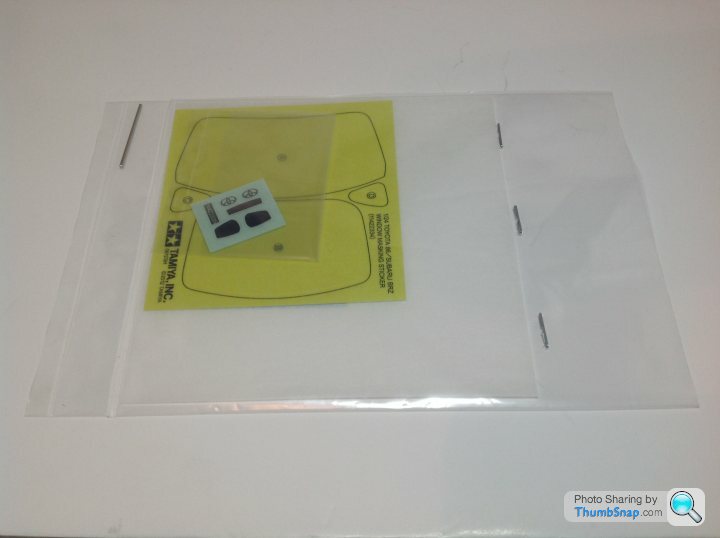
As normal for modern Tamiya kits they provide masks for the windscreens, but oddly not the side windows...

Progress on this might be slower than normal. I will try for daily update (providing progress is made daily)
robemcdonald said:
I think that looks excellent!Is it a Tamiya kit? (forgive my ignorance!)
It has really captured the shape of the 911 - better than the current Revell model which is very out of proportion.
Would this kit be suitable for a cack-handed amateur like me? (I don't need complicated interior detail - when finished the car will be sitting on a shelf with my other (repainted and restored) old 911 diecasts and plastic toys).
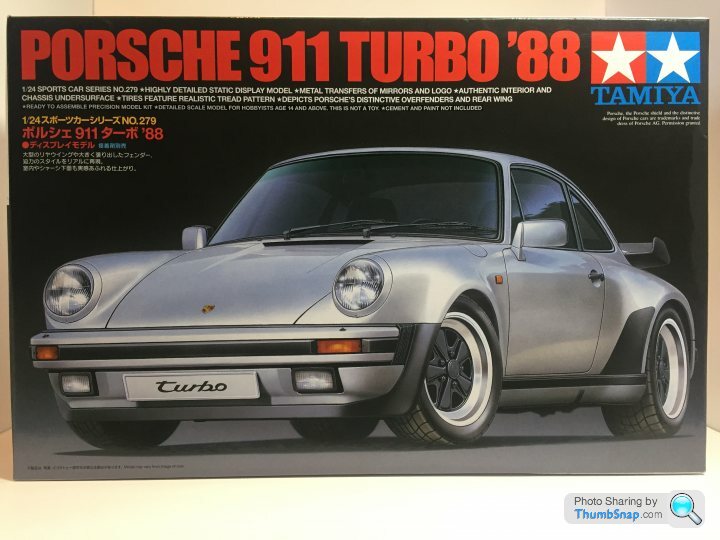
Well a crack handed amateur like me managed it, so you could be OK. It's a very simple kit. To be honest you could easily get away with only painting the body and the lights and it would look fine. Its available at hobbycraft for £25 so easily obtainable.
you could easily build it in a couple of days. The biggest challenge is the masking (that's where I went wrong) I spent ages using masking tape, but think masking fluid would have been quicker, easier and provided a better result.
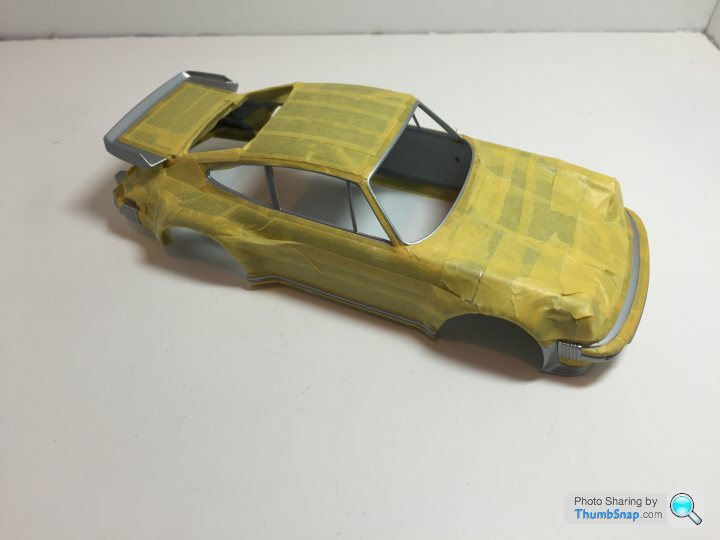
Doing the above was the most time consuming part of the build and didn't yield a great result. I did use masking fluid on the wheels though.
robemcdonald said:
Thank you for that - I shall get one and have a go.
I have often ignored Tamiya - I thought they might be too detailed and complicated for my needs - I remember the old Monogram snap-together stuff from the 1970's....
I bought a Revell 911 and was disappointed because the actual mouldings were a lot less realistic than the artwork on the box lid (I gave it to a charity shop instead of building it...)
I have found this website, which has reviews/builds of kits and is useful for someone like me who is not sure what to expect inside the box!
http://web.ipmsusa3.org/reviews/automotive/kits
Without wanting to derail my own thread too much. This is what you get in the box
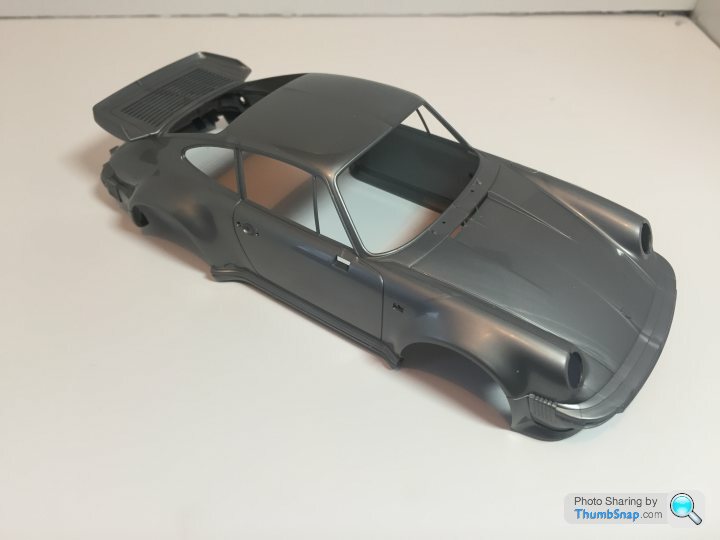
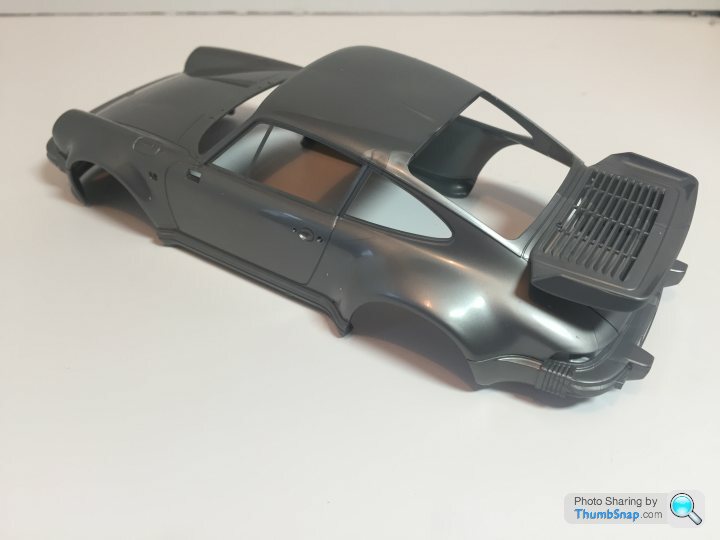
A nicely detailed body with all the bumpers etc attached. Some work is required to remove moulding lines.

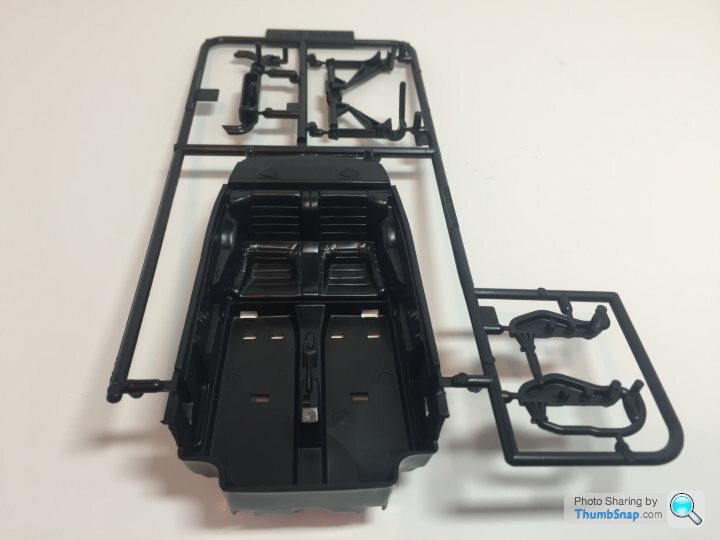
Two black sprues with all the interior, engine and suspension parts.
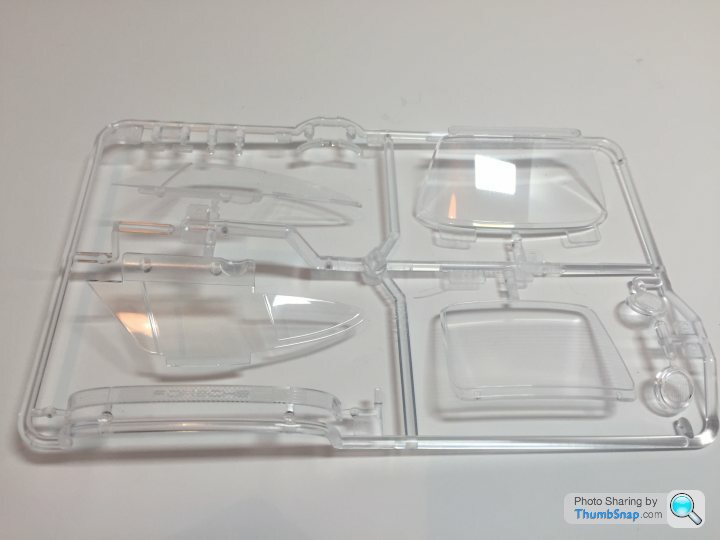
One clear sprue with the glass and lights.
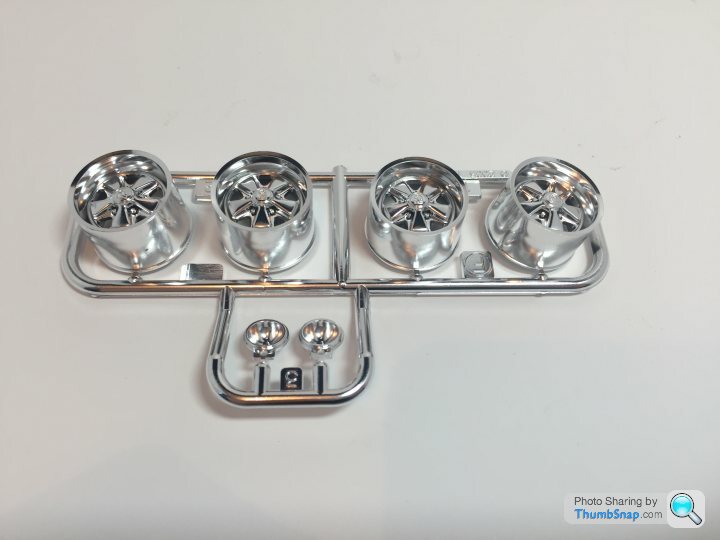
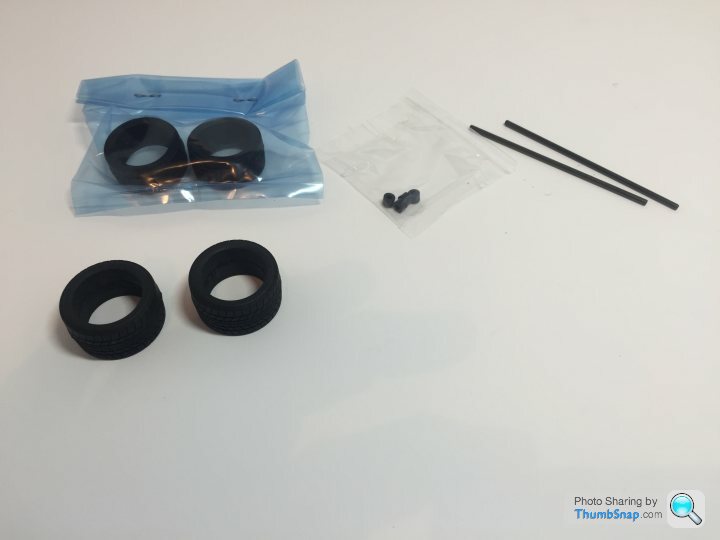
Wheels and tyres
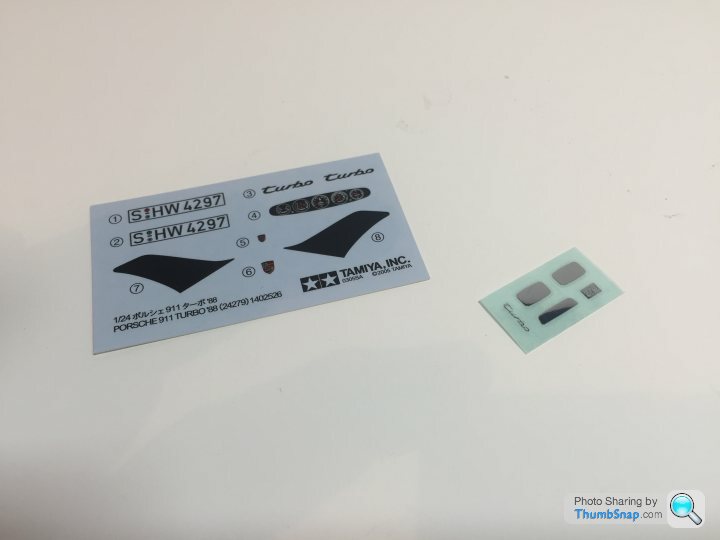
And last but not least the decals.
It's must be fewer than 50 parts in total. A lot of the parts do just snap together without requiring any cement.


A nicely detailed body with all the bumpers etc attached. Some work is required to remove moulding lines.


Two black sprues with all the interior, engine and suspension parts.

One clear sprue with the glass and lights.


Wheels and tyres

And last but not least the decals.
It's must be fewer than 50 parts in total. A lot of the parts do just snap together without requiring any cement.
GT86 update!
Well a bit of one.
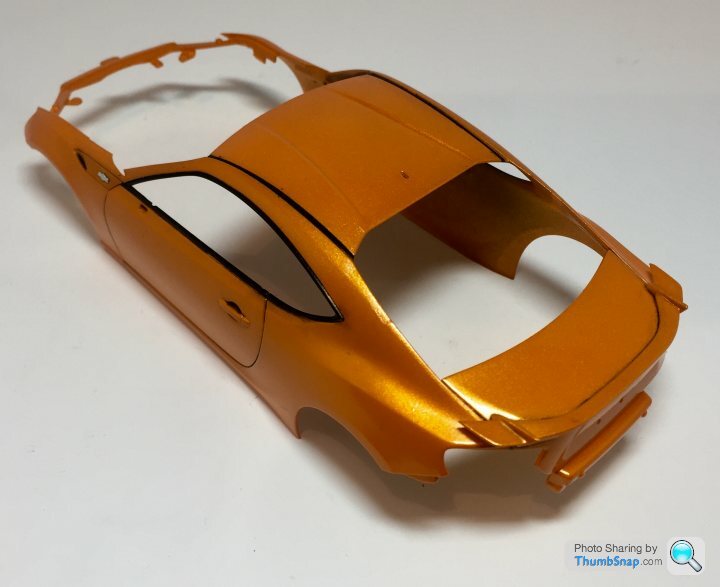
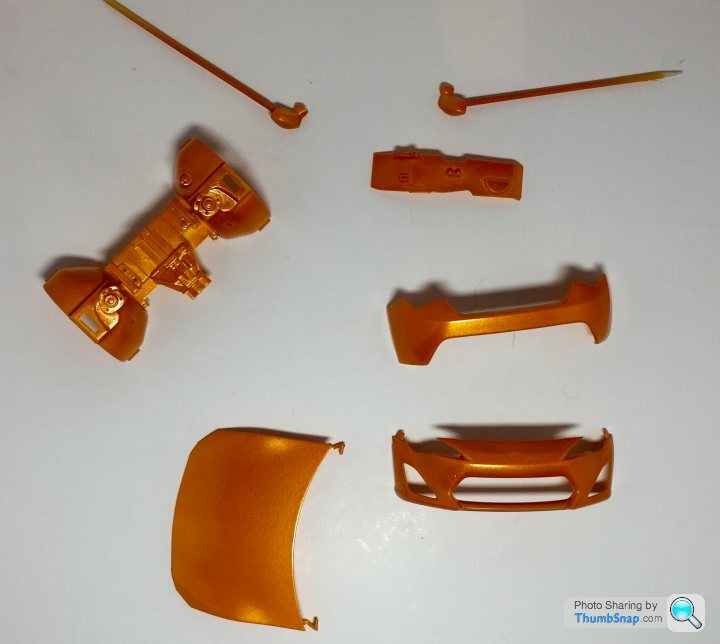
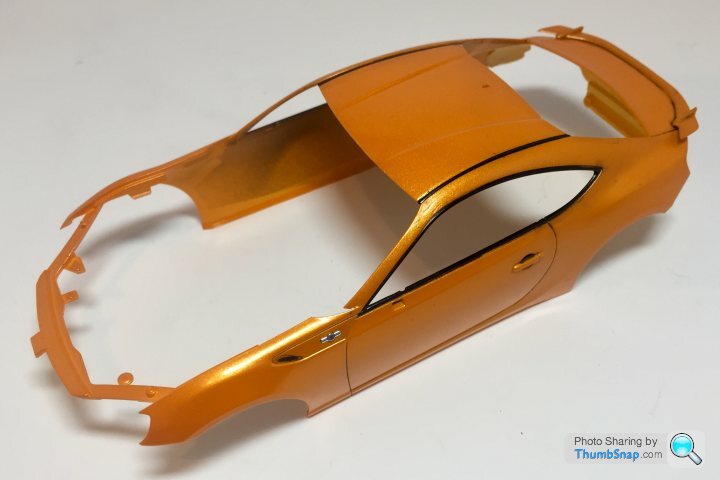
I worked out all the parts that had body colour on and painted them Ford Electric Orange. It's the closest rattle can colour Halfords had. It's maybe a bit too bright, but I don't mind that.
I also added the semi gloss black for the window frames and panel lines on the main body. I also added the tiny panels on the top of the front wings. These are moulded and painted separately as there is an even tinier chrome part that get sandwiched between the two.
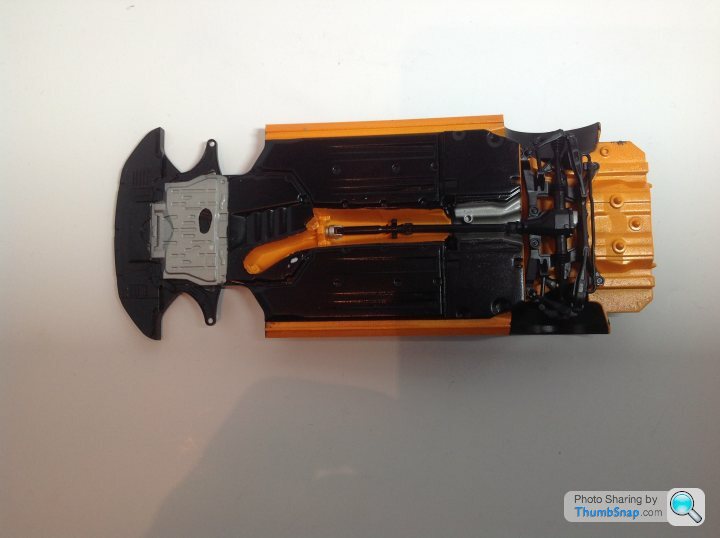
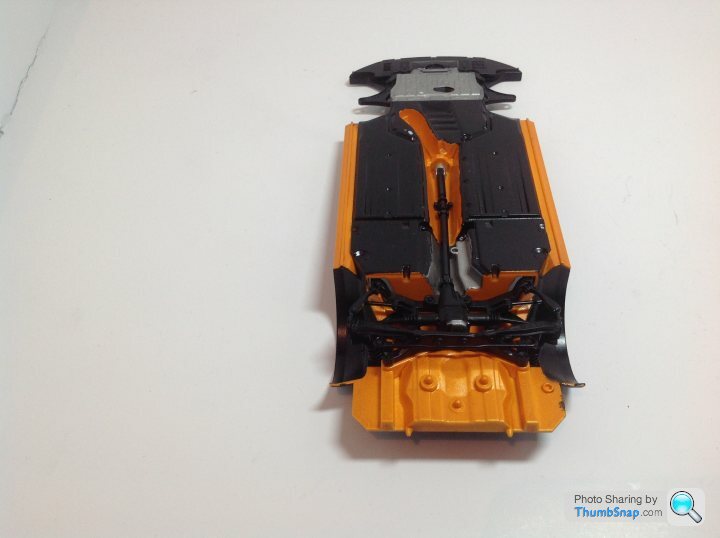
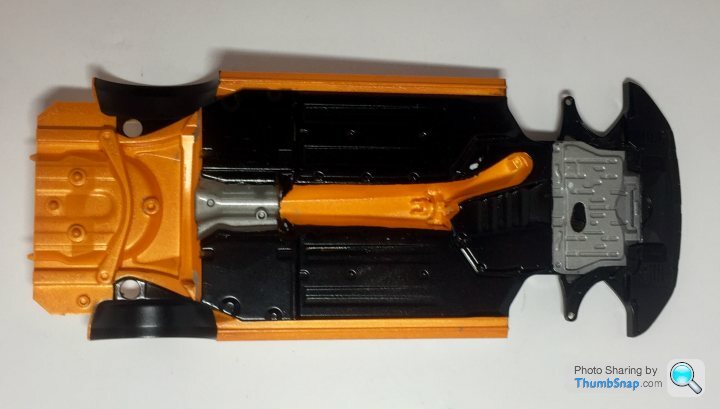
Lastly I masked and painted the floor pan.
For some reason my iPad is refusing to upload photos, so these will follow shortly.
A bit more progress this evening.
First up was adding a little bit more detail to the engine
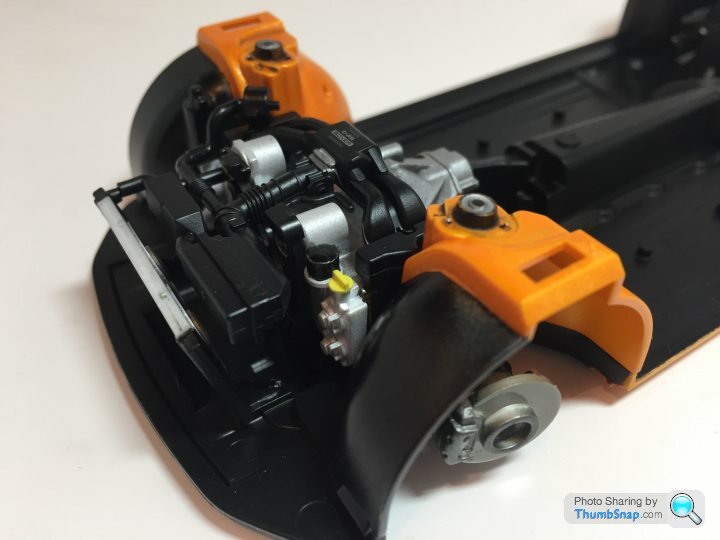
I finished and added the door mirrors. I also painted the glass and trial fitted it to the body.
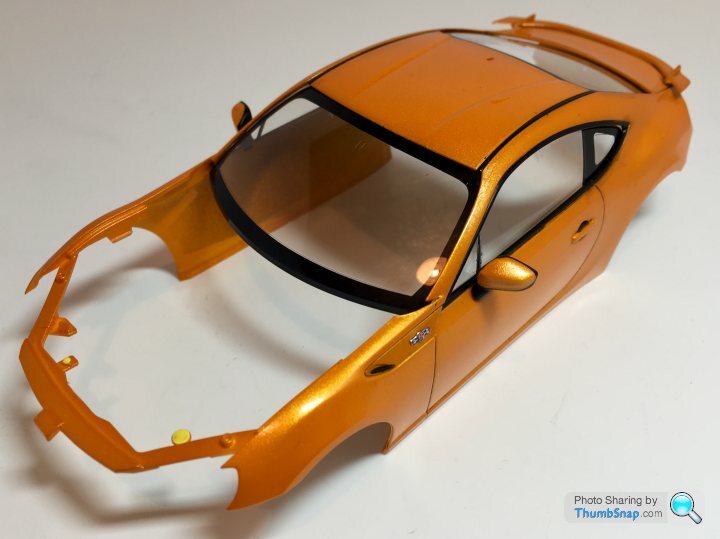
Finally I couldn’t resist a bit of a trial fit of all the body work bits
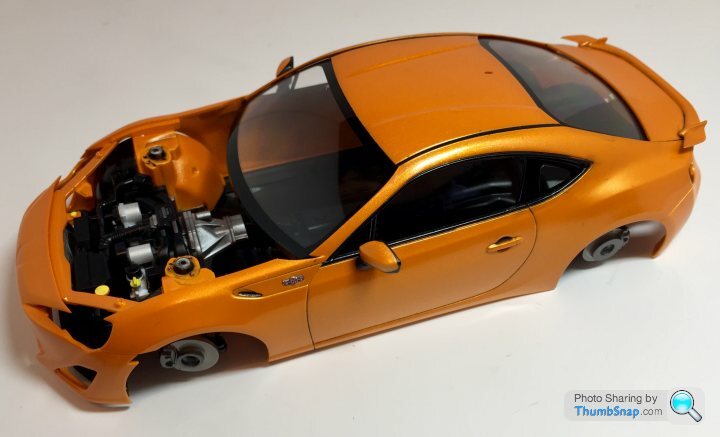
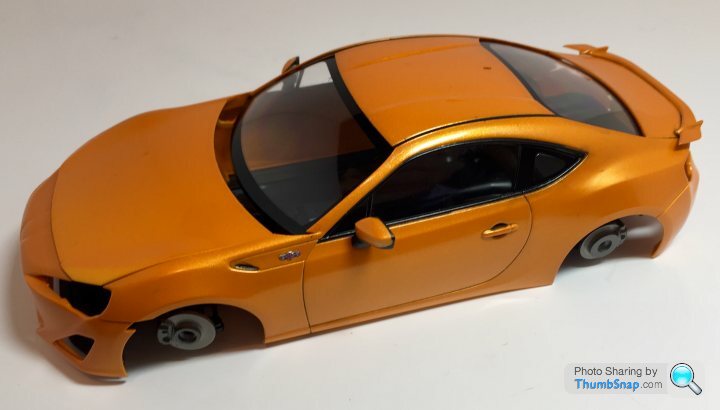
I am going to start the interior over the weekend.
First up was adding a little bit more detail to the engine

I finished and added the door mirrors. I also painted the glass and trial fitted it to the body.

Finally I couldn’t resist a bit of a trial fit of all the body work bits


I am going to start the interior over the weekend.
When I said interior I meant wheels.
This is what they started out like

After a night spent in a bag with some mr muscle
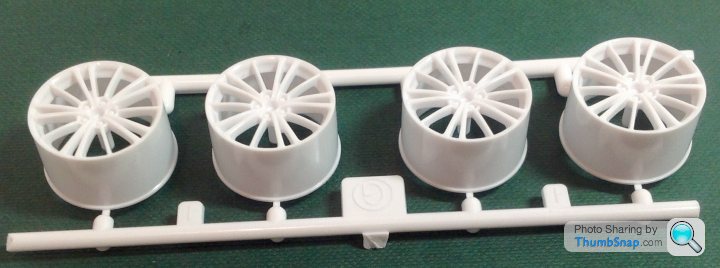
And after a coat of X10 gun metal. Actually the wheel on left most wheel I have re-instated the chrome diamond cut spokes and the wheel nuts on all wheels.
Just need to d three more before finally starting the interior

This is what they started out like

After a night spent in a bag with some mr muscle

And after a coat of X10 gun metal. Actually the wheel on left most wheel I have re-instated the chrome diamond cut spokes and the wheel nuts on all wheels.
Just need to d three more before finally starting the interior

This weekends progress
Glass fitted to the body
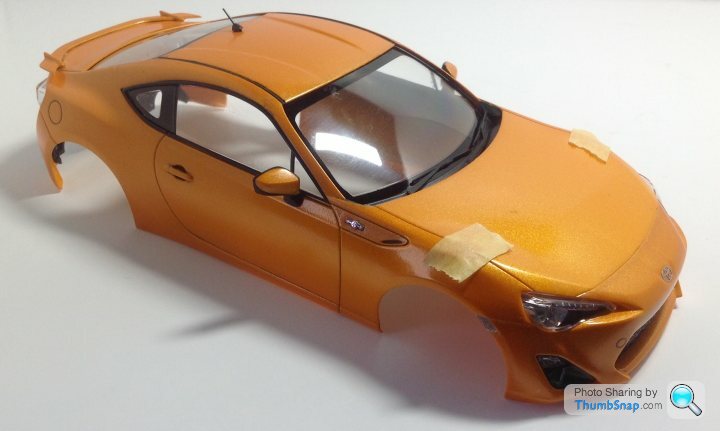
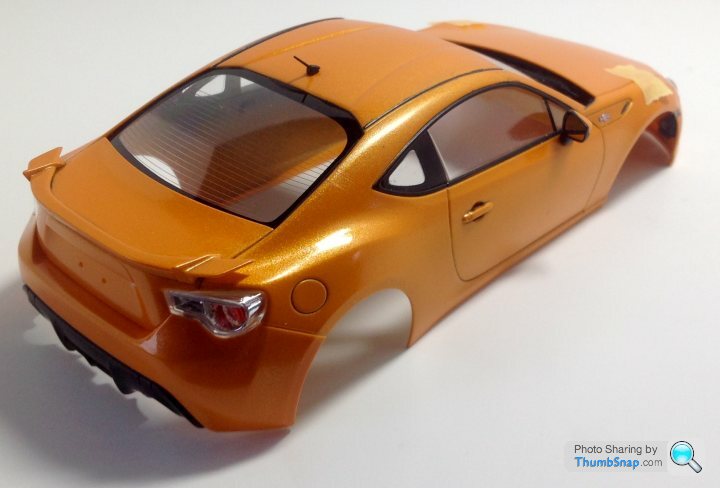
Put the interior together. It all went together pretty quickly.

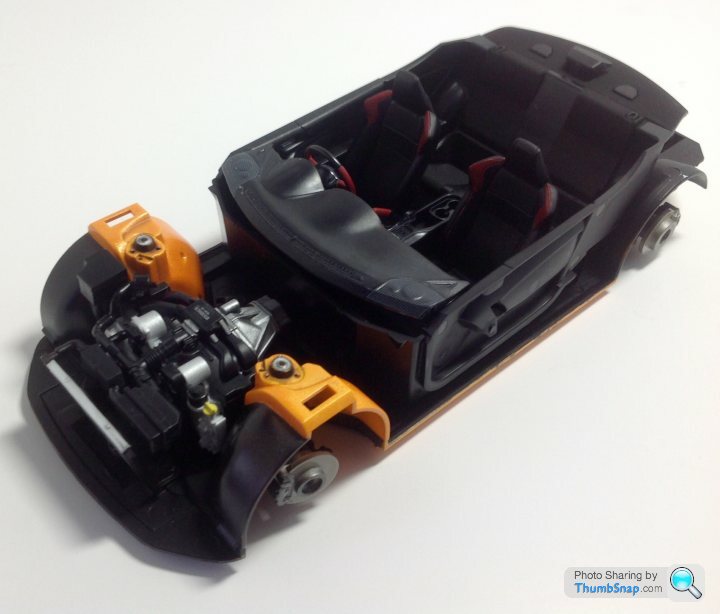
All I had to do was put the two parts together and fit the wheels. It would have been rude not to finish it.
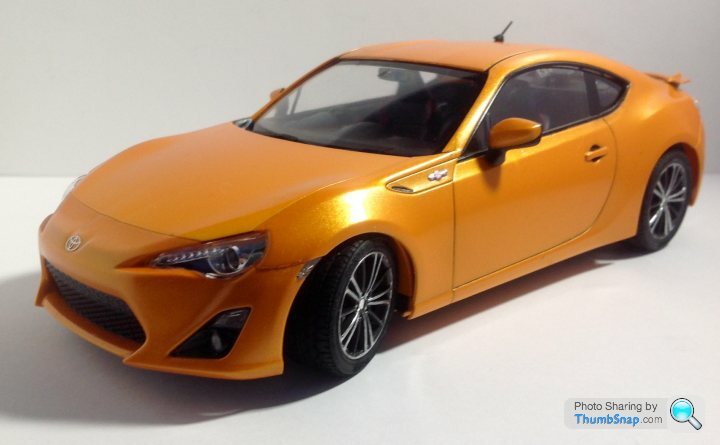

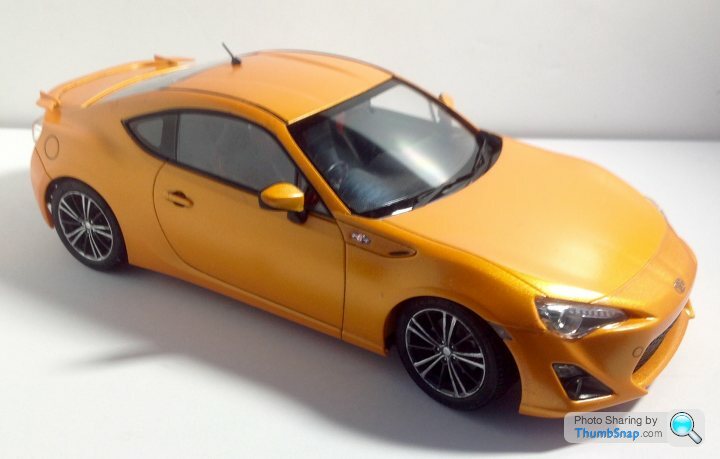
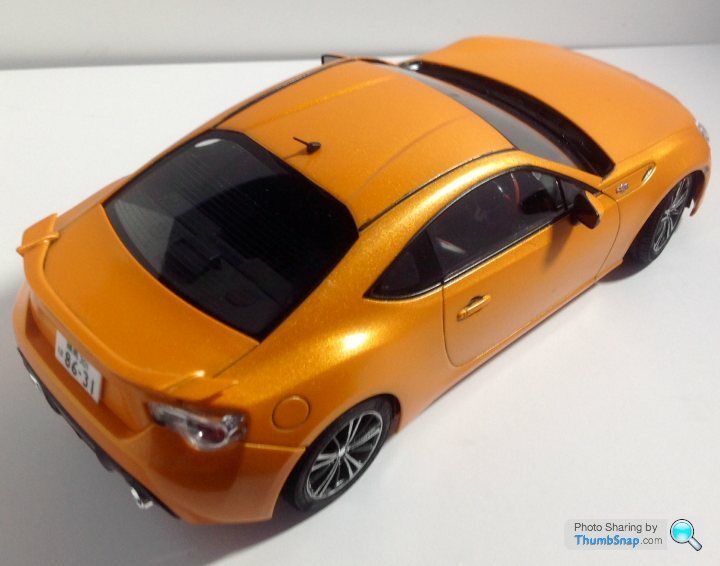
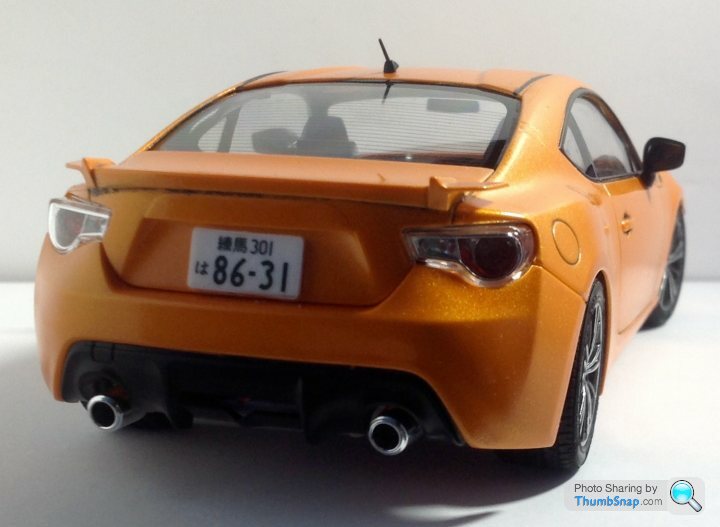
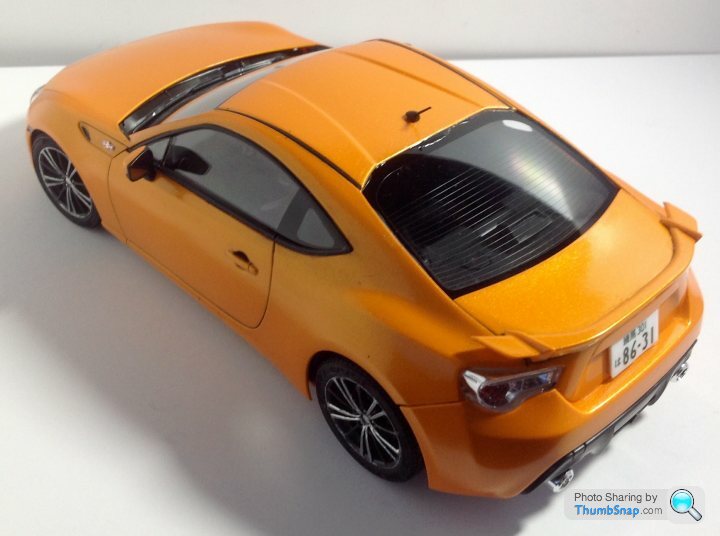
Finally some open bonnet action
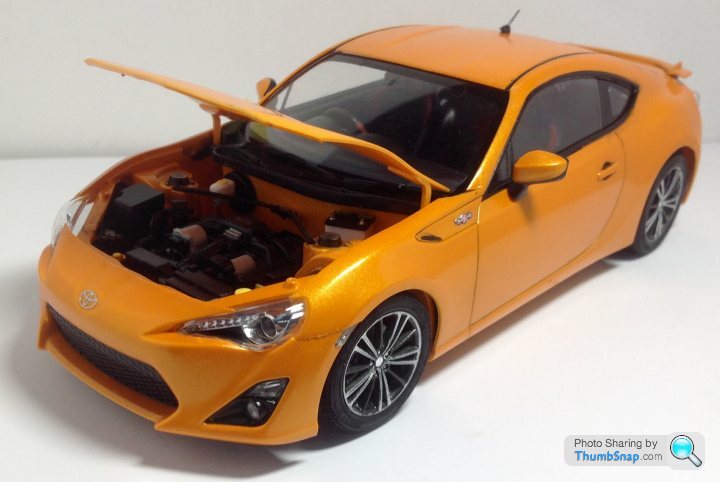
Not a bad kit. It didn't fall together like the mx5 but still an enjoyable build.
Not sure if I might have a break from cars and build a tank again next. I do have a Belkits mk1 escort rally car to build though.....
Glass fitted to the body


Put the interior together. It all went together pretty quickly.


All I had to do was put the two parts together and fit the wheels. It would have been rude not to finish it.


Finally some open bonnet action

Not a bad kit. It didn't fall together like the mx5 but still an enjoyable build.
Not sure if I might have a break from cars and build a tank again next. I do have a Belkits mk1 escort rally car to build though.....
Gassing Station | Scale Models | Top of Page | What's New | My Stuff


 |https://thumbsnap.com/xEtUV2UH[/url