1:250 HMV Steve Irwin
Discussion
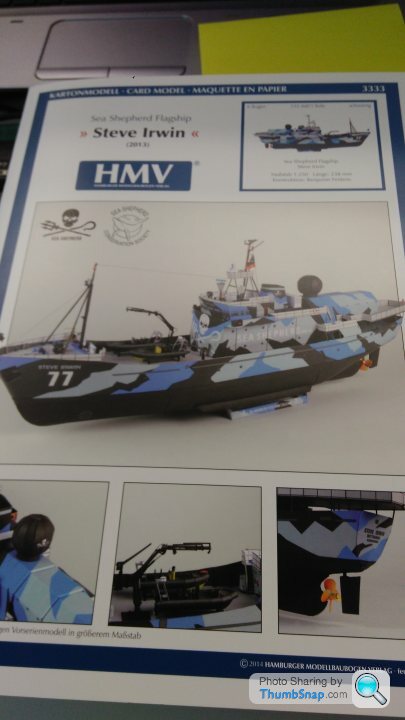
After a protracted issue with the supplier, I've received a new copy of this - the original was trashed by the courier, made worse by a move in offices.
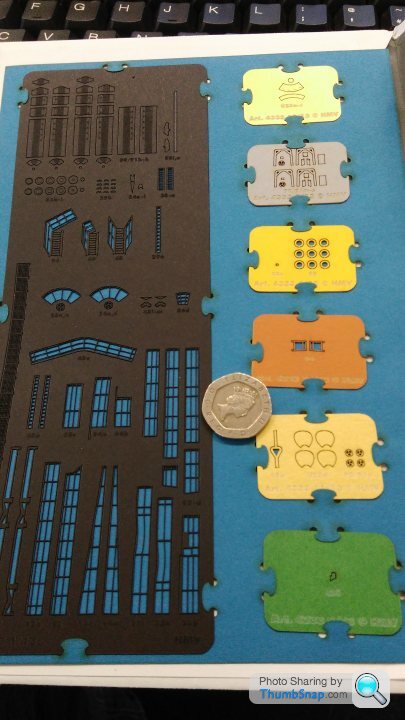
Laser cut details set is on the way too, I'm looking forward to trying that for the first time. Kit is 155-687 parts, depending on how many optional details are added (I'm aiming to do all of them), and the completed model is appx 24cm
If You're not aware of these kits, I'd recommend looking at dr_gn's threads. I'm in awe of what he churns out.
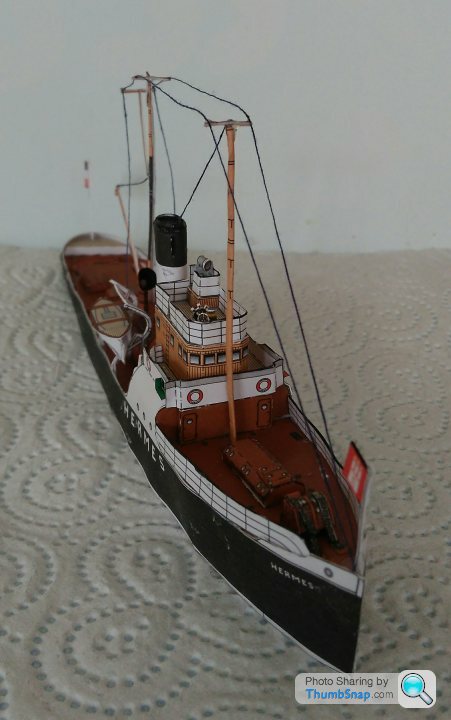
This was my last model, this one is a lot simpler, but with the laser details, I'm hoping to exceed the results
https://www.pistonheads.com/gassing/topic.asp?t=16...
I'm not wanting to get into a discussion of the tactics employed by Sea Shepherd, can we keep this about how poor a job in doing on the boat.
Updates to follow.
Eric Mc said:
What is the boat and what does it do in real life?
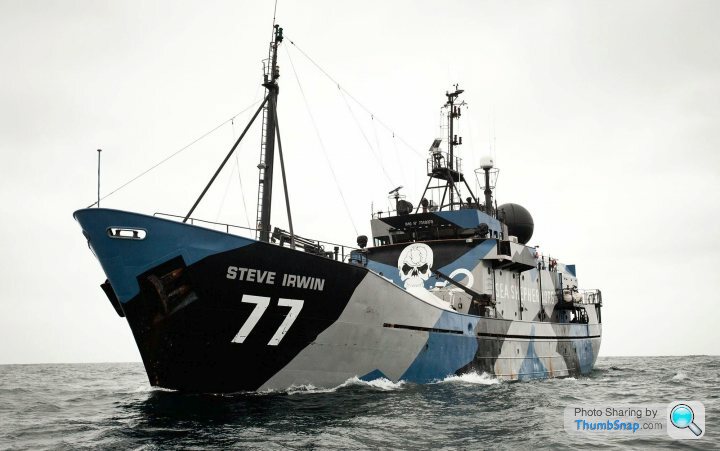
It's the flagship of Sea Shepherd, who are either heroic crusaders against the vile practice of whale hunting, or eco-terrorists - depending on who you ask.
https://en.m.wikipedia.org/wiki/MY_Steve_Irwin
Step 1.
As per usual with these kits, getting a 'true' base to start from is key.
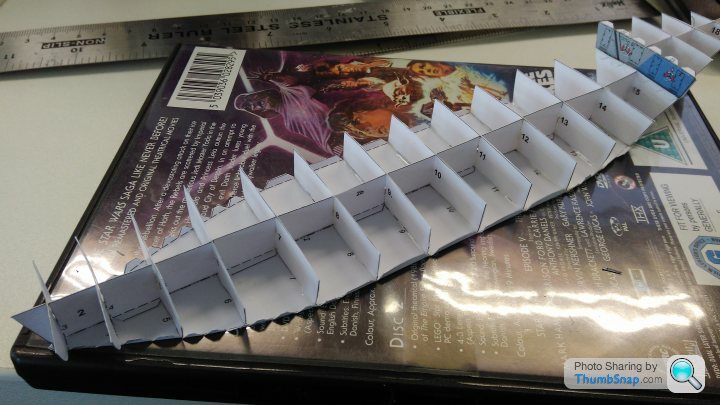
part 1 is gently glued to a DVD case, to keep it flat, then the ribs are attached. Once the hull is sealed and dried, it can be removed from the DVD case.
HMV tend to make their hulls in an above /below waterline split so you can choose how to display the model - if either the bottom of the above water, or the top of the below water section is out of line, you'll end up with a gap, which looks poor.
Several of these ribs have a slight bow to the top edge, so I assume the deck isn't flat.
Laser cut set has been shipped, but Doofus here accidentally selected the 'no rush' delivery option, so it may take a while. Not to worry, I can dodge around steps that have the optional parts whilst I'm waiting.
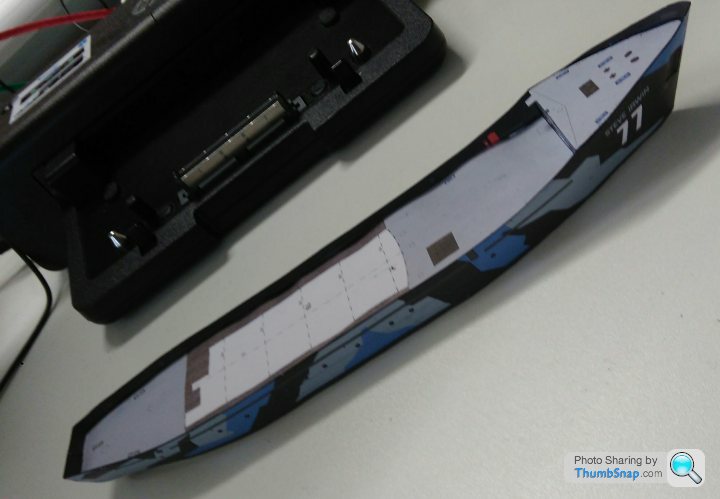
Sides went on quite nicely.
The base is nice and flat, there are a couple of little wobbles in the deck but they usually sort themselves out when all the fittings go on.
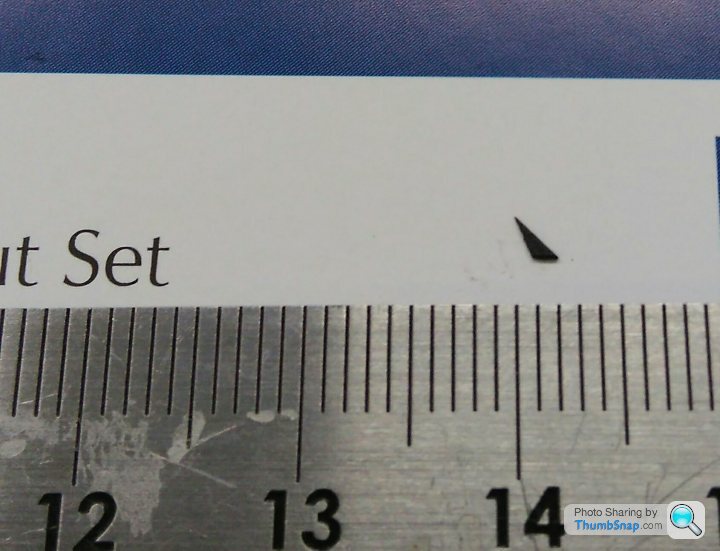
Inside the gunwale, the laser cut set provides about 60 triangular buttresses, which I could retrofit, the instructions call them out now though so I will wait until they arrive rather than having to use tweezers to get them past superstructure.
I've started on the underside now, hoping to get the hull complete.
Different to the other HMV builds I've had, the flush joins seem to have a fillet behind the join to allow the glue to grab.
Underside pieces. Note the handy double sided printing of where the ribs go.
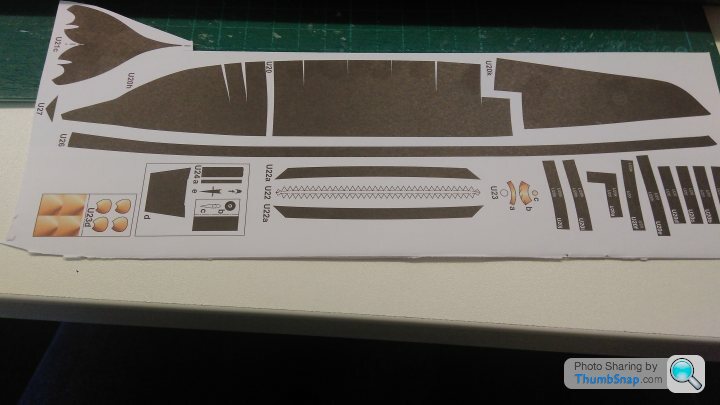
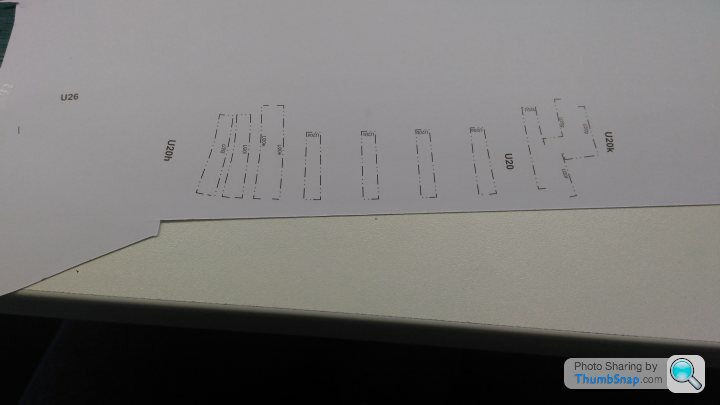
Again, I mounted the baseplate to a flat surface to keep it true.

Much swearing later,
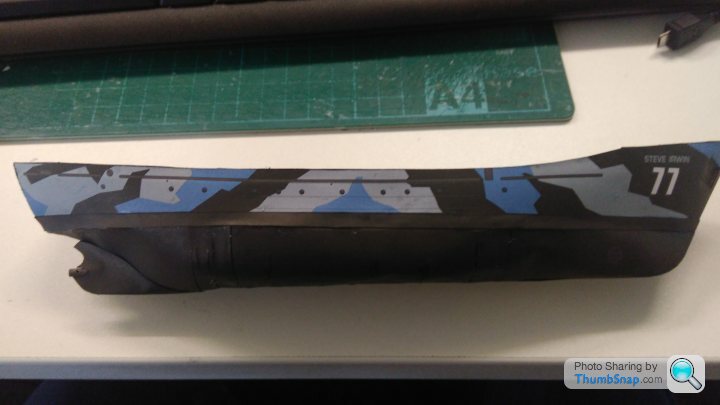
I noticed the propeller shaft also had a tiny fillet to glue both sides, allowing a nice flush join without having to recourse to tape to hold it. (This is nice when the tube you're making is maybe 1.5mm diamond)
A rubbing strip conveniently hides any slight warping in the two sections.
I've built the small stand too as it makes it easier to, well, stand the boat up.
Minor details remain on the lower hull, but, yup, no laser cut parts yet.
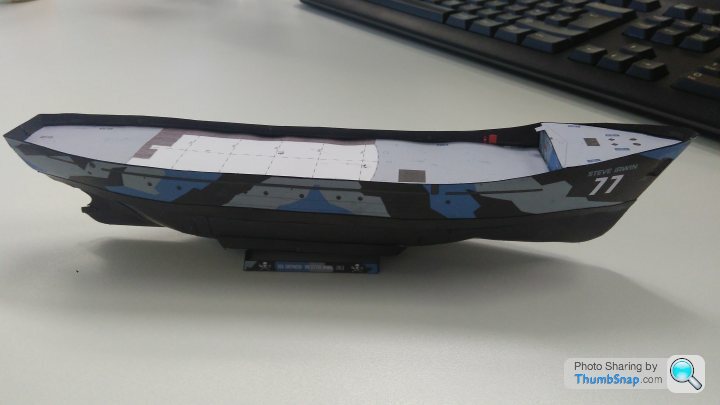
The minor warping of the deck is visible on this pic, will be using super glue rather than PVA to remedy this before I go any further.
I'll also be building any stand alone sections that don't require the detail parts whilst I wait for the postie, but I'm not going to get anything new done till at least Tuesday now.


Again, I mounted the baseplate to a flat surface to keep it true.

Much swearing later,

I noticed the propeller shaft also had a tiny fillet to glue both sides, allowing a nice flush join without having to recourse to tape to hold it. (This is nice when the tube you're making is maybe 1.5mm diamond)
A rubbing strip conveniently hides any slight warping in the two sections.
I've built the small stand too as it makes it easier to, well, stand the boat up.
Minor details remain on the lower hull, but, yup, no laser cut parts yet.

The minor warping of the deck is visible on this pic, will be using super glue rather than PVA to remedy this before I go any further.
I'll also be building any stand alone sections that don't require the detail parts whilst I wait for the postie, but I'm not going to get anything new done till at least Tuesday now.
Jonmx said:
That's looking really good. Do Seashepherd get a portion of the cost of the kit out of interest? Obviously your next project will have to be the Nisshin Maru...
It does say on the HMV website that a large portion of the profits will go to see shepherd, although at £12, including shipping, I can't imagine a huge amount of profit after design cost/time is taken into consideration.I'd you can find me the Maru, I'll build it lol
Some progress. I'm finding the lasercut railings really fragile. In hindsight, I'd apply them after everything else where possible.
There's a few bends and links that show up worse in the pictures, once everything else is attached I'll straighten them up, and possibly hit them with a little glue to stiffen them a touch.
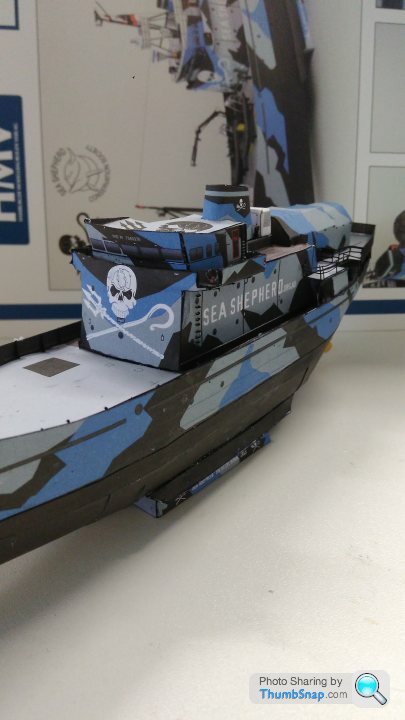
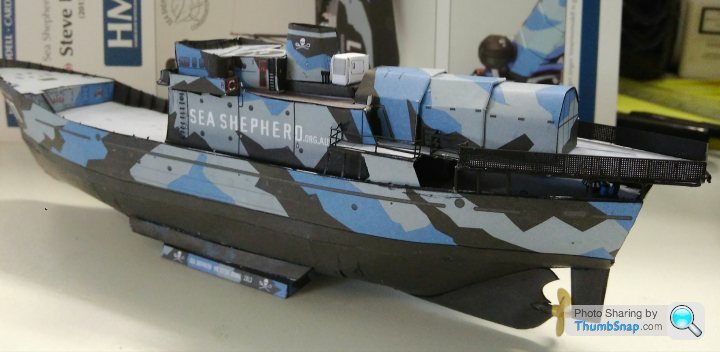
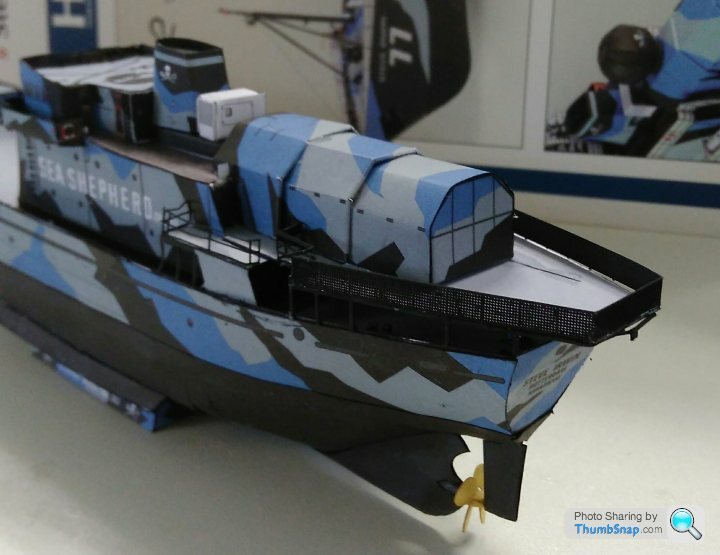
Next up, a spherical radar dome. (I assume) woohoo.
There's a few bends and links that show up worse in the pictures, once everything else is attached I'll straighten them up, and possibly hit them with a little glue to stiffen them a touch.


Next up, a spherical radar dome. (I assume) woohoo.
Jonmx said:
Coming along nicely. I dread to think what my sausage fingers and fists of ham would make of such an intricate kit!
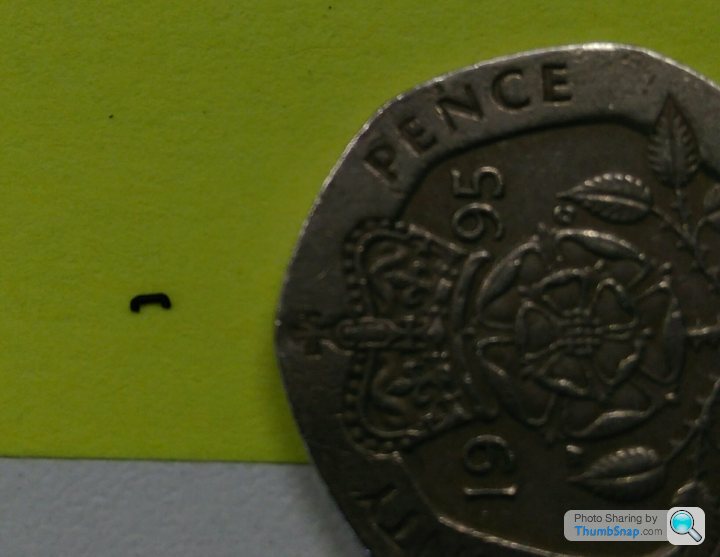
I'll be honest, I'm not finding some of the finer bits easy. It's on the limit of what I can manage without magnification .. and that would raise questions during conference calls at work.They're also very fragile, but if I can get the railings looking straight once I'm finished, it'll be worth it.
Minor touch, the propeller blades are a different colour of metallic paper to the dome they attach to. Makes a difference.
Gassing Station | Scale Models | Top of Page | What's New | My Stuff


