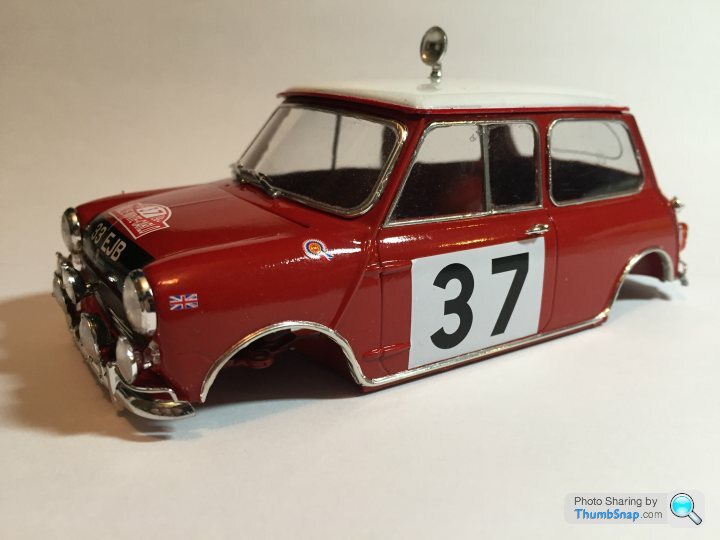
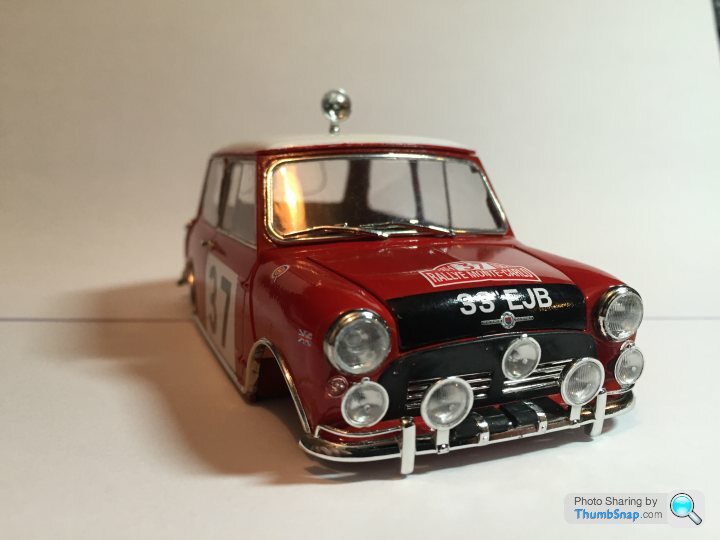
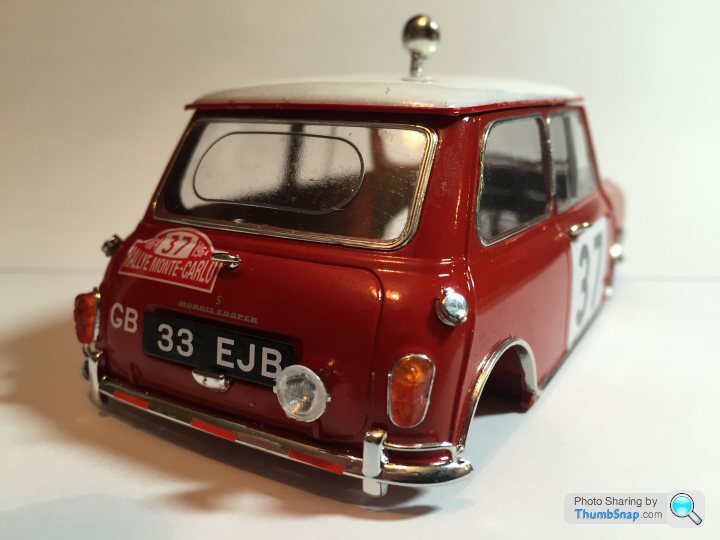
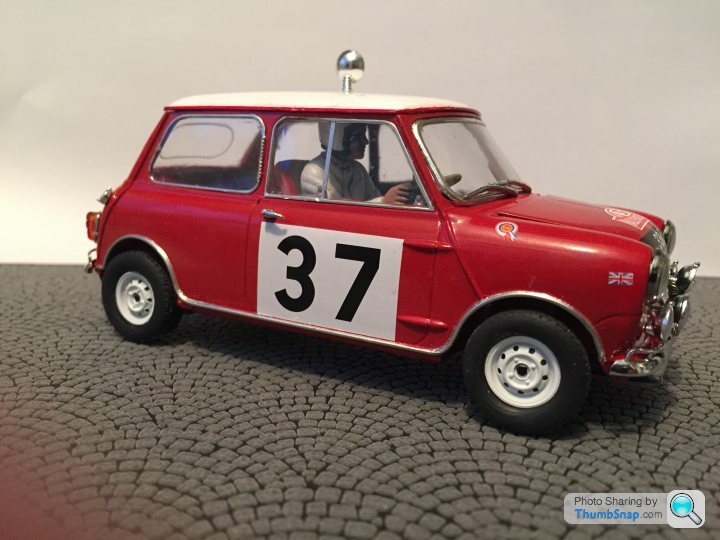
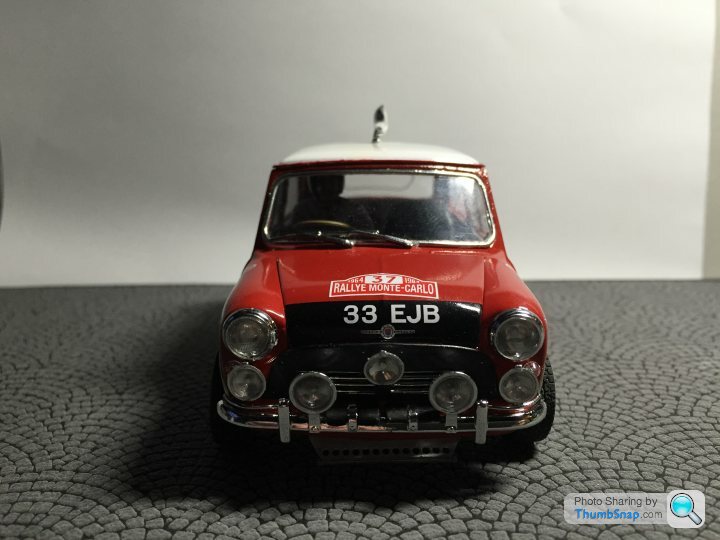
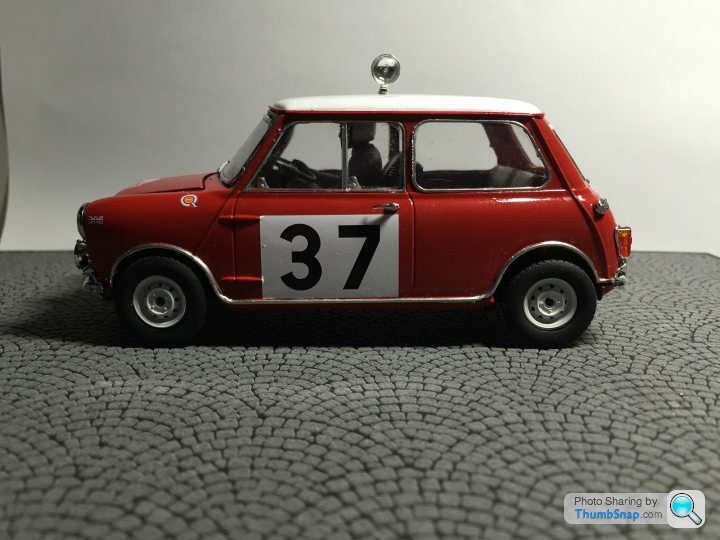
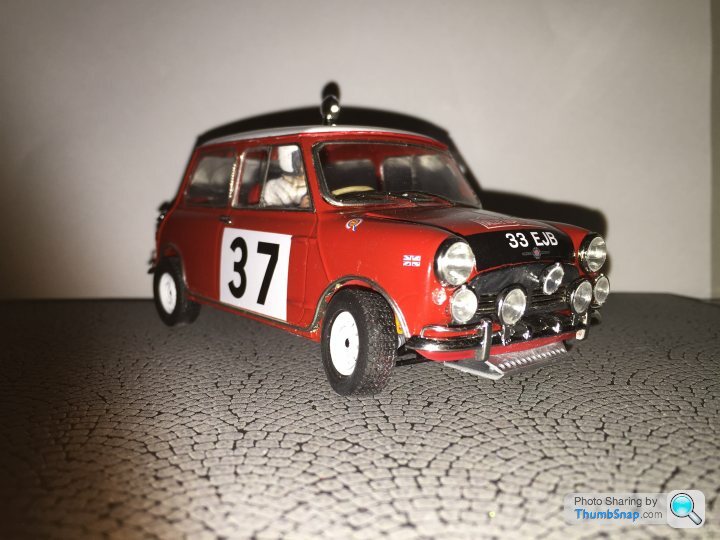
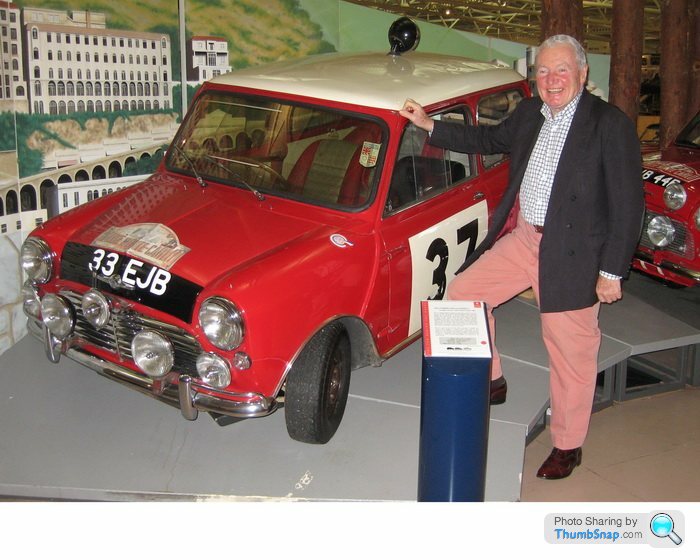
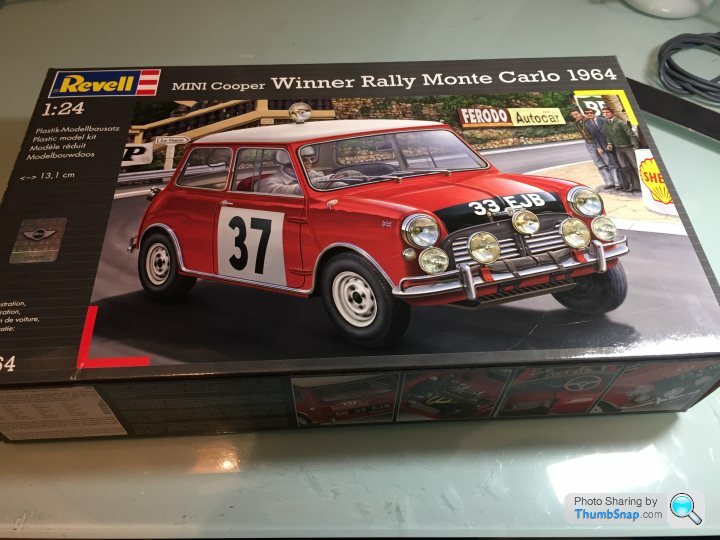
Revell 1 24 Mini Cooper 1964 Monte Carlo rally winner
Discussion
Whilst my gullwing project is in hiatus I dug the next model out of my stash.
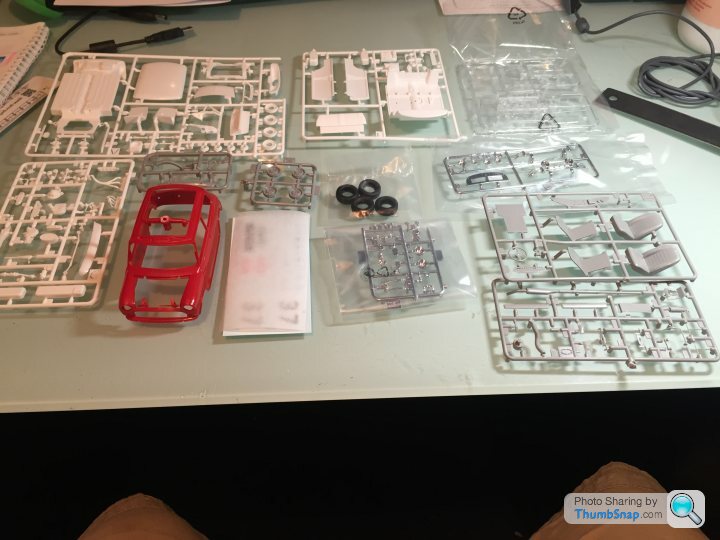
Having a look at the sprues there is a lot of detail for such a small model. As you would expect the mouldings are nowhere near the quality of the Japanese manufacturers, but this is reflected in the kit price.
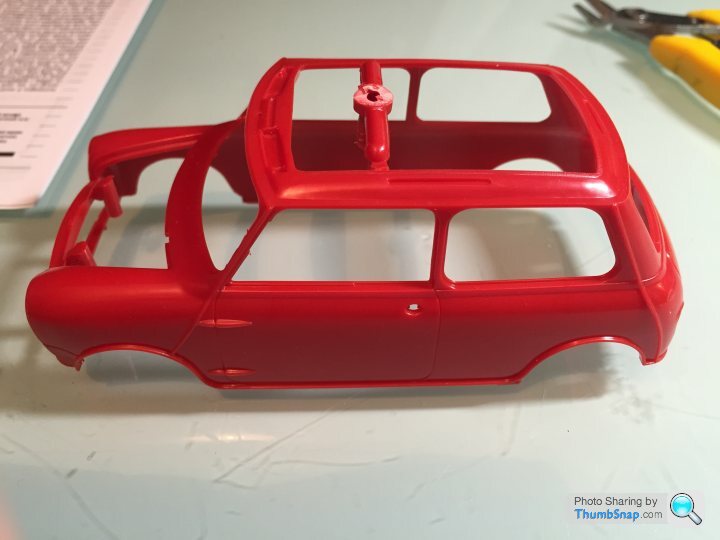
So far I have got as far as removing the moulding lines from the shell (something I didn't do on the 300sl, but will be doing on the replacement)
Before
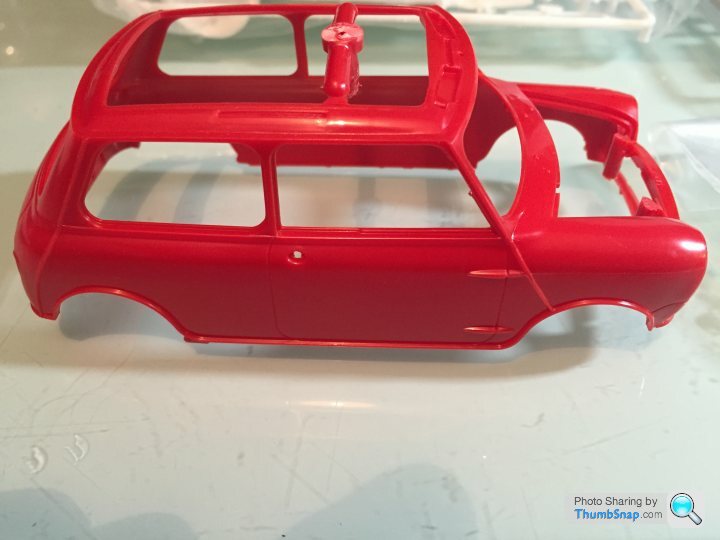
After
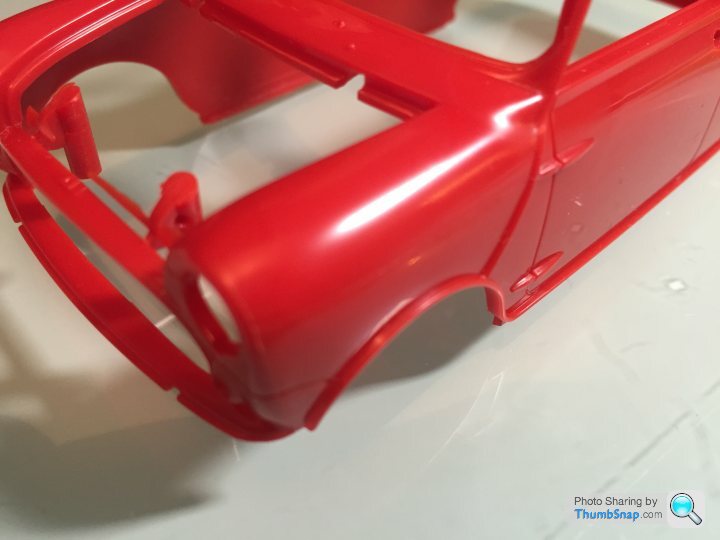

Having a look at the sprues there is a lot of detail for such a small model. As you would expect the mouldings are nowhere near the quality of the Japanese manufacturers, but this is reflected in the kit price.

So far I have got as far as removing the moulding lines from the shell (something I didn't do on the 300sl, but will be doing on the replacement)
Before

After


A bit of progress..
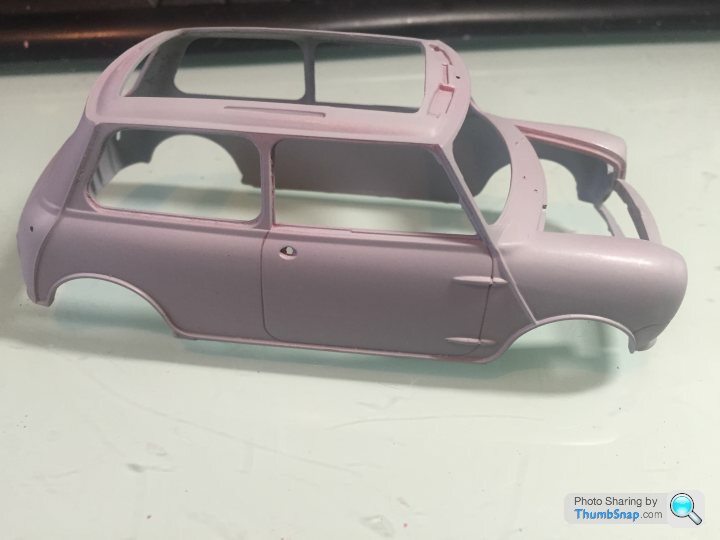
Primered the shell.
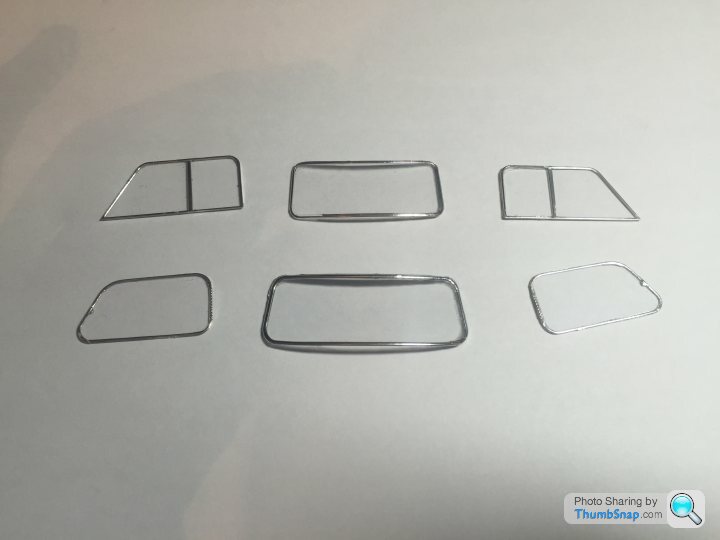
Then applied the metal foil to the window frames. I think I'm getting better at it.
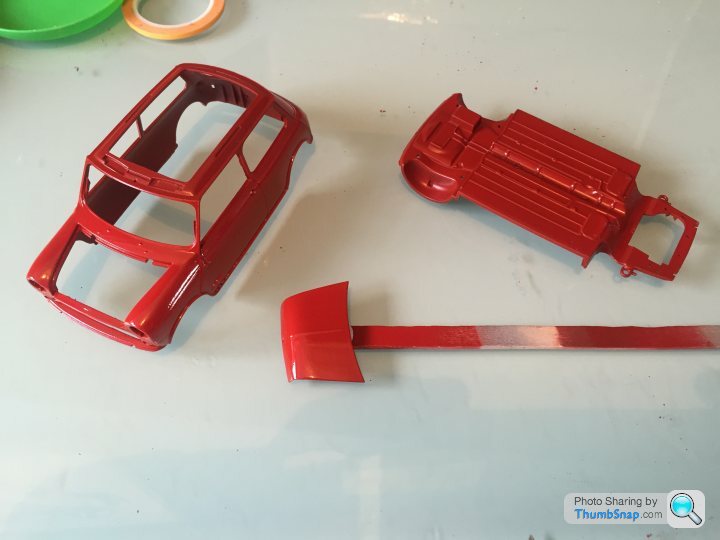
Then painted the shell. I am trying some auto paint from Halfords. I might need to look at a smaller nozzle in future though as the flow is pretty high.
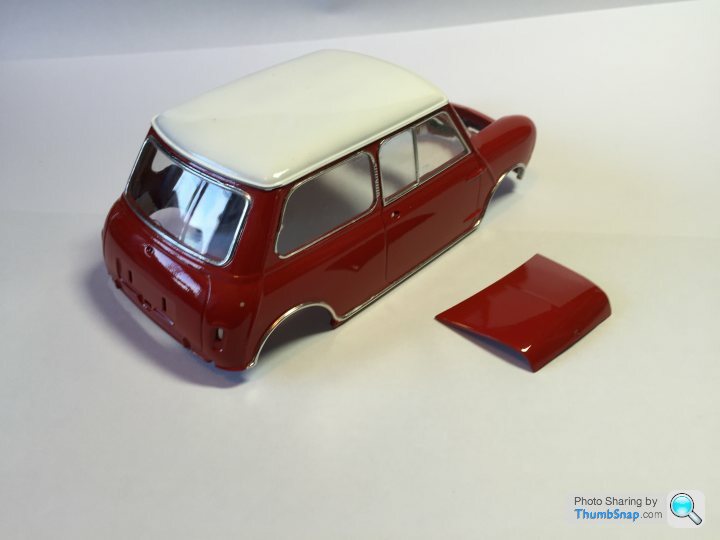
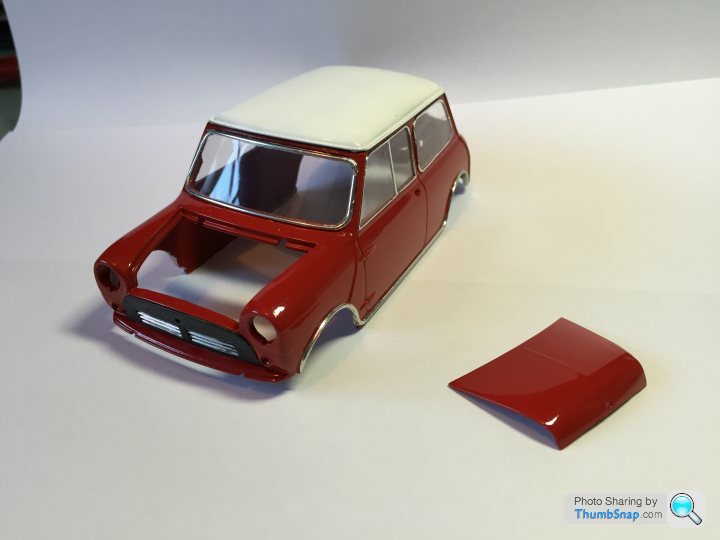
Finally to bring us up to date; I added foil on the wheel arch trims, put the glass in (needs a clean) painted the roof and the grill and applied very light weathering to the cover over the grill.
Unfortunately I managed to slip with a brand new #11 blade. Good news no harm to the model, bad news my index finger is out of action for a few days, so progress is going to be a bit slow for the time being.

Primered the shell.

Then applied the metal foil to the window frames. I think I'm getting better at it.

Then painted the shell. I am trying some auto paint from Halfords. I might need to look at a smaller nozzle in future though as the flow is pretty high.


Finally to bring us up to date; I added foil on the wheel arch trims, put the glass in (needs a clean) painted the roof and the grill and applied very light weathering to the cover over the grill.
Unfortunately I managed to slip with a brand new #11 blade. Good news no harm to the model, bad news my index finger is out of action for a few days, so progress is going to be a bit slow for the time being.
robemcdonald said:
Tamiya clear in a rattle can.
No problems unlike humbrol...
It's not as easy to get hold of, but at least it's reliable.
Must admit, I've heard Tamiya clear aerosol is pretty hot, and can destroy decals. I've used the Tamiya clear stuff from a pot before with no issue though, and that was on a Silk Cut Jaguar that had loads of decals.No problems unlike humbrol...
It's not as easy to get hold of, but at least it's reliable.
Thanks for the comments.
The blade was literally straight out of the envelope thingy they come in. There was quite a lot of claret at the time, but isn't causing me too much hassle (apart from the bandage) Amazingly it only hurts if I put pressure on it. Hopefully it will heal quickly but it was quite deep.
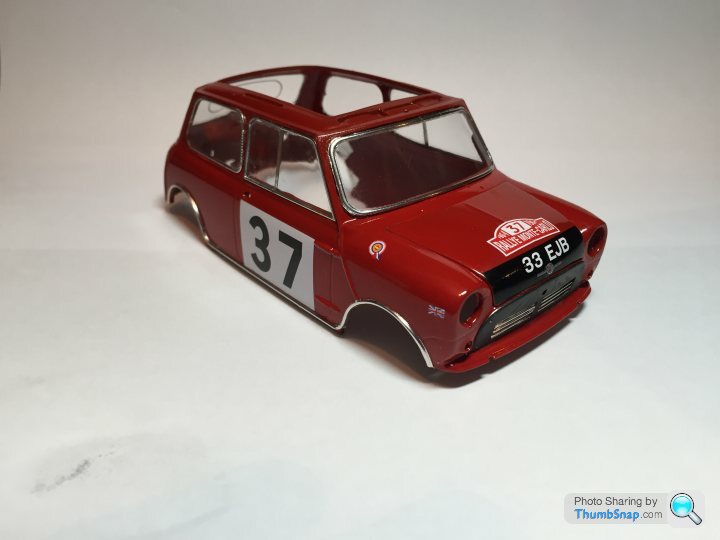
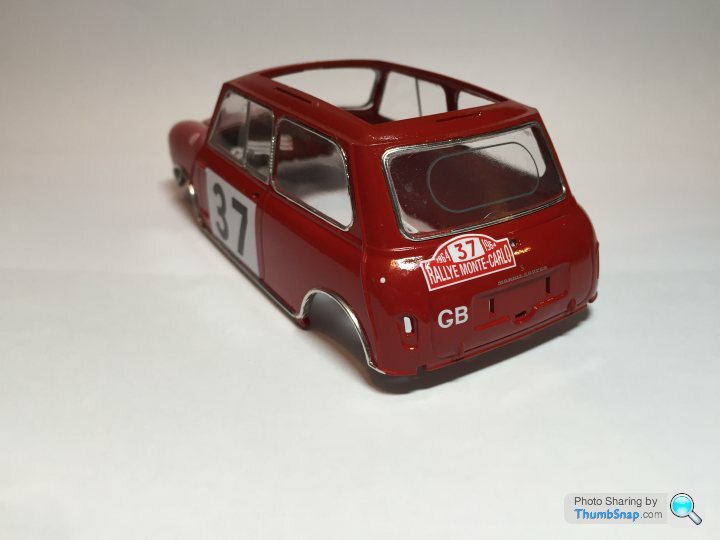
Anyways a little bit of progress tonight on decals.
I'm going to try and do the lights etc tomorrow and then get on with the oily bits.
The blade was literally straight out of the envelope thingy they come in. There was quite a lot of claret at the time, but isn't causing me too much hassle (apart from the bandage) Amazingly it only hurts if I put pressure on it. Hopefully it will heal quickly but it was quite deep.
Anyways a little bit of progress tonight on decals.


I'm going to try and do the lights etc tomorrow and then get on with the oily bits.
robemcdonald said:
Thanks for the comments.
The blade was literally straight out of the envelope thingy they come in. There was quite a lot of claret at the time, but isn't causing me too much hassle (apart from the bandage) Amazingly it only hurts if I put pressure on it. Hopefully it will heal quickly but it was quite deep.
Squeeze the cut together then put superglue on it, it's what it was designed forThe blade was literally straight out of the envelope thingy they come in. There was quite a lot of claret at the time, but isn't causing me too much hassle (apart from the bandage) Amazingly it only hurts if I put pressure on it. Hopefully it will heal quickly but it was quite deep.
Build looking good
Mini update.
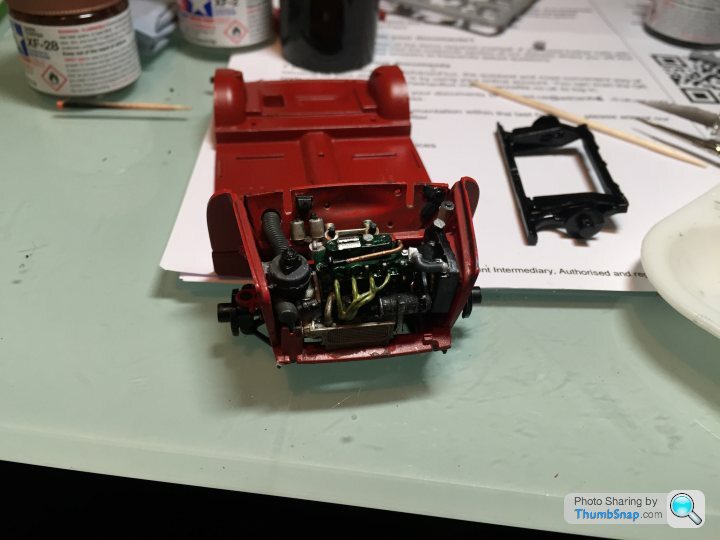
I did a quick job on the engine bay as the bonnet will never be opened. I couldn't resist painting it though.
Test fit in the shell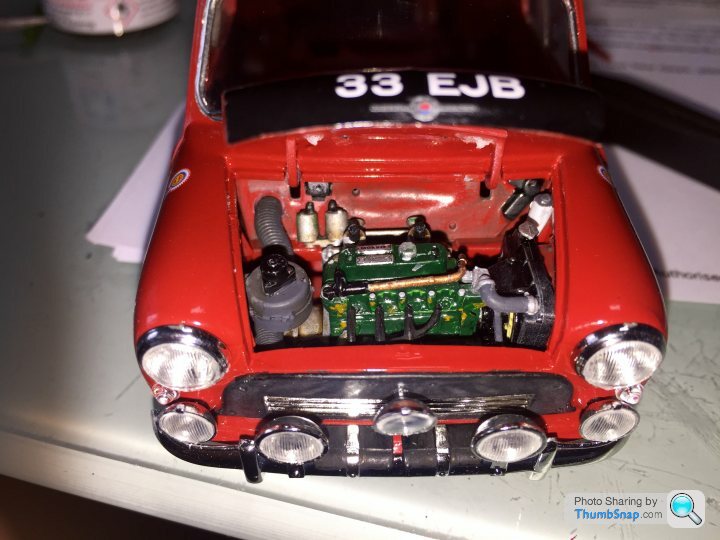
I wanted to put a driver in the couldn't really find anything suitable, so purchased the fujimi driver set and thought I'd have a go at adapting one of the figures.
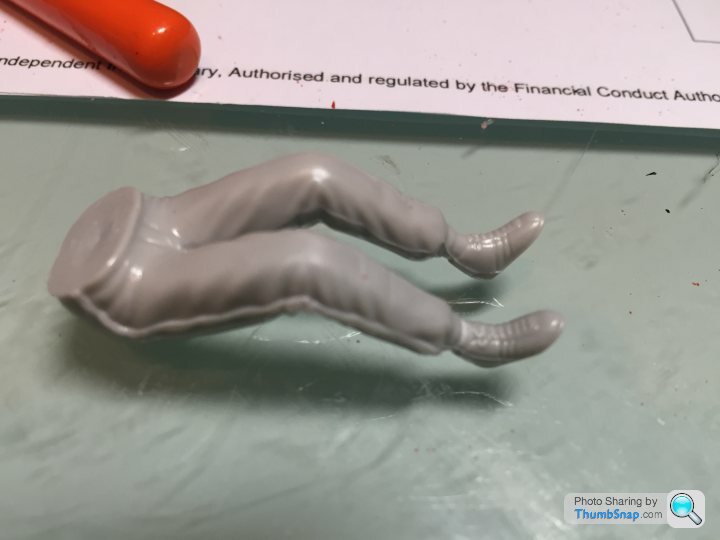
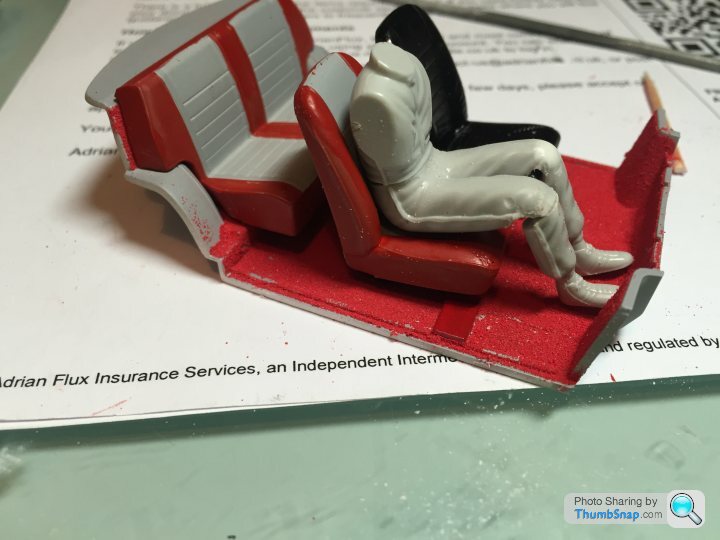
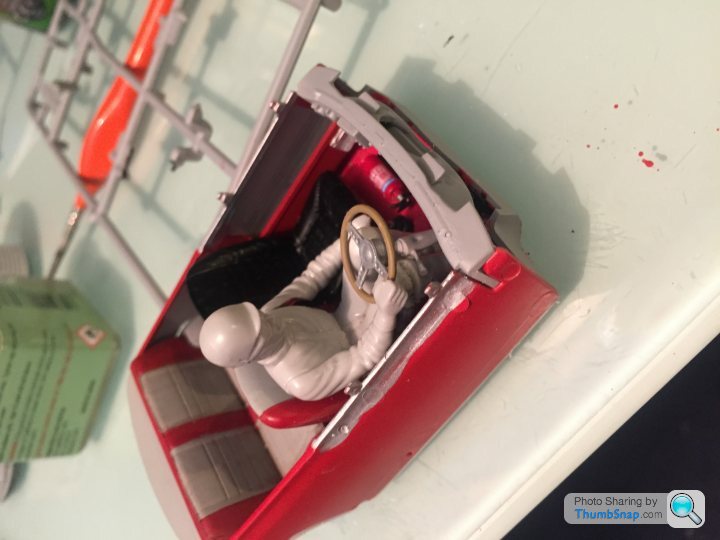
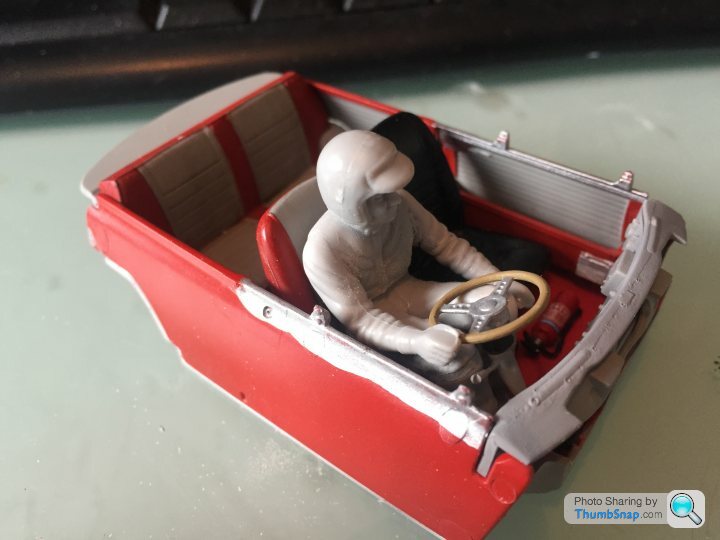
I decided to swap driver heads over.
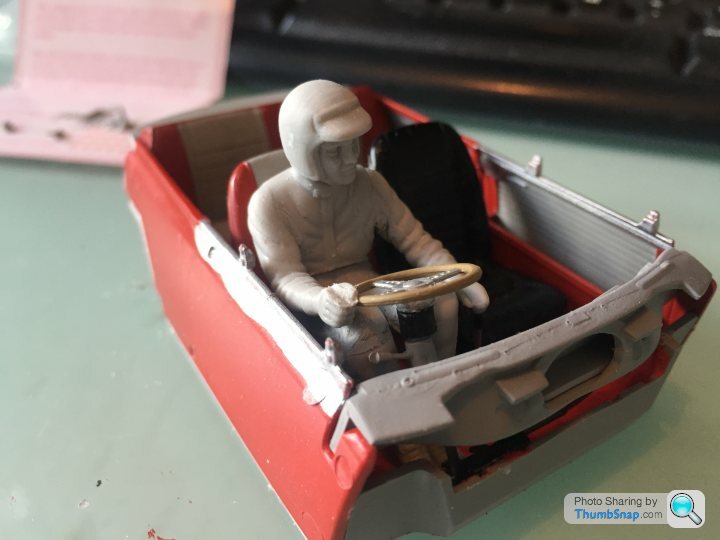
I did a quick job on the engine bay as the bonnet will never be opened. I couldn't resist painting it though.

Test fit in the shell

I wanted to put a driver in the couldn't really find anything suitable, so purchased the fujimi driver set and thought I'd have a go at adapting one of the figures.


I decided to swap driver heads over.

robemcdonald said:
Mini update.
I did a quick job on the engine bay as the bonnet will never be opened. I couldn't resist painting it though.

Look like you are doing a great job on the mini I did a quick job on the engine bay as the bonnet will never be opened. I couldn't resist painting it though.

 I have a couple of kits waiting for me to muster the time and patience to put them together properly.
Revel seem to have made a slight boob on the engine though, why is there an exhaust manifold sticking out of the front of what looks like a standard 5 port A Series head? Even the 8 port heads had the exhaust coming out of the back.
dr_gn said:
They are plug leads I think.
Yes. That's right. They are also now black (not that they will ever be seen again)The exhaust manifold is on the back of the engine and is indeed 3 port.
It's actually a really nicely detailed kit. If Revell could make the moulding a bit sharper they'd be up there with some of the jap kits.
Gassing Station | Scale Models | Top of Page | What's New | My Stuff


