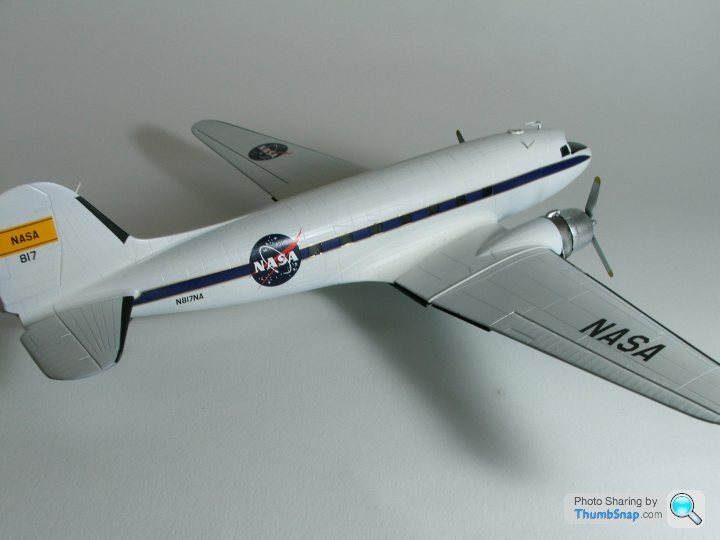
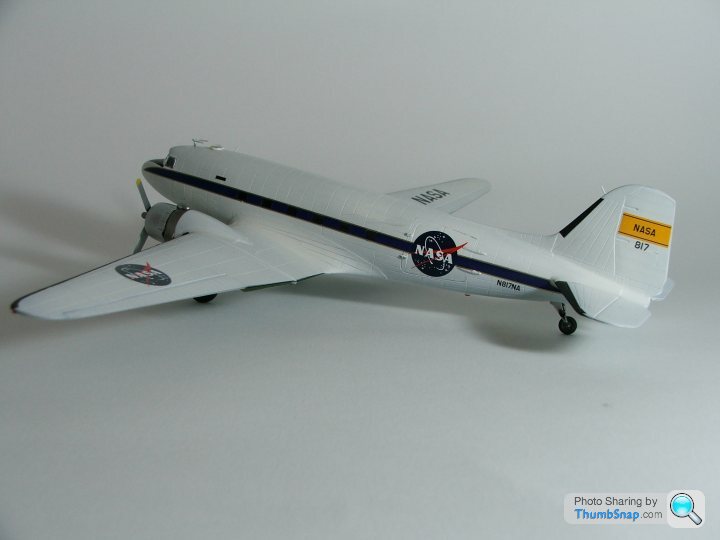
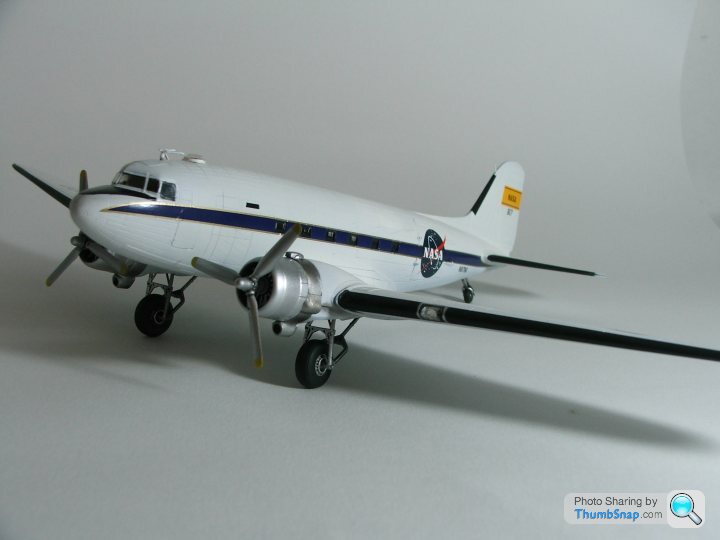
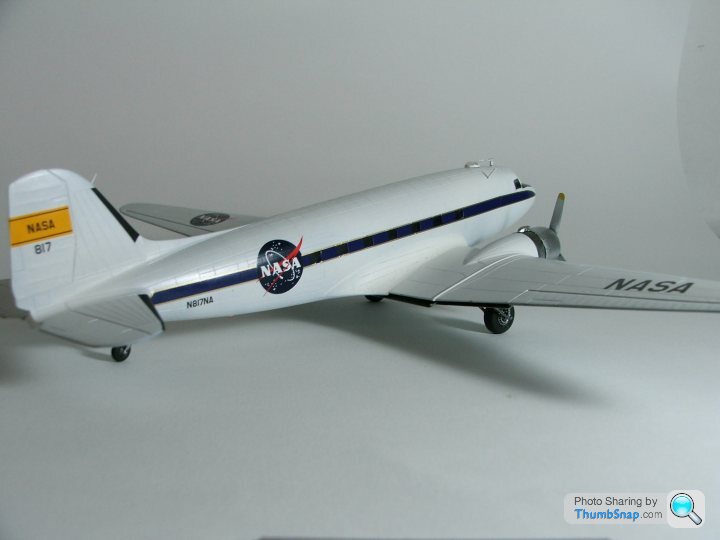
Italeri Douglas C-47 NASA 817
Discussion
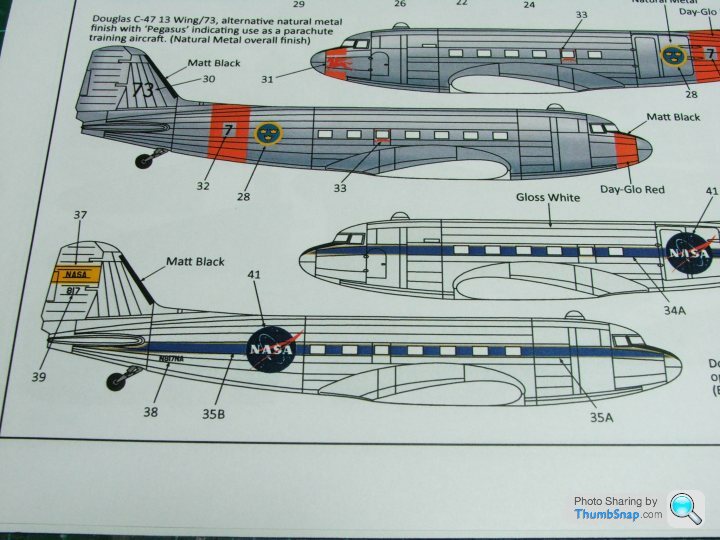
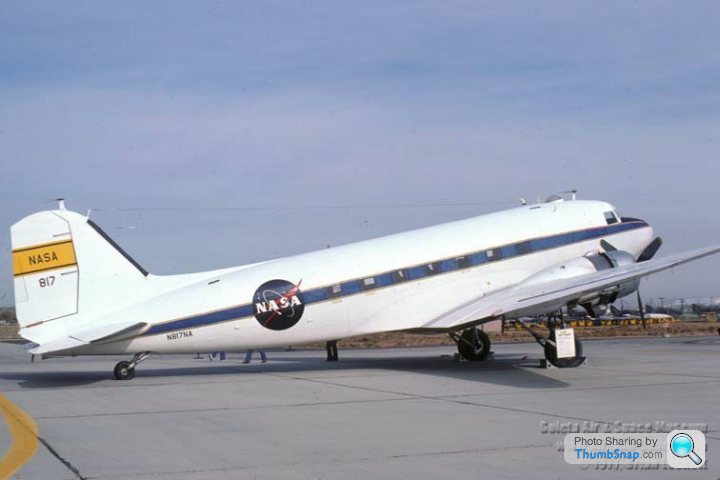
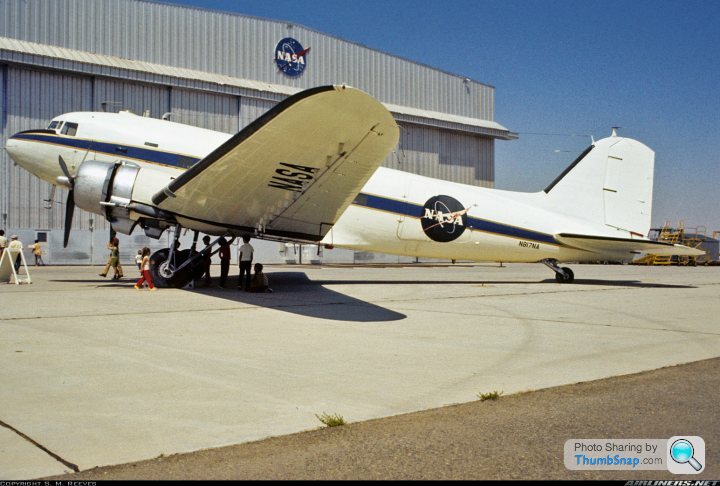
With the Mercury-Atlas almost complete (and about time I hear you say), I have already decided on my next project. I wanted to get back to doing something more "normal", like an aeroplane. However, I want to stick to my current NASA theme so what better than a good old Gooney Bird. Both the NACA and NASA have used a number of these over the decdes but recently Xtradecal produced a lovely set of "unusual" DC-3/C-47s of which one featured on the sheet is NASA's 817. NASA used this particular C-47 up to 1984.
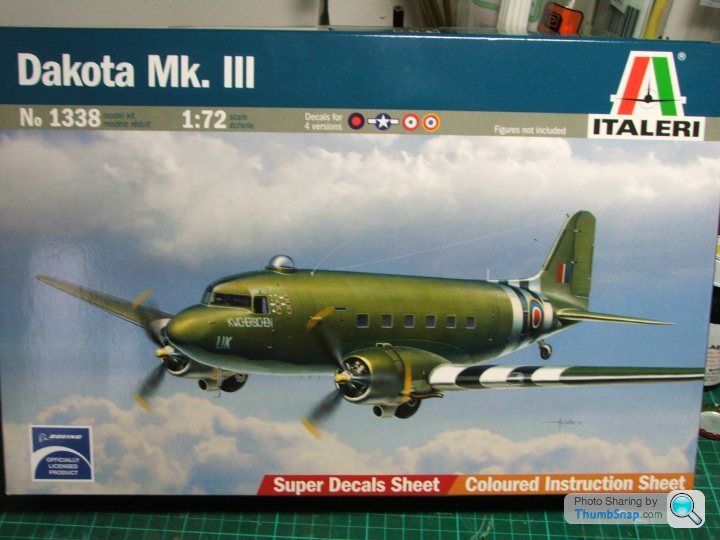
Although Airfix recently released a new tool DC-3/C-47 (which I have), I already had this older Italeri C-47 in the stash and decided to use it as the basis for the build. It's a decent enough kit so it should build up nicely.
Although Airfix recently released a new tool DC-3/C-47 (which I have), I already had this older Italeri C-47 in the stash and decided to use it as the basis for the build. It's a decent enough kit so it should build up nicely.


Mutley said:
Oooh, look forward to this. Have nearly finished this Italeri kit, goes together rather tidy
I made it many years ago. When it came out it was a massive improvement over the only 1/72 C-47 previously available, the rather poor 1960ish Airfix version. The new Airfix C-547 is lovely, but rather complex. The Italeri one is simpler and looks quite nice.
Some progress pictures taken over the past couple of weeks -
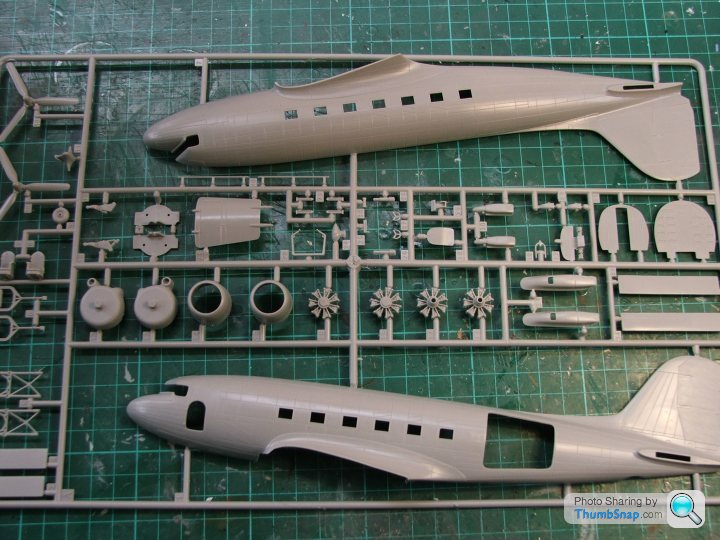
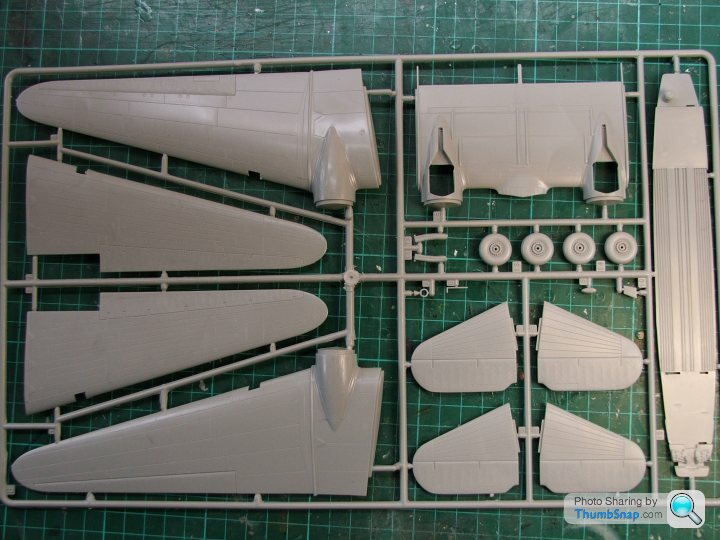
The basic components as laid out on the sprues -
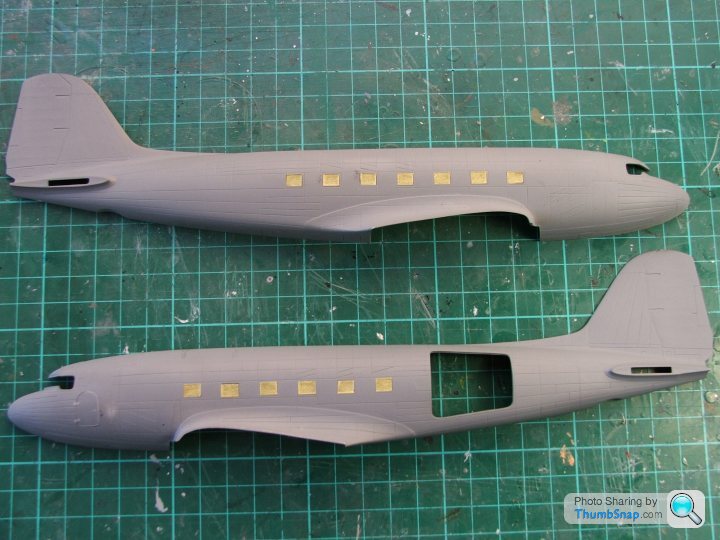
After some basic priming, the cabin windows inserted and masked.
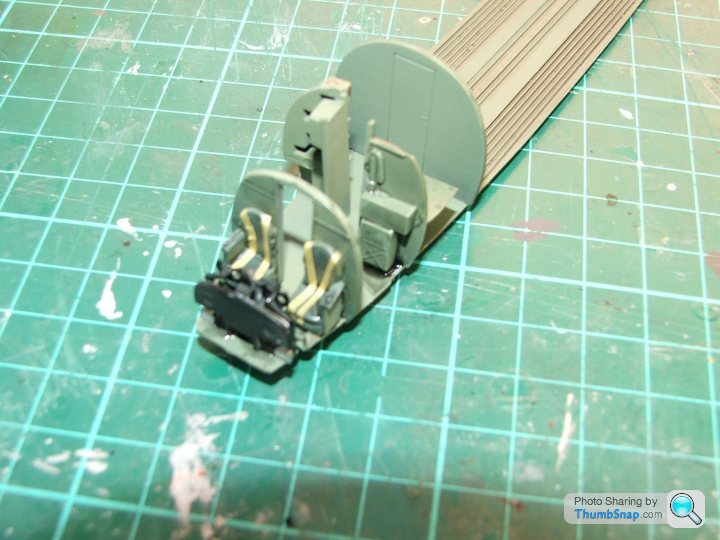
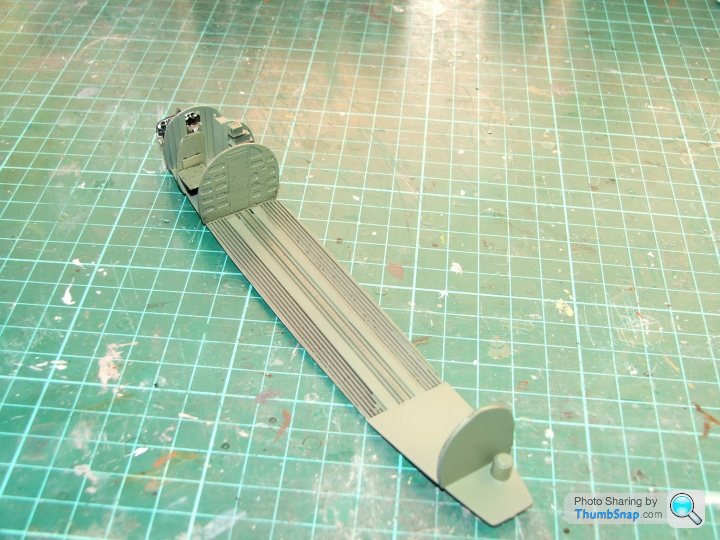
The interior. Most of it isn't visible so there was no point in spending too much time trying to detail it to any great extent over and above what is supplied. I've put in some basic seat belts made from strips of masking tape.
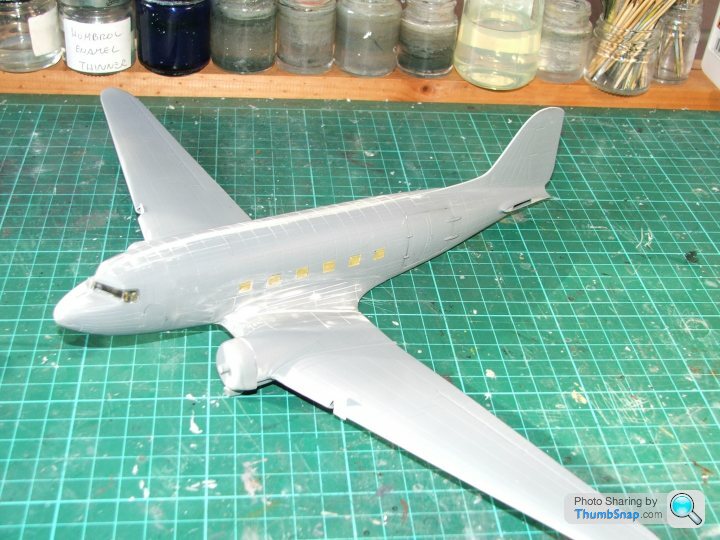
The main construction now completed with some filling. I use De Luxe Putty which is great stuff. It's water soluble so you can put it on roughly and then, using a damp finger, it can be smoothed leaving little need for sanding.
I've started on boxing in the landing light recesses using thin plastic card.
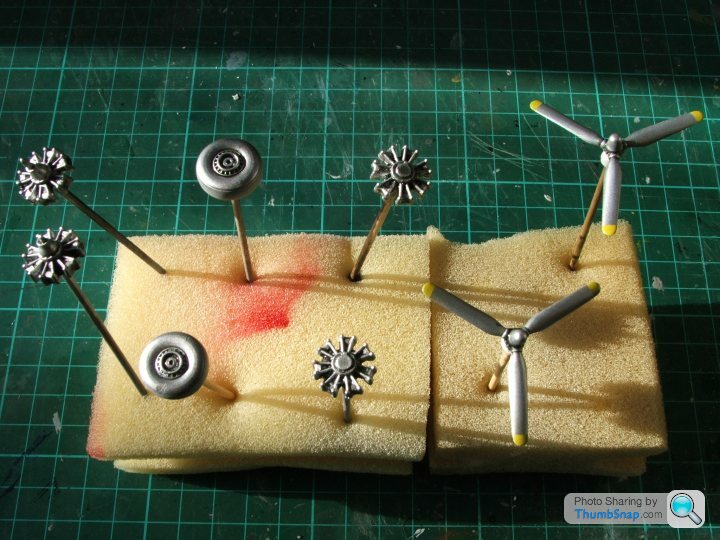
Finally, for the moment, some components painted and a dark wash supplied. These will be put aside for later.
Getting close to the main painting stage.
The basic components as laid out on the sprues -


After some basic priming, the cabin windows inserted and masked.

The interior. Most of it isn't visible so there was no point in spending too much time trying to detail it to any great extent over and above what is supplied. I've put in some basic seat belts made from strips of masking tape.


The main construction now completed with some filling. I use De Luxe Putty which is great stuff. It's water soluble so you can put it on roughly and then, using a damp finger, it can be smoothed leaving little need for sanding.
I've started on boxing in the landing light recesses using thin plastic card.

Finally, for the moment, some components painted and a dark wash supplied. These will be put aside for later.

Getting close to the main painting stage.
My prop tip technique -
Prime propeller with Halford's gray primer
Spray top section of blades with white (usually Tamiya Matt)
When dry, overspray with yellow (or whatever the tip colour is).
Mask off tips with small lengths of Tamiya tape.
Spray rest of prop with main colour. If black, I use Tamiya NATO black - which is more of a very dark grey.
These were metal so I sprayed them using Valejo Mettalics Aluminium
When dry, pop off the Tamiya tape on the tips - revealing the tip colour.
On these props I added some dark wash to the hubs.
Gassing Station | Scale Models | Top of Page | What's New | My Stuff


