Tamiya 1/32nd Mosquito FBIV - build!
Discussion
Ok - I'm going for it, if people are interested!
I've started building this amazing kit. I haven't built a plastic plane kit for probably 30 years - and anything I built then was probably set alight and thrown from a window...
I know there are some very very talented aircraft/military model makers on here - so bear with me, and happy for any advice! Not going to do a 'how to...'!
I've got a cupboard full of F1 kits to build, as well as finishing my Caterhams - but I thought this would be a nice 'starter' to get used to small bits again!
I've always liked the Mosquito plane - something about the pure lines, speed etc - and the old films. I'm going to make the version which was used in Operation Jericho - the low-level bombing raid to knock a prison wall down, allowing resistance fighters to escape...the kit contains parts to show a variety of different configurations.
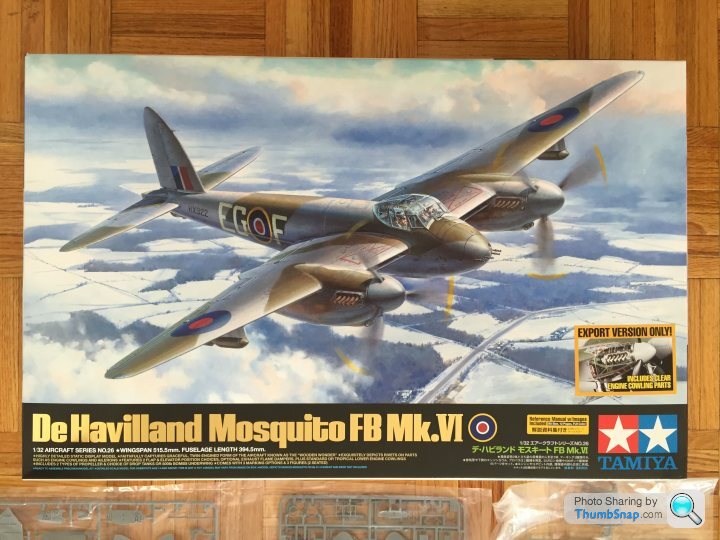
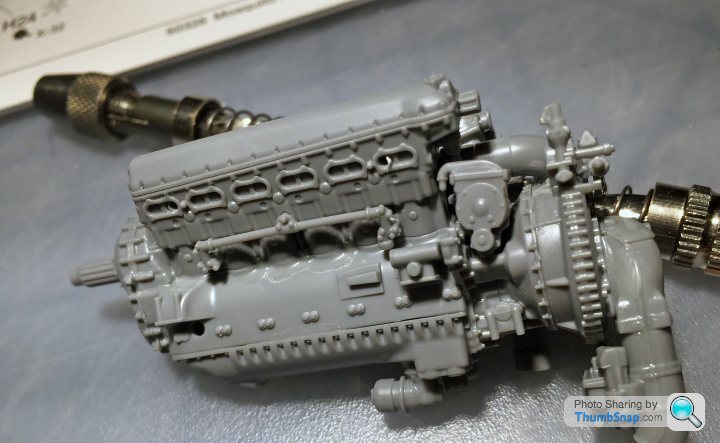
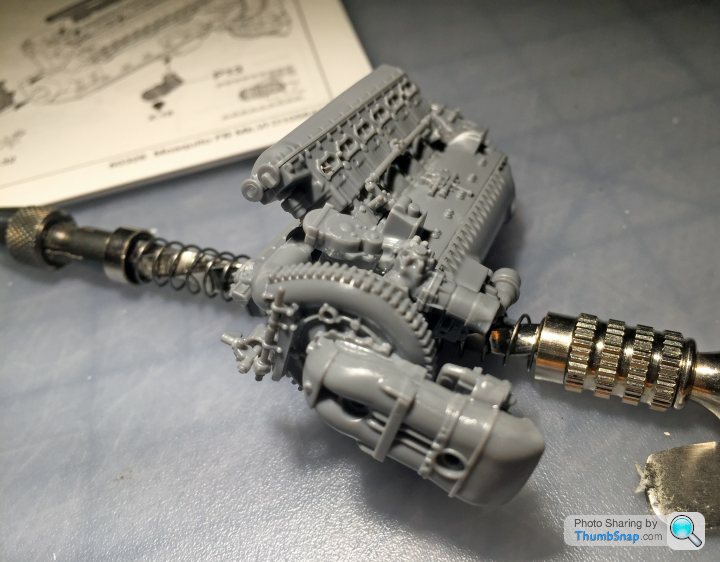
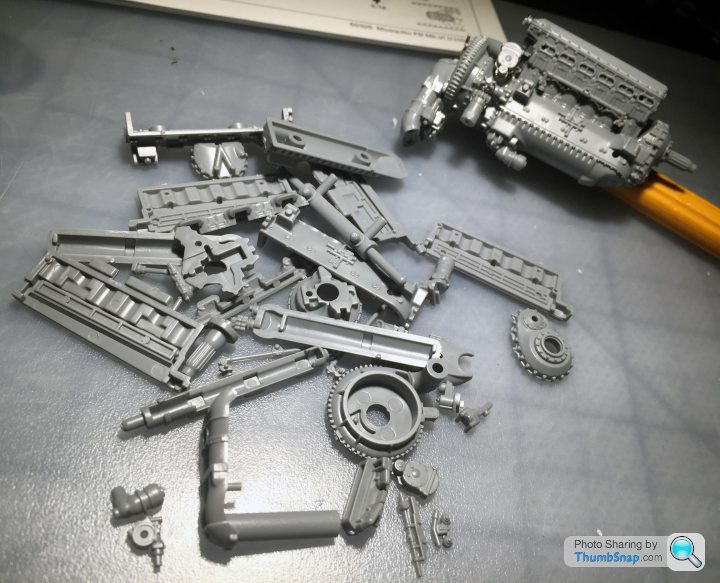
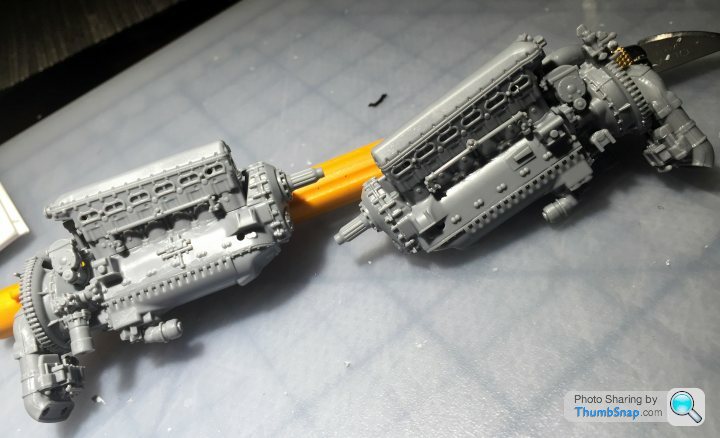
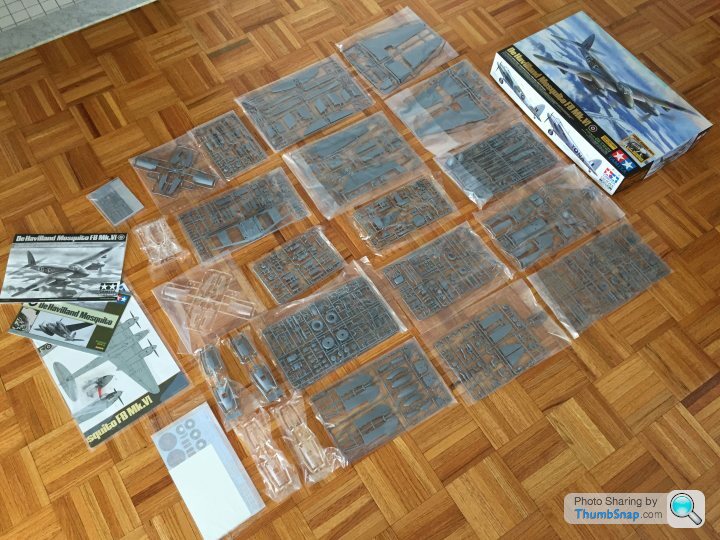
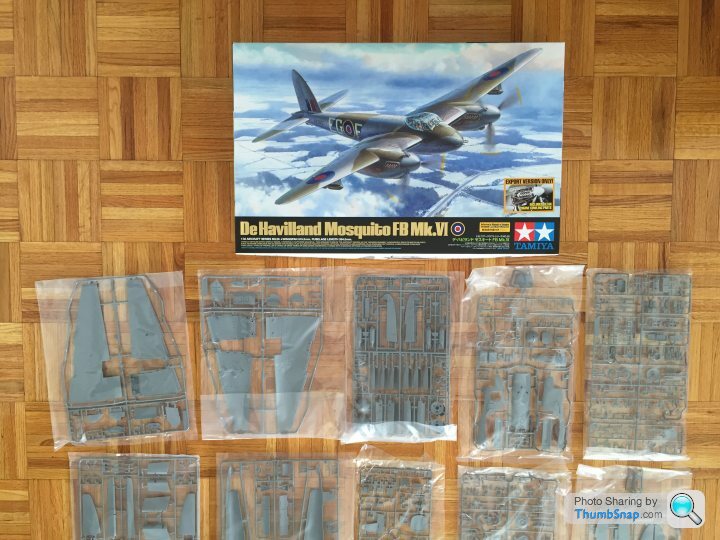
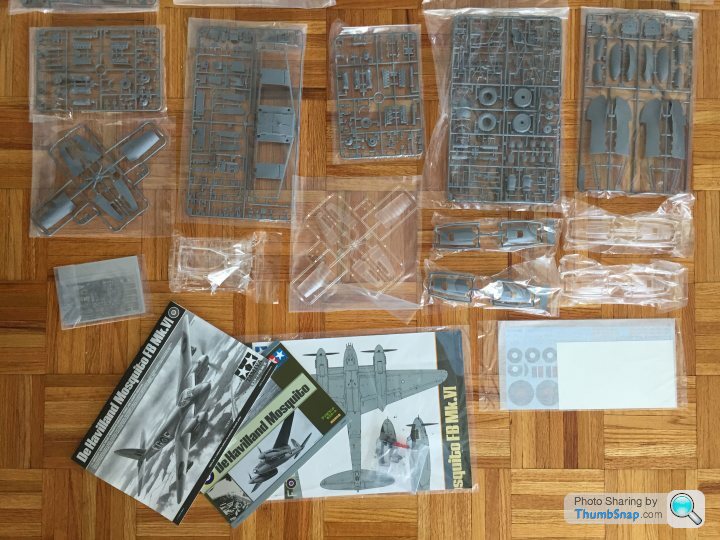
Open the box and it is STUFFED with packets of parts - some are double packed, and there are 2x of some sprue (2 engines etc etc) - pretty daunting number of parts, including PE and decals - nice little history booklet with some photo reference images and even some basic tools and magnets (to hold panels on)
I have also bought a 'how to...' book from here....
http://adhpublishing.com/shop/store/products/new-h...
...for some additional tips.
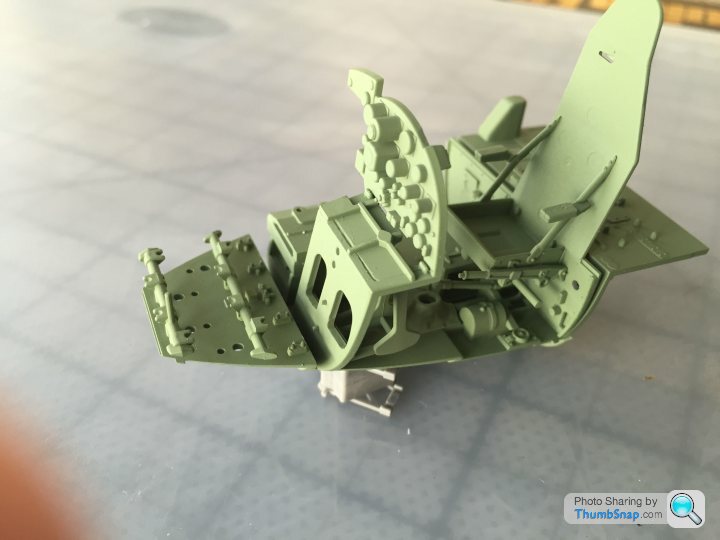
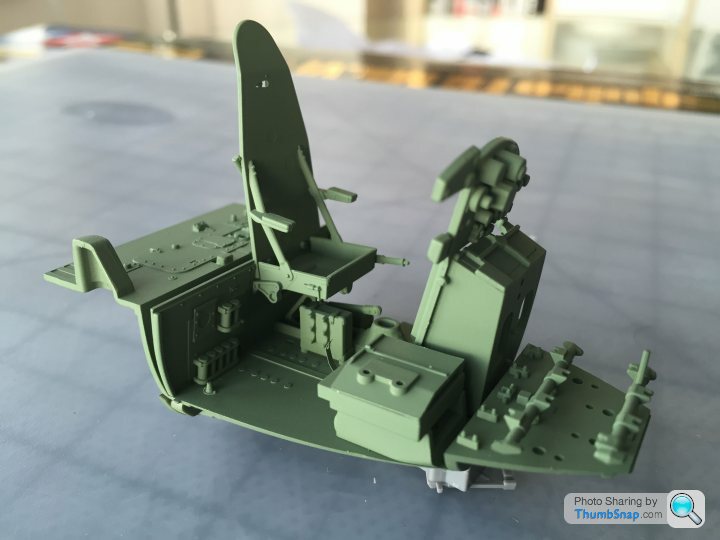
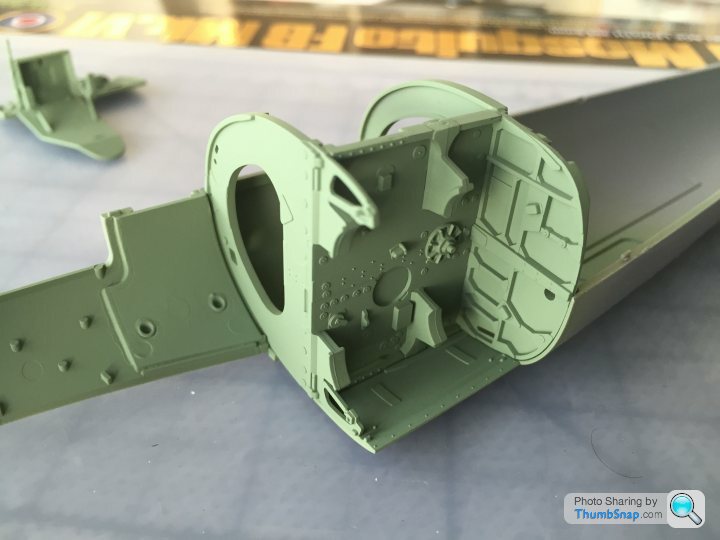
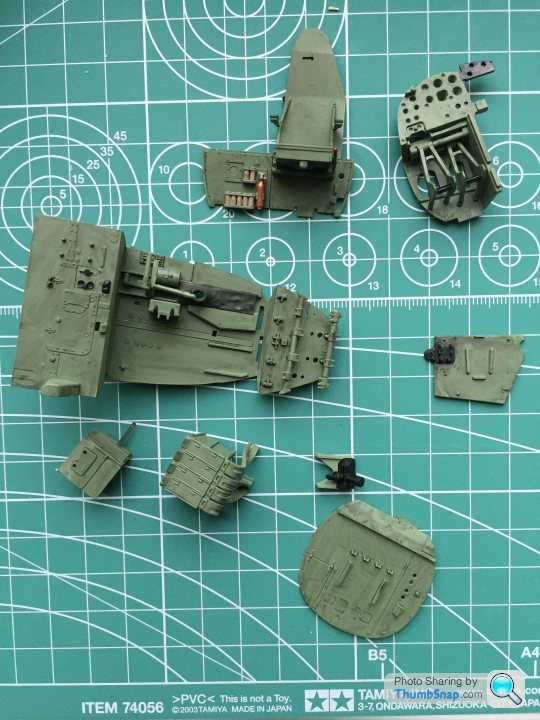
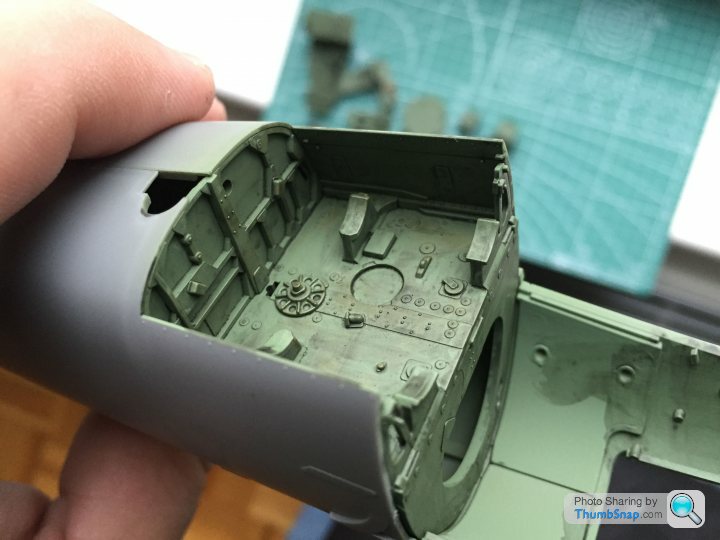
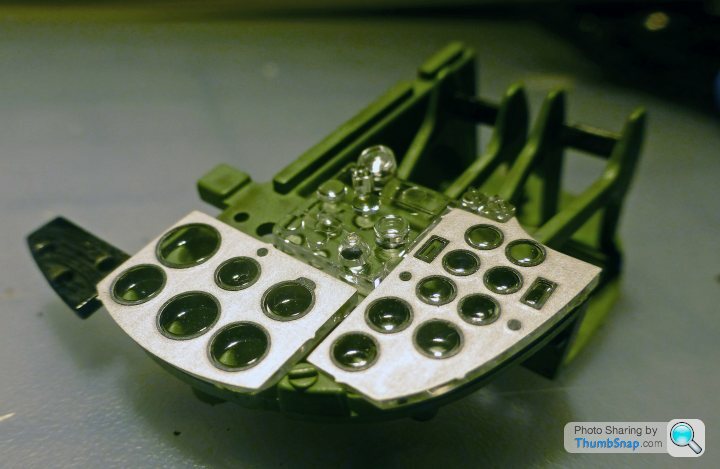
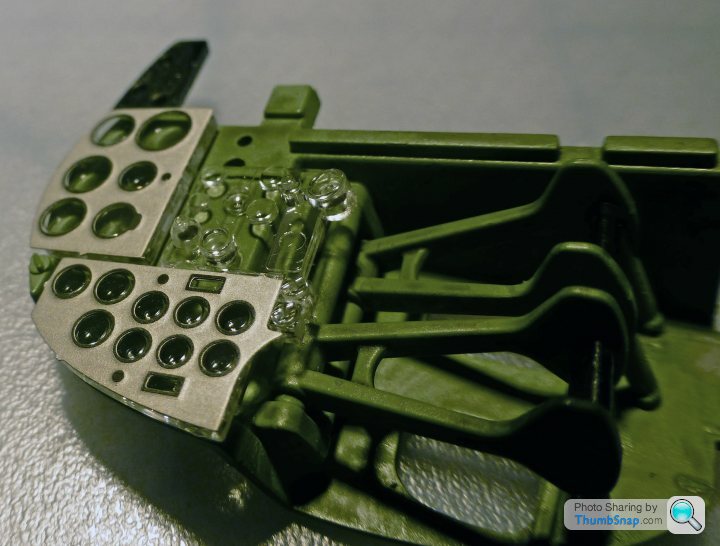
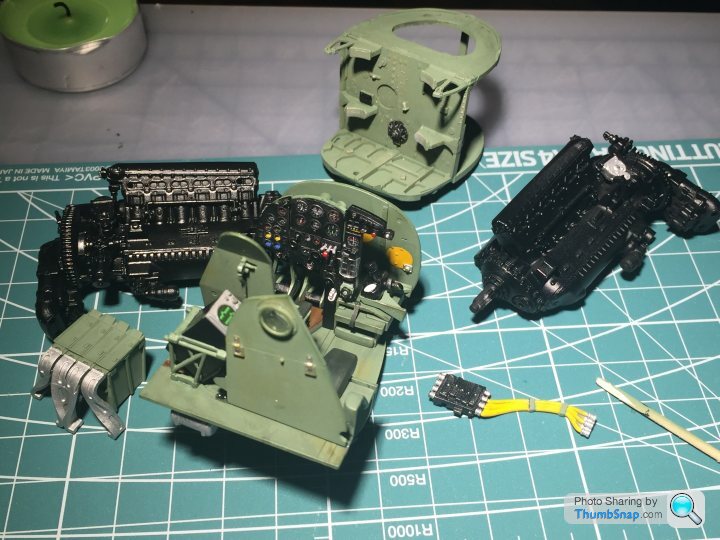
So last yesterday I got right in there and started, assembling the cockpit area. The detail is staggering, and every part goes together with amazing accuracy. Everything just fits. I followed advice from the how-to book and have assembled sub-assemblies to paint - rather than paint every separate part. All these parts are painted a green colour (XF-71) for cockpit interiors. I'm using Tamiya acrylics and an airbrush. I've painted everything below, will post pics later. The green looks superb.
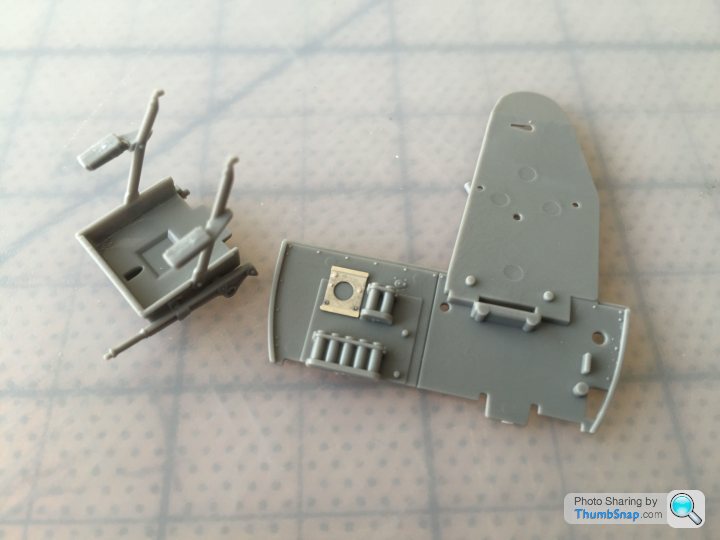
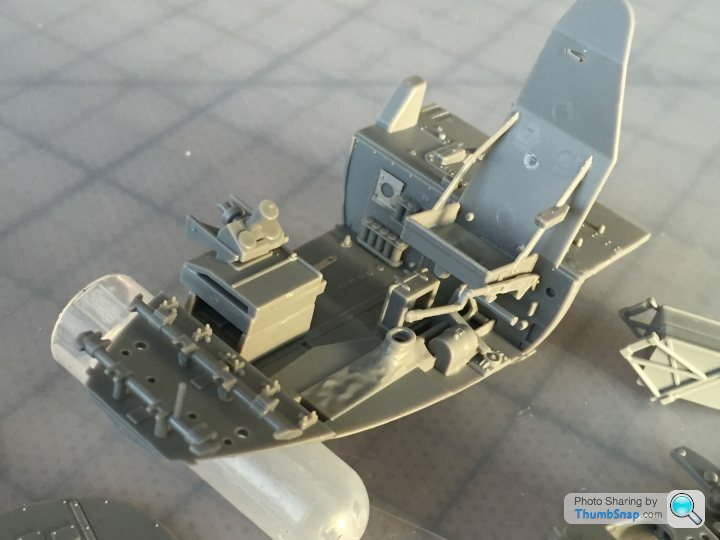
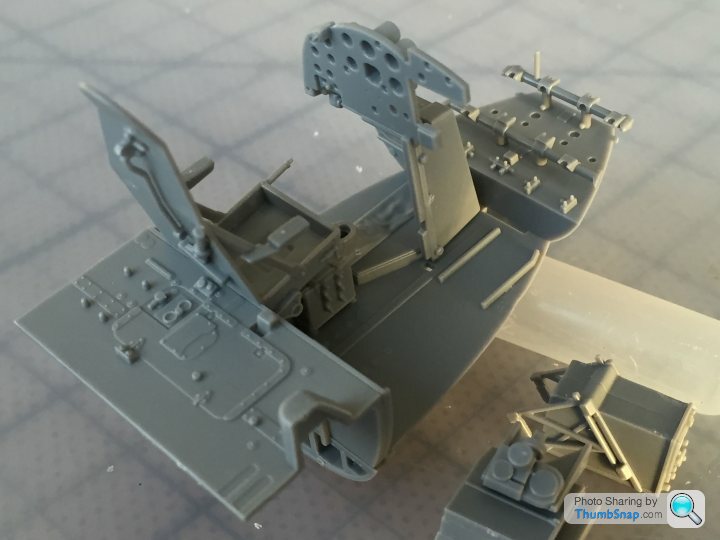
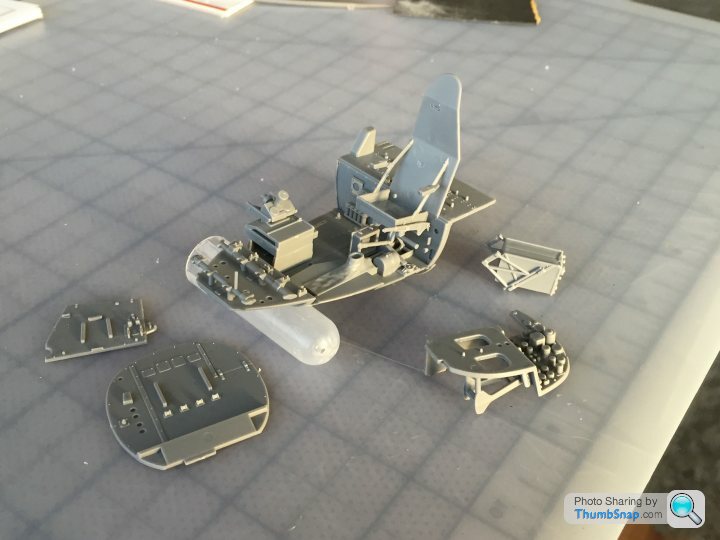
Having airbrushed the green, I shall brush paint details. I'm deciding if I do weathering effects or not. Done properly they always look great, so I think I shall give it a go - but it will be a learning process as I have not done this before!
More later....
I've started building this amazing kit. I haven't built a plastic plane kit for probably 30 years - and anything I built then was probably set alight and thrown from a window...
I know there are some very very talented aircraft/military model makers on here - so bear with me, and happy for any advice! Not going to do a 'how to...'!
I've got a cupboard full of F1 kits to build, as well as finishing my Caterhams - but I thought this would be a nice 'starter' to get used to small bits again!
I've always liked the Mosquito plane - something about the pure lines, speed etc - and the old films. I'm going to make the version which was used in Operation Jericho - the low-level bombing raid to knock a prison wall down, allowing resistance fighters to escape...the kit contains parts to show a variety of different configurations.

Open the box and it is STUFFED with packets of parts - some are double packed, and there are 2x of some sprue (2 engines etc etc) - pretty daunting number of parts, including PE and decals - nice little history booklet with some photo reference images and even some basic tools and magnets (to hold panels on)


I have also bought a 'how to...' book from here....
http://adhpublishing.com/shop/store/products/new-h...
...for some additional tips.
So last yesterday I got right in there and started, assembling the cockpit area. The detail is staggering, and every part goes together with amazing accuracy. Everything just fits. I followed advice from the how-to book and have assembled sub-assemblies to paint - rather than paint every separate part. All these parts are painted a green colour (XF-71) for cockpit interiors. I'm using Tamiya acrylics and an airbrush. I've painted everything below, will post pics later. The green looks superb.


Having airbrushed the green, I shall brush paint details. I'm deciding if I do weathering effects or not. Done properly they always look great, so I think I shall give it a go - but it will be a learning process as I have not done this before!
More later....
I'm interested in seeing your build progress; looks an awesome kit, then again Tamiya are - IMHO - the best mainstream kit manufacturer out there.
You seem to have made good progress so far, my only comment there would be if you're airbrushing cockpit green, it might have been easier to do the larger sub-assemblies first, e.g. the seat. You might find it difficult to get to all the nooks and crannies with it fully assembled. this also apples to weathering.
If you're trying weathering for the first time, you could consider getting some Tamiya "Weathering Master" pastels and very lightly brush the painted parts with something like gunmetal or light gunmetal to highlight the raised bits and give a hint of wear on the more exposed parts. FWIW my advice would be to keep to the minimum amount of weathering, it's easy to overdo it.
Thanks doc, value your opinion greatly having seen your stuff!
In terms of spraying - what you are looking at there are a few assemblies 'balanced' for the photo, so they are smaller than that...but you may be right about the weathering bit!
I have some of the Tamiya make-up
The kit goes together amazingly. I have had to do minimum sanding or removing of any lines - almost every spruce joint is somewhere that gets glued/hidden - superbly done.
Agree about Tamiya....
In terms of spraying - what you are looking at there are a few assemblies 'balanced' for the photo, so they are smaller than that...but you may be right about the weathering bit!
I have some of the Tamiya make-up

The kit goes together amazingly. I have had to do minimum sanding or removing of any lines - almost every spruce joint is somewhere that gets glued/hidden - superbly done.
Agree about Tamiya....
I think it looks very good so far.
Personally I'd have aimed to get a bit more definition around the raised features such as rivets and other lumps and bumps. It's common to apply a wash to a gloss or satin surface - it wicks better and makes it easier to remove excess, plus it doesn't stain the flat areas as much. If you 'dot' the wash in and around corners, capillary action usually does the rest. After a few minutes of drying, you can go around and remove any excess with a brush damped with thinners. Once that's dry I usually apply the silver/grey weathering powder to highlight the raised bits slightly. Then spray with matt coat to get the final finish. A decent wash can take hours to get right by trial and error on a large model, but it all depends on how you want it to look.
Obviously you need to apply an enamel wash over acrylic varnish, or water based wash over enamel, in other words use dissimilar types. An enamel wash on enamel varnish will soon go horibly wrong...
As I said though, it looks good as it is.
Thank you sir!
I was impatient to try the wash - got a few more coloured areas to pick out, a few decals etc - should have done those first really...
Good point/tip about applying the wash to a shinier surface so it gives you more time to play with it and remove etc...I shall have to try that next time.
I was also using an acrylic wash over acrylic - so another thing I've learnt!!
cheers!
I was impatient to try the wash
 - got a few more coloured areas to pick out, a few decals etc - should have done those first really...
Good point/tip about applying the wash to a shinier surface so it gives you more time to play with it and remove etc...I shall have to try that next time.
I was also using an acrylic wash over acrylic - so another thing I've learnt!!

cheers!
Edited by caterhamnut on Tuesday 29th September 00:09
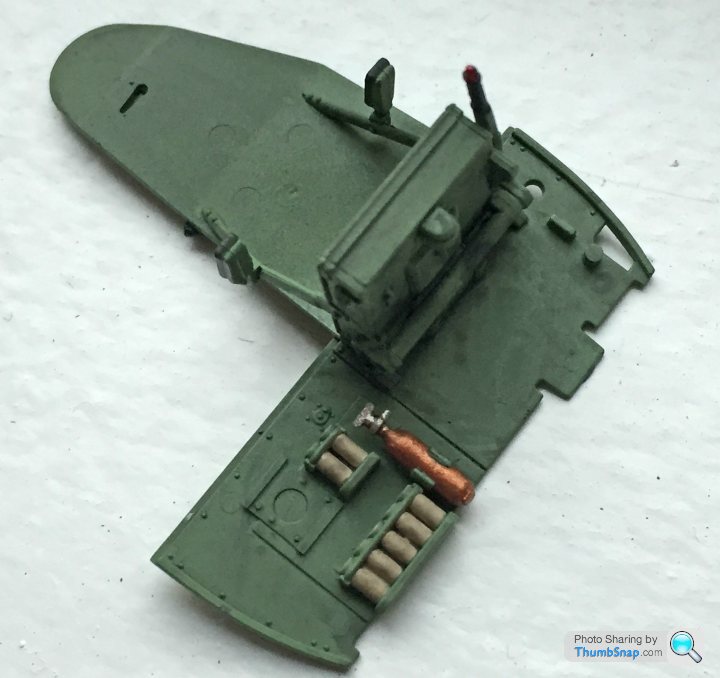
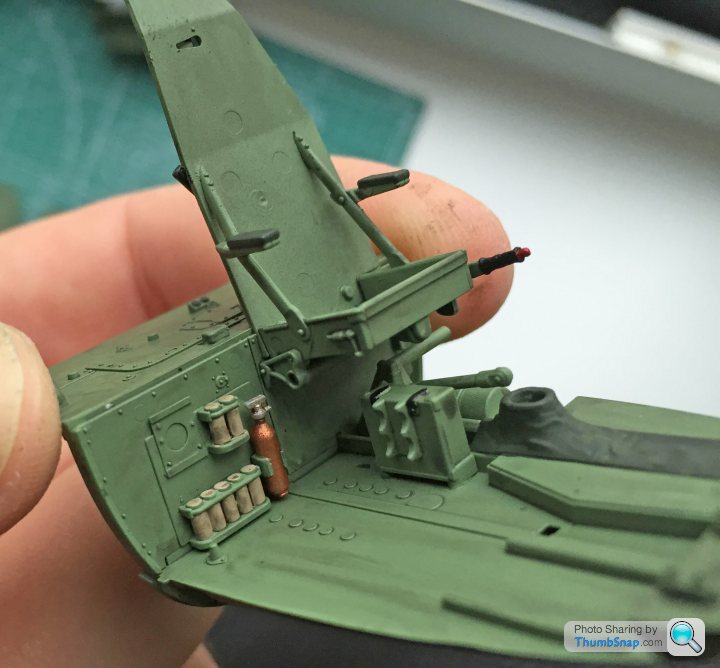
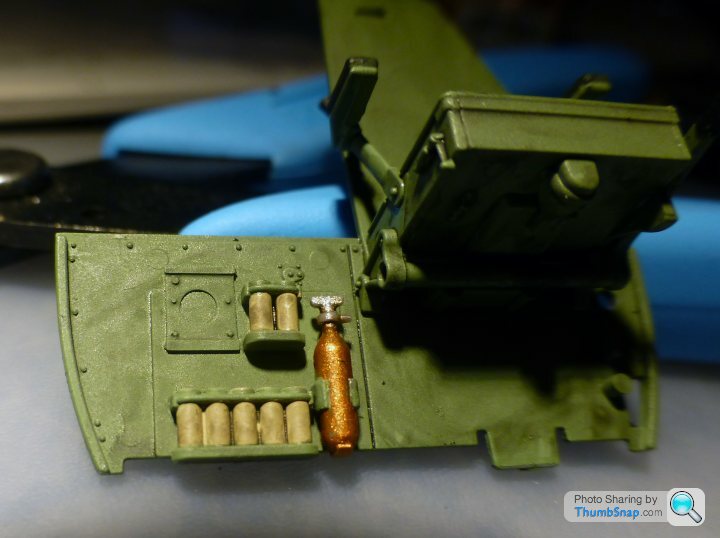
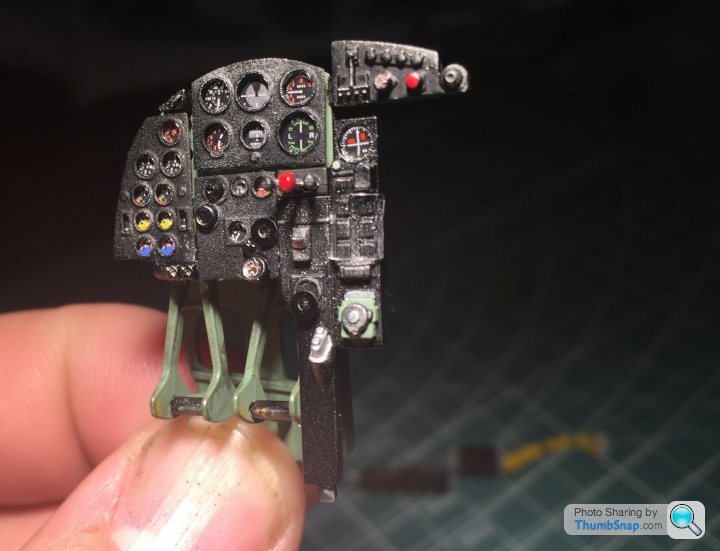
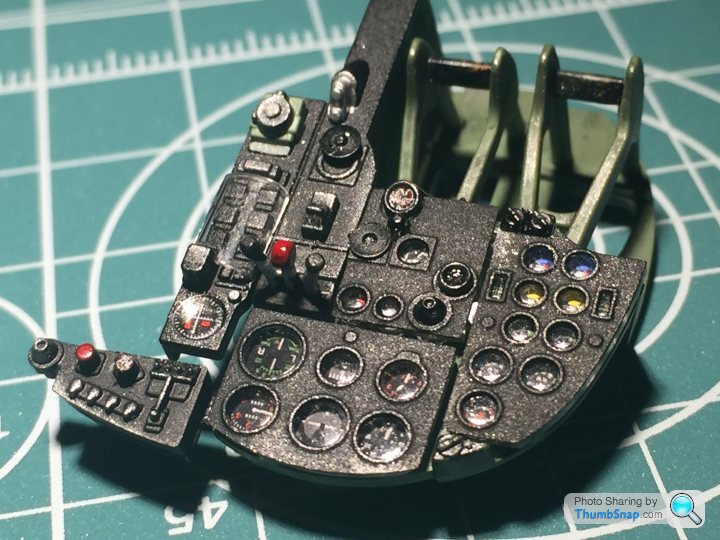
More progress...took the weathering back a bit with some light green over-spraying.
I'll re-do a dark wash when I have finished assembly of the interior.
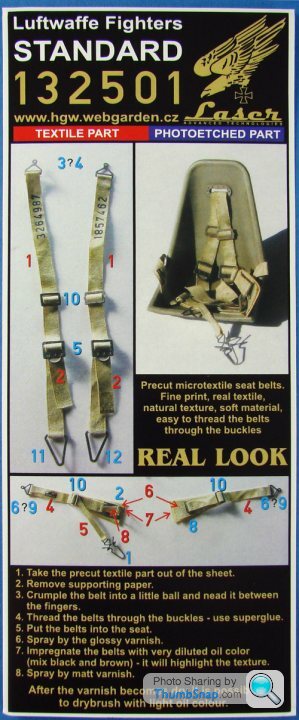
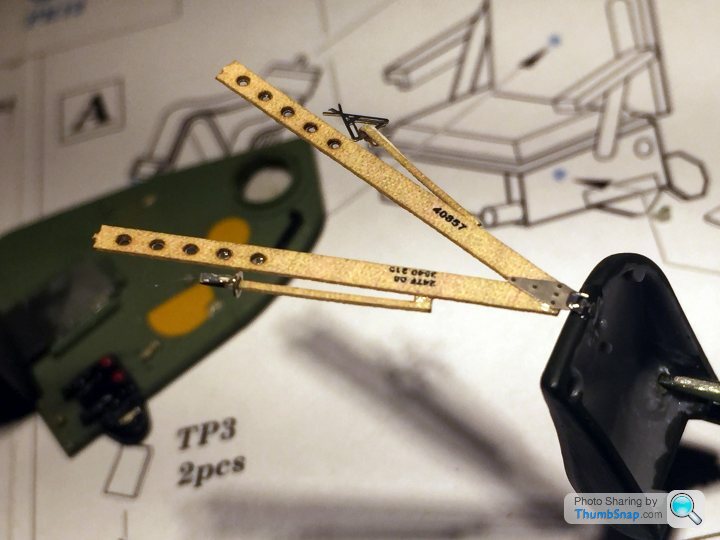
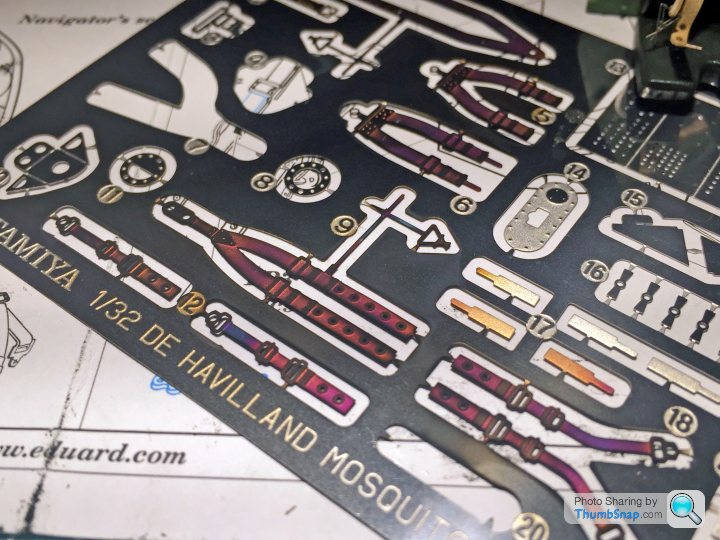
I got an Eduard seatbelt set - not convinced if I will use it, or stick to the Tamiya PE parts...
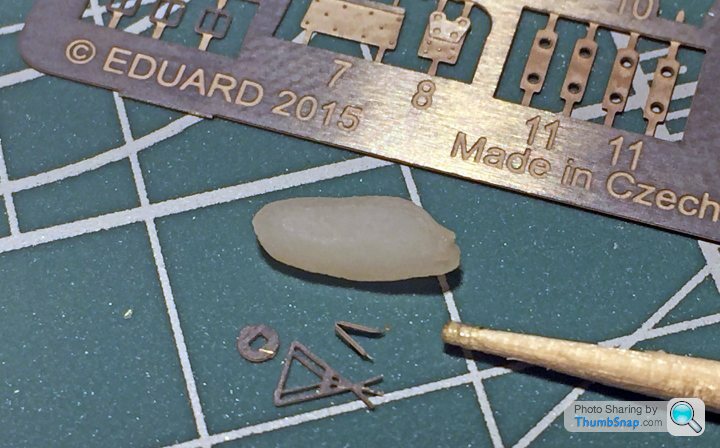
Tiny parts!! Grain of rice and cocktail stick for scale!
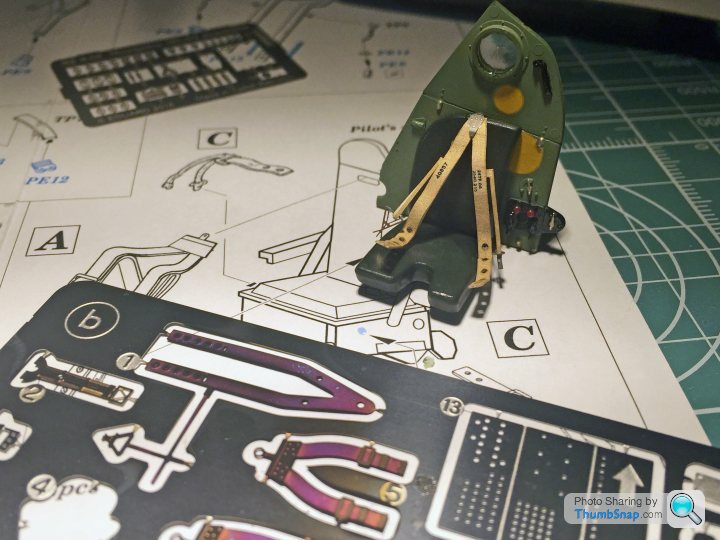
Tamiya PE
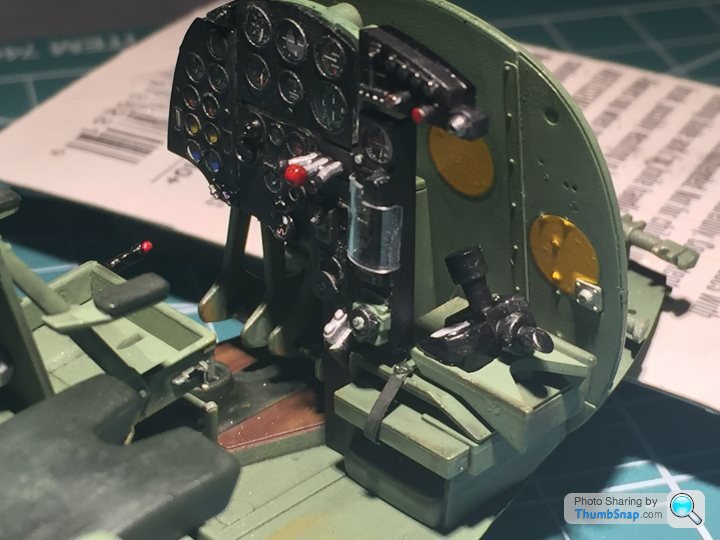
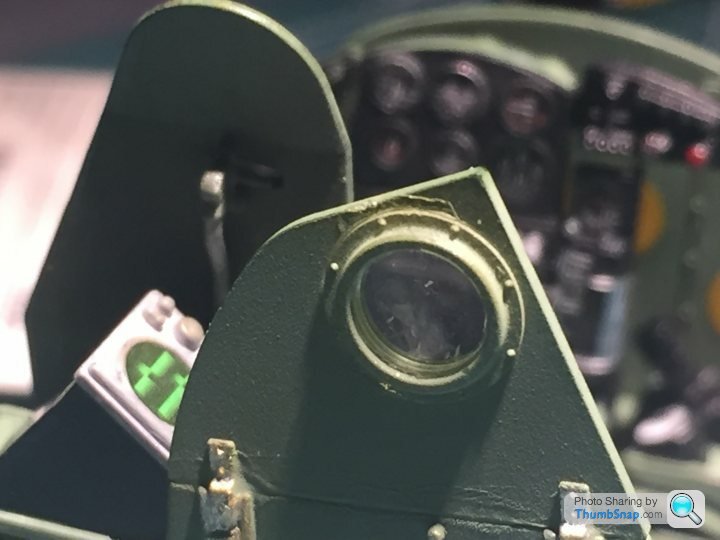
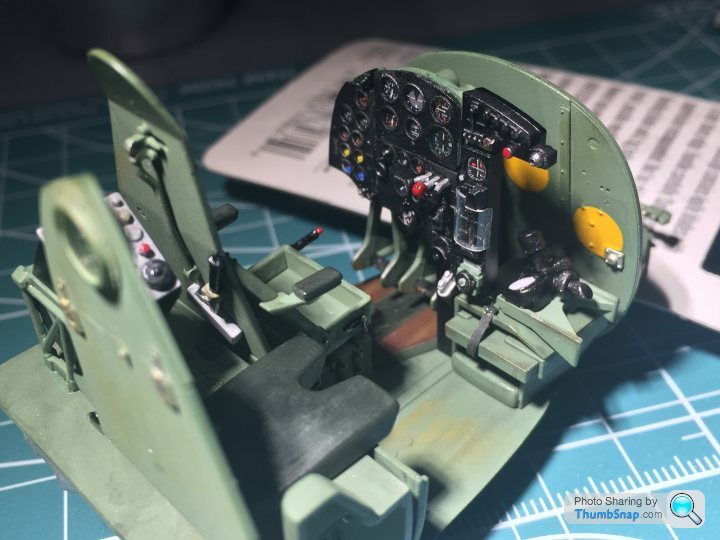


Not finished yet, still sub-assemblies to add to the interior.
I'll re-do a dark wash when I have finished assembly of the interior.


I got an Eduard seatbelt set - not convinced if I will use it, or stick to the Tamiya PE parts...

Tiny parts!! Grain of rice and cocktail stick for scale!


Tamiya PE


Not finished yet, still sub-assemblies to add to the interior.

Very nice - I would be killed for doing this kit so I stuck with 35th armour and a 72nd Sunderland in the stash.
On the weathering, try a 4B pencil on some of the edger, very easy to use and controllable and does a nice job on the edges and other areas that get worn. The finish is similar to a gun metal. The rudder pedals, seat edges and othercontact areas would benefit.
Washes are very effective as well. Newton and Windsor do a nice range of water based oil paints that will lat for every. Used with plenty of water they can be used to run along seam lines and around raised or sunken details. Try darker umber / senna shades as well as black. Available fro Hobbycraft (other airs & crafts stores are available).
Large paited secions as you cockpit subassemblies etc often benefit from a spray over with a dark primer coat before the colour coat. A black primer (Halfords rattle cans or Tamiya XF-1) will prepare the surface but also help out with shaddows etc in the hard to get to areas.The colour code will get in to the shadows but not as well as the main surfaces and so leaves a darker shade.
Looking good so far, enjoy.
I got myself a cheap kit to to use a a pait mule when I was playing around. That Tamiya kit is very nice piece of work and you may want to practice elsewhere.
Thanks guys - all great advice.
I also read that with washes - as I think 'Doc' mentioned above - it is better to clear-coat (ie: spray a clear gloss over) so that the wash will 'flow' better and come off where required - I assume then you re-matte with a matte spray?
Can I use 'Pledge' for this stage? I also have the Tamiya 'clear' acrylic spray as an option.
I got some rust etc colour enamels to thin down and wash with, as well as some of those oils...similarly, I also got some silver pencils etc for the 'chips'.
I'm reasonably confident about weathering the 'interior' parts, and engine etc - the outside of the aircraft, camo etc - that seems like a whole other set of skills!
Just keep in mind that only the instrument panel, pedals, control column and seat are metal. The fuselage sides, floor etc are painted plywood so don't got too mental with the metallic coloured wear if you do go that route.
It's looking fantastic so far by the way. It looks a great kit and you're building very nicely.
It's looking fantastic so far by the way. It looks a great kit and you're building very nicely.
Thanks - the kit goes together amazingly well, the fit of each part is very precise.
I fancied something different from the Caterham scratch build I should be doing (see http://www.pistonheads.com/gassing/topic.asp?h=0&a... and I love this plane.
I know what it will lead to - I want to do the 1/32nd Spitfire and hopefully a 1/32 Lancaster which I believe someone is developing....
Then it is back to 1/12 F1
jamieduff1981 said:
Just keep in mind that only the instrument panel, pedals, control column and seat are metal. The fuselage sides, floor etc are painted plywood so don't got too mental with the metallic coloured wear if you do go that route.
It's looking fantastic so far by the way. It looks a great kit and you're building very nicely.
The components with the yellow dots are metal as well, as are most of the radar/radio boxes, brackets and fixtures within the cockpit area.It's looking fantastic so far by the way. It looks a great kit and you're building very nicely.
A lot of folks also warn against chipping or abrading a Mosquito airframe to reveal bare silver aluminium, but the wooden parts were in fact coated with an aluminised silver anti-uv paint before the camo was applied, so it's not as invalid as many people assume. Also, most of the engine nacelle panels and many around them were metallic just like any other aircraft of more conventional aluminium construction.
Gassing Station | Scale Models | Top of Page | What's New | My Stuff


