Fujima Alfa Romeo T33 stradale - picture heavy (possibly)
Discussion
Hi
This is my first post in this forum and I need a little help / advice.
I used to be an avid modeller in my youth but haven't really done very much for some years. A few years ago I picked up a Fujima T33 stradale kit from hobby link japan with every intention of building it. When the kit arrived though one of the sections was finished in what can only be described as chrome painted plastic. I have attached a picture below so you can see what I mean. When I have had kits with these parts in the past I have found this finish impossible to paint. So the kit got put away in the cupboard.
Recent viewings of some of the outstanding work on this forum got me enthusiastic again so I dug the kit out, but still have the issue. I was hoping that someone would be able to offer some advice on the best way to:
A. Deal with the chrome parts
B. give me some general advice on how to approach the project
If anyone it's interested I would be happy to post my progress and turn this into a build thread.
Thanks in advance Rob.
Here's some pictures: (the parts I anticipate being the problem are pic 3)
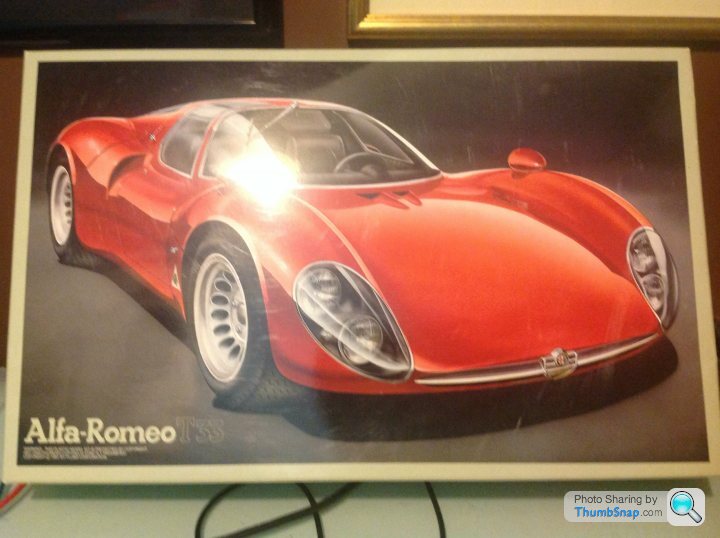
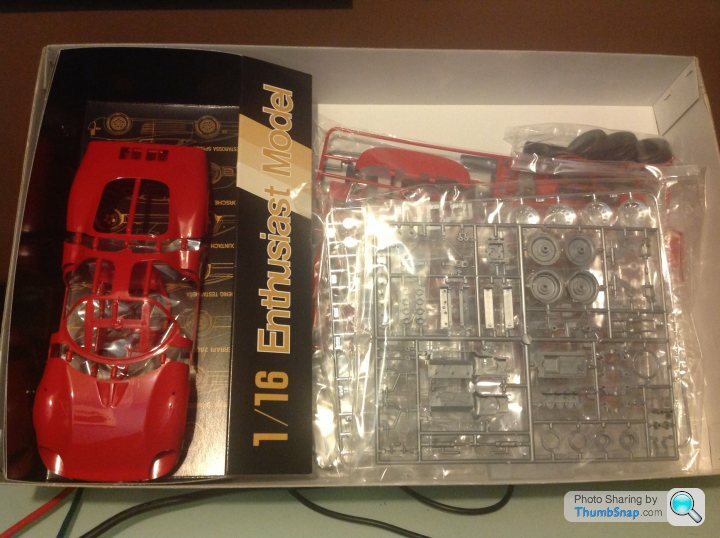
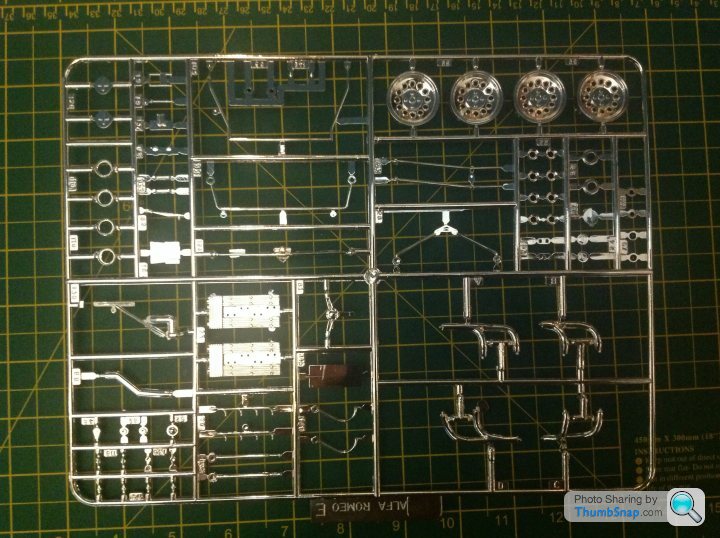


I would be interested in seeing a build thread.
I built a car model with engine detail, the build log is here if you're interested:
http://www.pistonheads.com/gassing/topic.asp?h=0&a...
I think you can remove the chrome plating by dipping/rubbing in ammonia.
ETA bleach (I've never done this BTW):
http://www.youtube.com/watch?v=GaXuYX6bv2M
I built a car model with engine detail, the build log is here if you're interested:
http://www.pistonheads.com/gassing/topic.asp?h=0&a...
I think you can remove the chrome plating by dipping/rubbing in ammonia.
ETA bleach (I've never done this BTW):
http://www.youtube.com/watch?v=GaXuYX6bv2M
Edited by dr_gn on Friday 11th October 20:21
robemcdonald said:
Thanks for the link. I'm going to give that a go tomorrow morning,
As for your build thread.........
That is somewhat intimidating. Incredible work. Don't expect anything like that from me though.
Avoid viewing any of his work, it makes you constantly unhappy and striving for perfection which does not exist!!!!!As for your build thread.........
That is somewhat intimidating. Incredible work. Don't expect anything like that from me though.
That looks a great little kit so looking forward to a build thread. I'm looking forward to the winter months so I can start my stash again.
Thanks for the comments, but I believe all you need is motivation, patience and some fairly basic equipment to improve a standard kit quite a lot. Nothing wrong with building as per kit instructions of course, but with some good reference pictures, fine tweezers and a bit of lead wire it's actually quite easy to improve a model with a small amount of work in the right places. Adding very simple things like tyre valves (something hardly ever represented on car models) and seatbelts makes an improvement disproportionate to the time taken to add them (IMO).
A brief update.
Mrs McDonald has taken our daughter to a friends birthday party, so I decided to give the de-chroming a go.
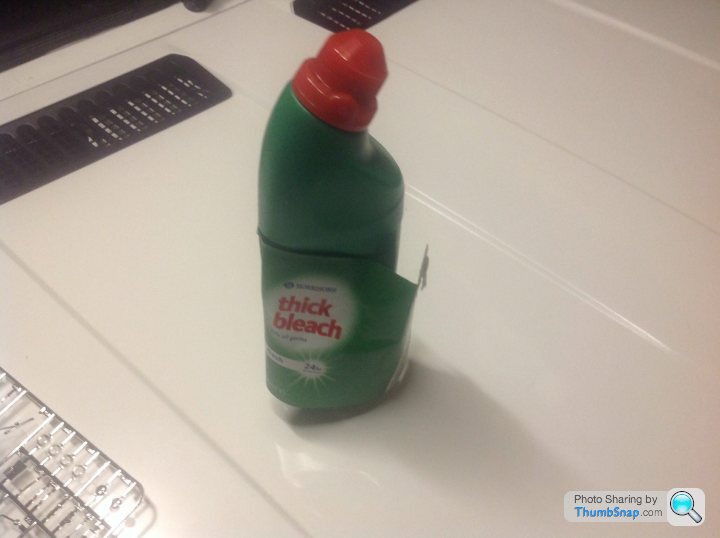
I used the bleach method as described in the posted YouTube link.
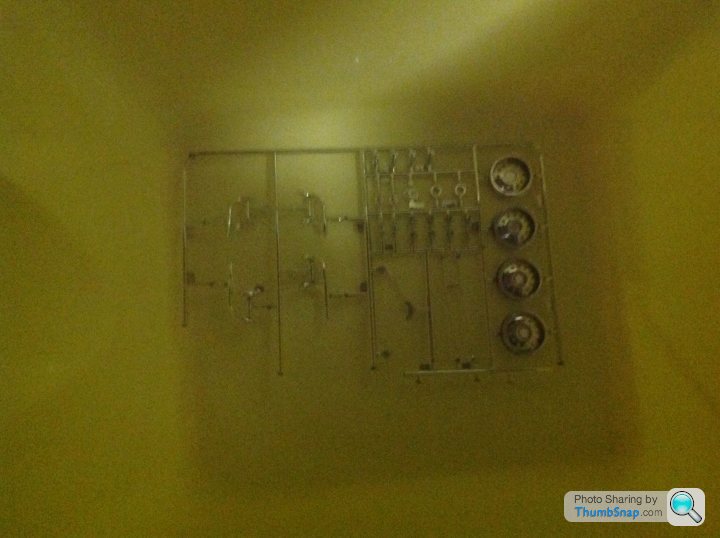
This is what I started out with
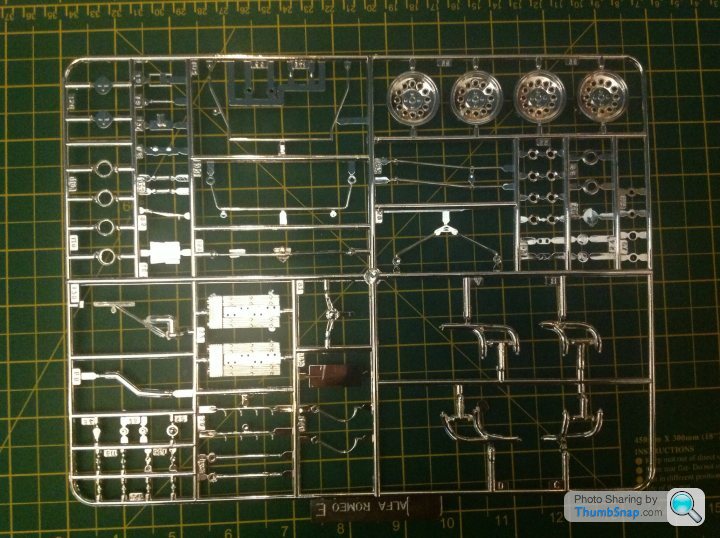
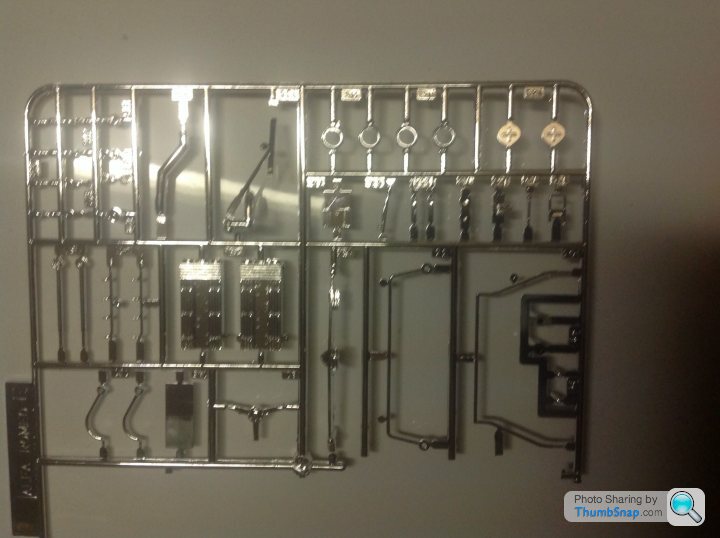
I wanted to try and do all the parts at once leaving them on the frame, but unfortunately the mop bucket was a bit small, so u had to go for two halves.
First half in the bucket
Second half on the bonnet of my Alfa
I used morrisons own brand bleach
The process took very little time and you could actually see the chrome dissolving.
Here are the parts after a good wash under a running warm water tap.
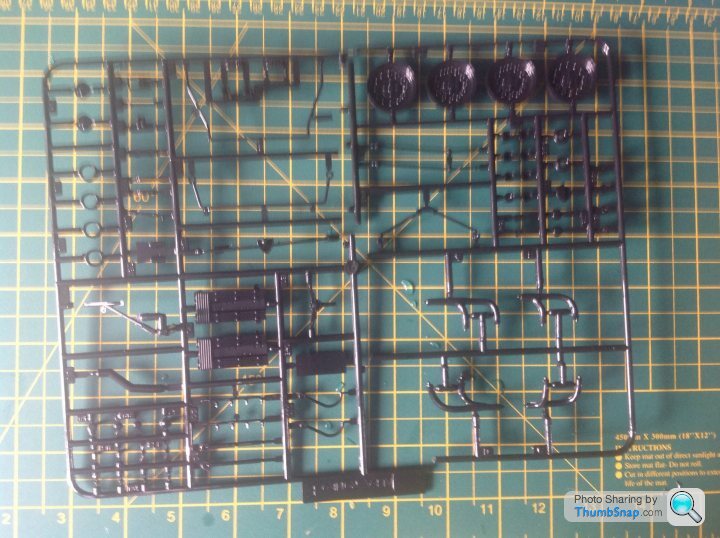
Sorry about the quality of the pictures. I'll try harder in future. Overall I am very pleased with how it's turned out and now have a lot more confidence for the project.
Mrs McDonald has taken our daughter to a friends birthday party, so I decided to give the de-chroming a go.
I used the bleach method as described in the posted YouTube link.
This is what I started out with

I wanted to try and do all the parts at once leaving them on the frame, but unfortunately the mop bucket was a bit small, so u had to go for two halves.
First half in the bucket

Second half on the bonnet of my Alfa

I used morrisons own brand bleach

The process took very little time and you could actually see the chrome dissolving.
Here are the parts after a good wash under a running warm water tap.

Sorry about the quality of the pictures. I'll try harder in future. Overall I am very pleased with how it's turned out and now have a lot more confidence for the project.
Another post for some advice.
I decided to follow dr_gn advice and get some reference photos. Relatively easy to find for this car. I have a few questions.
1. What would be the best method of producing a texture for carpet for the floor and leather for the upholstery?
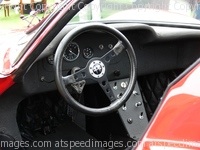
Different car below
i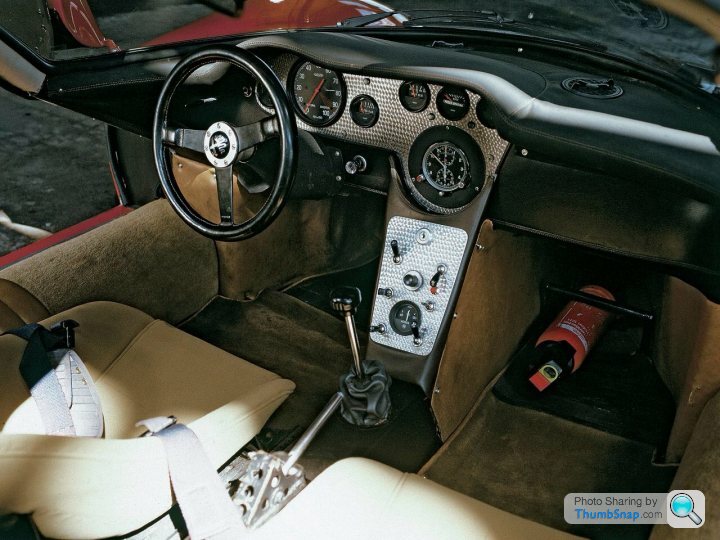
2. I seem to have been able to find pictures of two engine bays. Which should I go with?
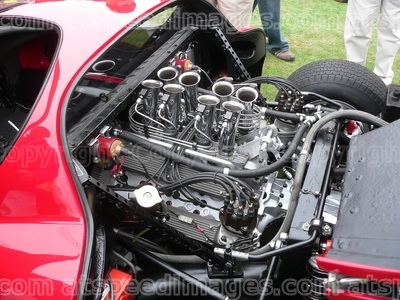
Or
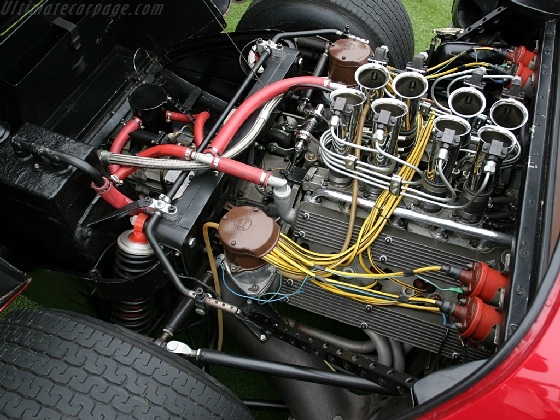
I think the first belongs to the 33 from Alfas museum (as does the interior pic). The second might look a bit more interesting at scale though.
Opinions please.
I decided to follow dr_gn advice and get some reference photos. Relatively easy to find for this car. I have a few questions.
1. What would be the best method of producing a texture for carpet for the floor and leather for the upholstery?

Different car below
i

2. I seem to have been able to find pictures of two engine bays. Which should I go with?

Or

I think the first belongs to the 33 from Alfas museum (as does the interior pic). The second might look a bit more interesting at scale though.
Opinions please.
Edited by robemcdonald on Saturday 12th October 12:09
For the carpet, do a search for "flocking".
Id go for the original engine, but its up to you. nothing to stop you using some modified elements to brighten things up though.
For the leather I'd use preshading coupled with a wash, followed by a satin varnish. This is what I used on my s2000 build, and the seats looked OK:
http://www.pistonheads.com/gassing/topic.asp?h=0&a...
Do you have an airbrush? If so preshading is easy: paint the base colour of the seats and then spray a very, very fine line of black along the creases/stitching. Then overspray with base colour again in light coats until the dark lines *just* show through. This gives the effect of subtly highlighting the lines and creases in the surface. A dark wash is just very thin paint capilliaried into the engraved lines in the part. You have to make sure that the main colour and wash are dissimilar paint types (ie enamel & acrylic), or else it will just all turn into a huge mess.
You could do a Google/Youtube search for all these techniques and they will be explained in much more detail.
The chrome removal looks like it worked perfectly - that's good news.
There is a good thread here on car body painting:
http://www.pistonheads.com/gassing/topic.asp?h=0&a...
Personally, I'd get that over with first before going to town on anything else like interior or engine. On a car like this it needs to be a very, very good finish, and it's worth asking someone like PH member RedFirecracker for advice on how to do it.
Edited by dr_gn on Saturday 12th October 13:08
This link should be helpful as there is a good image gallery for the car.
http://www.ultimatecarpage.com/car/968/Alfa-Romeo-...
As dr_gn says, the Tyrell thread has some good pointers for getting a good paint finish, but any questions, just yell. It's all in prep, so good work at the start pays dividends later on.
http://www.ultimatecarpage.com/car/968/Alfa-Romeo-...
As dr_gn says, the Tyrell thread has some good pointers for getting a good paint finish, but any questions, just yell. It's all in prep, so good work at the start pays dividends later on.
Great links. Thanks for the help guys.
I don't have an airbrush. I will see how I get on with this build and if it goes well I will put one on the Christmas list.
I was planning to use a rattle can similar to the tyrell thread. I think that's probably stage 1 of the build.
On a slightly different note. The actual quality of the kit doesn't look great. There isn't a lot of definition on some of the parts and generally there is a lot of flash from the moulding. In the past I built mostly tamiya kits and this didn't really seem a problem. Looks as though I'm going to be googling filling and sanding and adding to an ever growing reading list.
If you're going to use a rattle can, then I urge you to invest in some different nozzles for the cans. Street art suppliers, such as;
http://throw-up.co.uk/
https://www.graff-city.com/
will be able to sell you replacement caps that give a softer spray than the norm, which will help you to get a far better finish than standard nozzles or caps.
http://throw-up.co.uk/
https://www.graff-city.com/
will be able to sell you replacement caps that give a softer spray than the norm, which will help you to get a far better finish than standard nozzles or caps.
Red Firecracker said:
If you're going to use a rattle can, then I urge you to invest in some different nozzles for the cans. Street art suppliers, such as;
http://throw-up.co.uk/
https://www.graff-city.com/
will be able to sell you replacement caps that give a softer spray than the norm, which will help you to get a far better finish than standard nozzles or caps.
Just looked at the first link. Would the fat or skinny give a softer spray? I'm guessing fat, but don't want to go wrong.http://throw-up.co.uk/
https://www.graff-city.com/
will be able to sell you replacement caps that give a softer spray than the norm, which will help you to get a far better finish than standard nozzles or caps.
Red Firecracker said:
This link should be helpful as there is a good image gallery for the car.
http://www.ultimatecarpage.com/car/968/Alfa-Romeo-...
As dr_gn says, the Tyrell thread has some good pointers for getting a good paint finish, but any questions, just yell. It's all in prep, so good work at the start pays dividends later on.
Now it's coming to winter you never know I might be able to finish that Tyrrell thread off!!http://www.ultimatecarpage.com/car/968/Alfa-Romeo-...
As dr_gn says, the Tyrell thread has some good pointers for getting a good paint finish, but any questions, just yell. It's all in prep, so good work at the start pays dividends later on.
How's the Alfa coming along?
I will try and post a proper update later, but in summary after a bit of research (looking at pictures on the web)
It looks as though the model isn't really of an actual car. I'm not sure if it was made from production drawings or something, but there are a lot of errors between the kit and any car I can find pictures of.
The kit looks most like the the prototype in the Alfa museum because of front clam shut lines, so I will be using that as a target. The problem is the rear clam needs some modification in terms of cutting out vents and so on, so I'm working up to this.
So far I have removed all the moulding marks and flash and sanded flat with 1500 wet and dry. The next stage is to mark out and cut where I need to. Hopefully I will at least start this today and pictures will follow.
I did think about just making the model as it is, but wanted to challenge myself and treat it all as a learning exercise. Regardless of how it turns out I'll have an idea if I'm any good at this modeling lark.
dr_gn said:
What's your method for cutting the vents?
I cut a piece of masking tape to the size and shape of the vents. Placed them on the model, then scribed the shape onto the part. Then it was out with the trusty dremmel. Once that was done and looked okay I put everything back in the box and left it for 3 and a bit years.Why update now? I hear you not asking. Well once I've got my new airbrush up and running this will be back at the top of the list.
Updates soon.
Merry Christmas
Gassing Station | Scale Models | Top of Page | What's New | My Stuff


