1/12 scale Meng McLaren MP4/4
Discussion


Jim H said:
Morning Rob,
I’m curious, how did you strip the paint from the bodywork? I can’t imagine any solvent being kind towards plastic? I can imagine getting straight masked lines on that scale must be tricky.
Well it wasn’t easy. I used a product from deluxe materials. I think it’s called strip magic or something like that.I’m curious, how did you strip the paint from the bodywork? I can’t imagine any solvent being kind towards plastic? I can imagine getting straight masked lines on that scale must be tricky.
You can’t put it on and walk away though and have to rinse it off with Isopropyl alcohol or similar after a few minutes. Stripping the body took a couple of hours.
It’s far easier to get it right in the first place.
Rest assured the next attempt will be far more careful.
Jim H said:
Hi Rob, I hope I don’t distract you from your work.
You strike me as a person very much like myself. If it’s not right the first time, it will never do. The Bodywork.
Can I ask what brand of paints you use? I’m about to start painting a pilot for my RC plane - I just wondered what you would recommend?
Work… I have spent most of the morning thinking about mowing the lawn…. Whilst sitting on my arse.You strike me as a person very much like myself. If it’s not right the first time, it will never do. The Bodywork.
Can I ask what brand of paints you use? I’m about to start painting a pilot for my RC plane - I just wondered what you would recommend?
I use a variety of manufacturers paints. For this build it’s mostly Tamiya rattle cans or their lacquer paint.
If your bush painting you’ll probably be better off with Army Pinter acrylic paints or even games workshop ones as they’re probably more available.
What’s the pilot figure like? What’s is made out of? These might change the paints I’d recommend.
Please feel free to post a picture on this thread or the other one about painting figures.
https://www.pistonheads.com/gassing/topic.asp?h=0&...
Edited by robemcdonald on Saturday 18th May 12:25
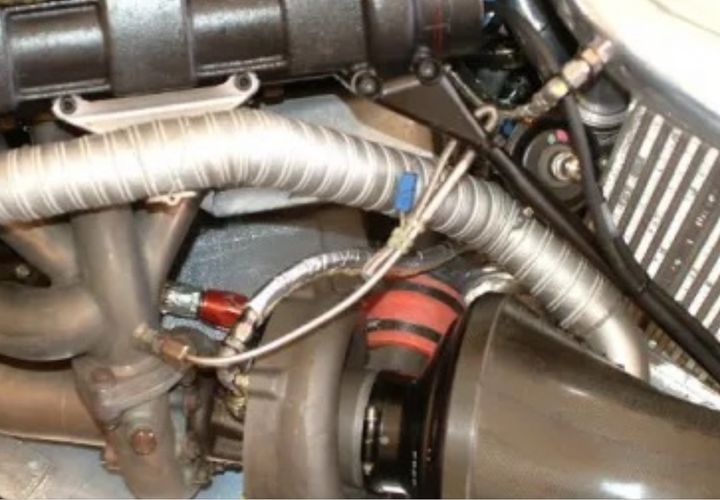
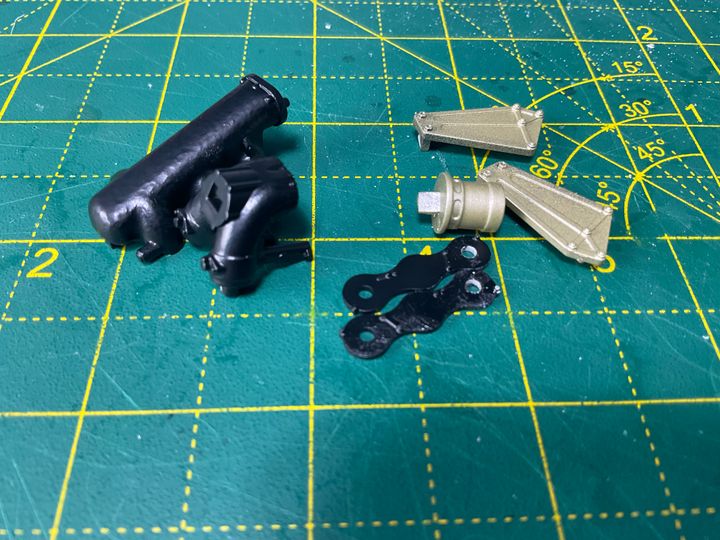
So there are these pipes that run from the intercooler to the turbo.
Here’s a picture from the actual car.
In the kit they look like the top image in this picture. So I experimented with using thin masking tape as a wrap.
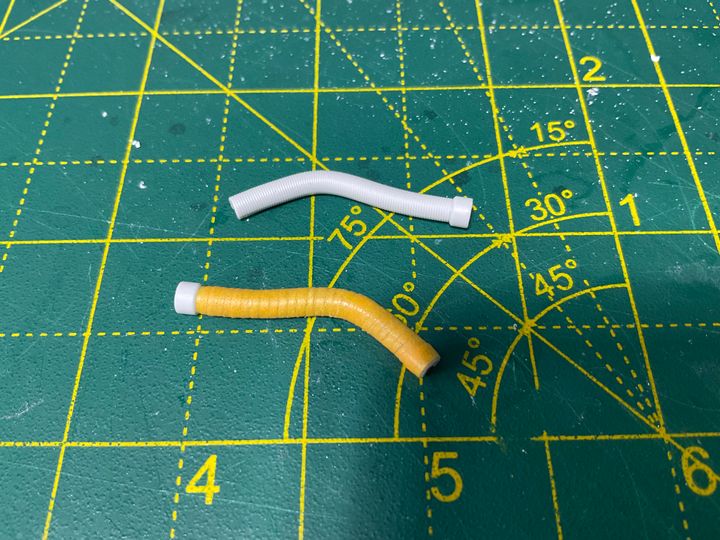
Once painted they look a bit more interesting.
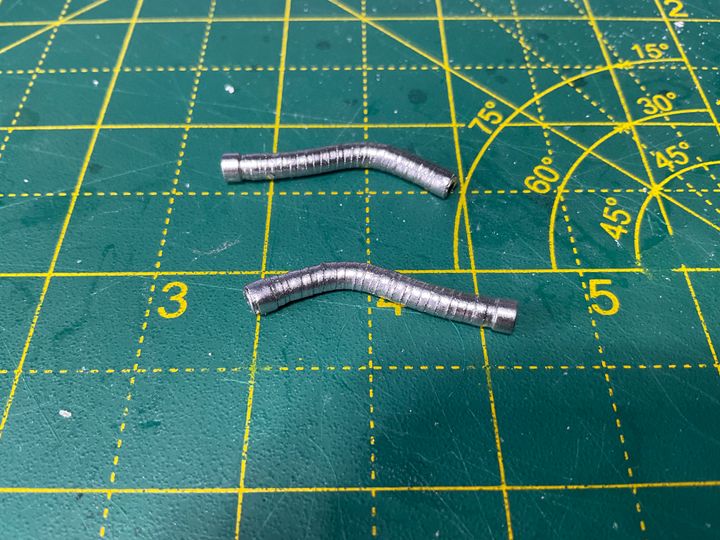
They’re not 100% accurate, but it’s better than the kit offering IMO.
They look okay on the model
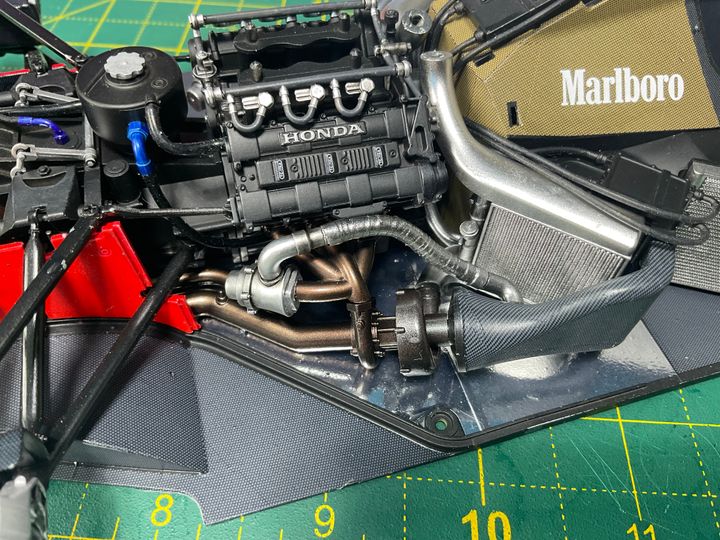

Next up the inlet manifold and restrictor.

All the new pieces in place and I think that’s pretty much the engine completed
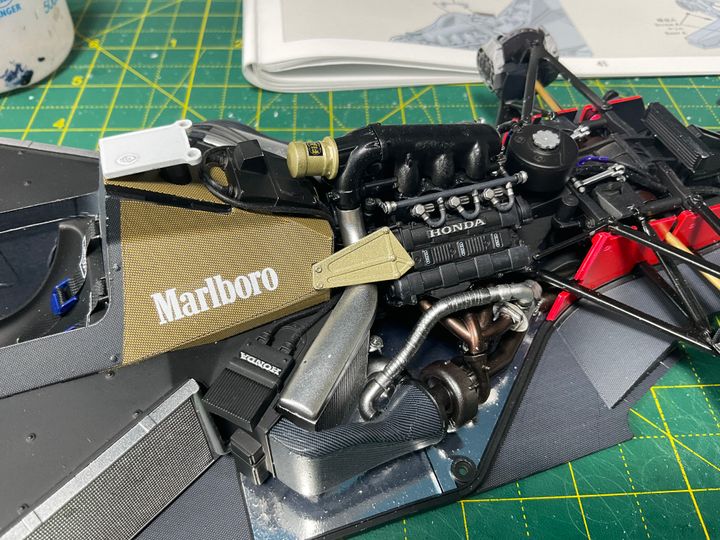
I want to add a wash to the lighter parts to make the detail pop and maybe a little dry brushing on the darker stuff too.
Here’s a picture from the actual car.
In the kit they look like the top image in this picture. So I experimented with using thin masking tape as a wrap.
Once painted they look a bit more interesting.
They’re not 100% accurate, but it’s better than the kit offering IMO.
They look okay on the model
Next up the inlet manifold and restrictor.
All the new pieces in place and I think that’s pretty much the engine completed
I want to add a wash to the lighter parts to make the detail pop and maybe a little dry brushing on the darker stuff too.
sidewinder500 said:
This one was a quick one, wasn't it?
Impressive, and a very good looking model from what you can see.
Is it comparable to Tamiya models or more like the old big Heller kits from the early 80s?
It’s not quite finished yet.Impressive, and a very good looking model from what you can see.
Is it comparable to Tamiya models or more like the old big Heller kits from the early 80s?
I’ve never built either of the kit you mentioned. I guess the Tamiya one could offer better fidelity if you bought all of the aftermarket bits and bobs that are available.
This kit retails for around £140 if you built this and the Tamiya “out of the box” I think this might come out a bit better….
It’s a very nice kit and mostly goes together very well. I think for the price it’s hard to beat (although I did have to pay £20 for the Marlboro decals and £10 for the tyre stencils)
Gassing Station | Scale Models | Top of Page | What's New | My Stuff