Christmas Group Build?
Discussion


In other news
The tamiya F35 looks amazing.
As does (rather surprisingly) the Airfix spitfire. I think it’s the first airfix kit I’ve seen with slide moulding and the surface detail is quite lovely with very nice oil canning on the fuselage and lower wings.
Quite excited about both of them.
The tamiya F35 looks amazing.
As does (rather surprisingly) the Airfix spitfire. I think it’s the first airfix kit I’ve seen with slide moulding and the surface detail is quite lovely with very nice oil canning on the fuselage and lower wings.
Quite excited about both of them.

tangerine_sedge said:
I've had an irrational desire to build the re-re-re-re-released Westland Whirlwind HAS.22 for the last couple of years and a last minute trip to Jadlams shop in Glastonbury before Christmas got me this beauty. I'm sure a kit first released in 1956(!) won't cause me any problems....

Not many parts on the sprues...

In fact, fewer parts then expected - one of the seats was missing, one of the side transparencies was missing, but I do seem to have an extra undercarriage leg... I've quickly cobbled together some simple seats (they won't be seen through the 'transparencies'), and used some plastic packaging to make a simple window for the side door.

Painted the pilots, and threw the fuselage sides together. This is a very tired mould, there is going to be lots of work just to make this kit look like a badly made model!

The next step is to break out the filler, attempt to rescribe some of the seam-crossing details so that they match up (notably the vents on the nose), and a general clean up to enable me to get the airbrush out and paint the damn thing.
Looks pretty good. Last one of those I built was about 1983! IIRC it was silver plastic back then.Not many parts on the sprues...
In fact, fewer parts then expected - one of the seats was missing, one of the side transparencies was missing, but I do seem to have an extra undercarriage leg... I've quickly cobbled together some simple seats (they won't be seen through the 'transparencies'), and used some plastic packaging to make a simple window for the side door.
Painted the pilots, and threw the fuselage sides together. This is a very tired mould, there is going to be lots of work just to make this kit look like a badly made model!
The next step is to break out the filler, attempt to rescribe some of the seam-crossing details so that they match up (notably the vents on the nose), and a general clean up to enable me to get the airbrush out and paint the damn thing.

gruffgriff said:
What colour for the Alpine Spotted?
I've rosy memories of building the 928, XJS, Mini, DS, R5 Turbo, Gr4 Monte Carlo from that range!
Hmmm, good question. It's an early so needs to be something suitably period. Metallic blue seems to be something of a default choice but a quick search shows others in yellow, boiled sweet green, red and silver, etc.I've rosy memories of building the 928, XJS, Mini, DS, R5 Turbo, Gr4 Monte Carlo from that range!
I saw this one a few years ago, and I have a metallic bronze can that would be a good match:

Alpine Renault A310 by Spottedlaurel, on Flickr
I'll have a rummage through the cans I have in stock.
I built the Mini years ago and still have most of it. Would like to find the Renault 20 and one or two others.
dr_gn said:
Looks very smart. I guess you’ll be building another this week?
Is the Airfix Spitfire the usual crappy light grey plastic, or is it the new dark grey stuff?
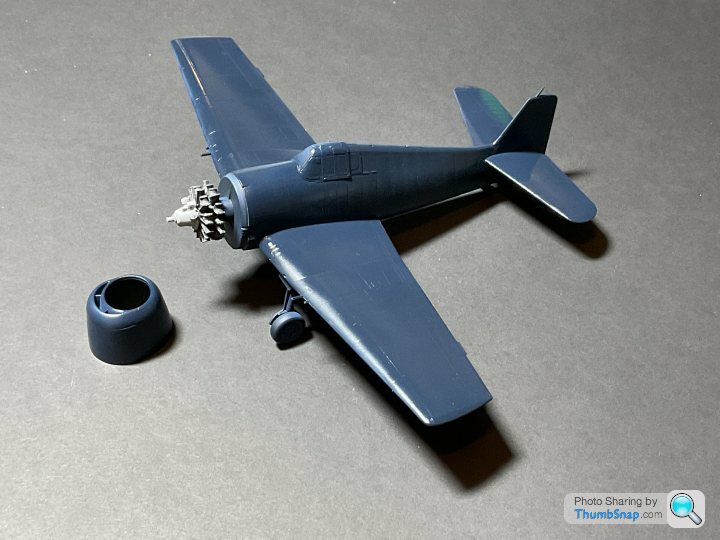
Plastic seems fine, not quite tamiya standard, but lots of nice sharp details. I’ll do a build thread when I put it together, but the lighting first I think…. Well second, need to finish the Hellcat firstIs the Airfix Spitfire the usual crappy light grey plastic, or is it the new dark grey stuff?
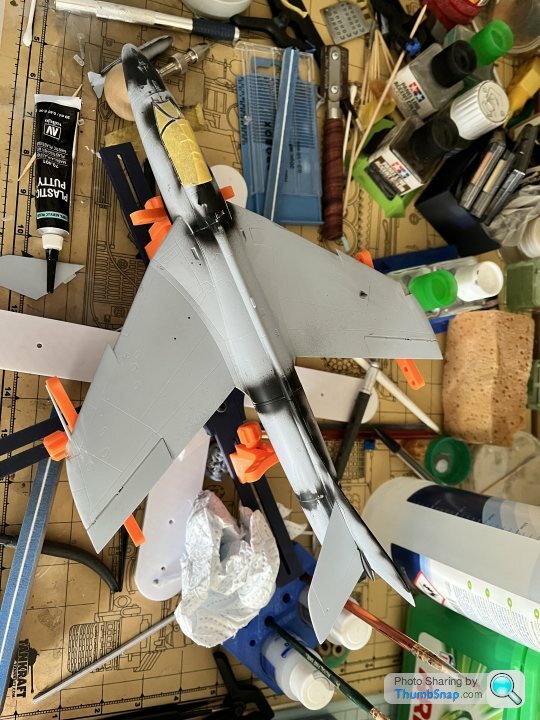
I just spent 2 hours on this P.O.S. Spitfire. Re-scribed the engine cover line:
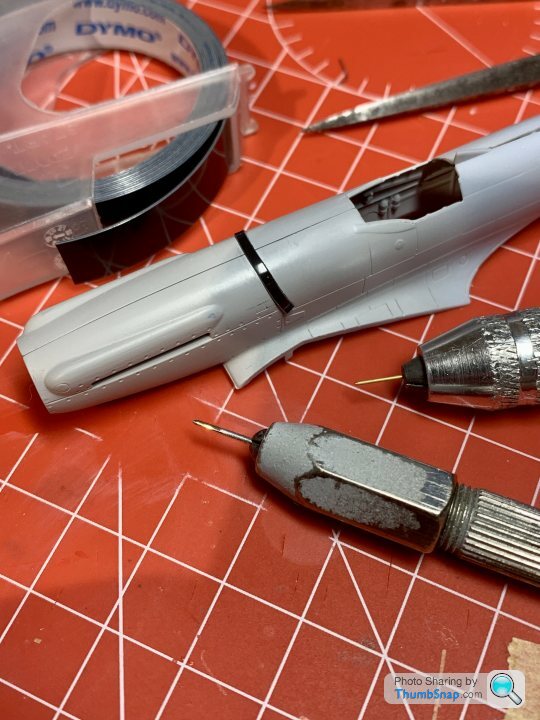
Which looked fine, but making the cover fastener dimples proved too much - they looked OK but the spacing was wrong:
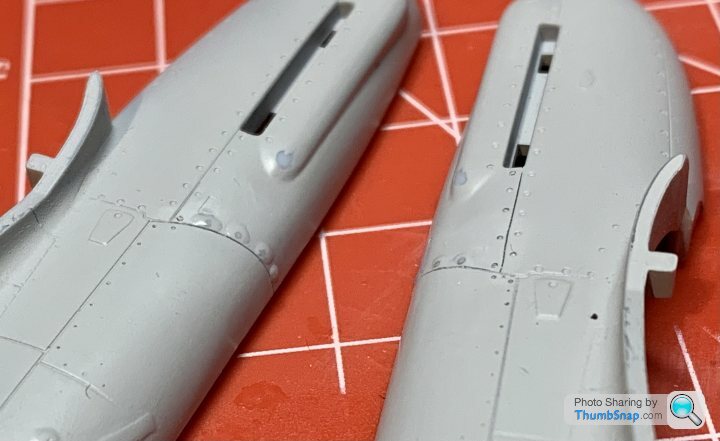
So, more dissolved plastic, another day to let it set. Then it’ll need flatting, priming again and another go.
Moved on to the atrocious wheel wells to try and smooth the filled ejector pin marks, but it’s so confined in there it’s almost impossible to get right:
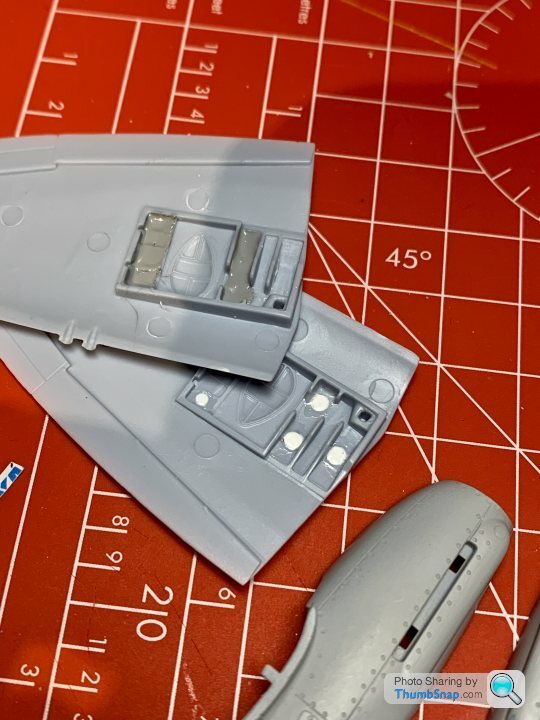
Short of scraping the whole lot away and making my own details from plastic card, I have no idea how to correct this.
So, like the Vulcan, an utterly miserable experience. I get the folks who say just finish it, but tbh I’d get no pleasure whatsoever from completing it without correcting the obvious errors. The irony of starting a group build thread and then probably not completing a model myself isn’t lost on me by the way.
Which looked fine, but making the cover fastener dimples proved too much - they looked OK but the spacing was wrong:
So, more dissolved plastic, another day to let it set. Then it’ll need flatting, priming again and another go.
Moved on to the atrocious wheel wells to try and smooth the filled ejector pin marks, but it’s so confined in there it’s almost impossible to get right:
Short of scraping the whole lot away and making my own details from plastic card, I have no idea how to correct this.
So, like the Vulcan, an utterly miserable experience. I get the folks who say just finish it, but tbh I’d get no pleasure whatsoever from completing it without correcting the obvious errors. The irony of starting a group build thread and then probably not completing a model myself isn’t lost on me by the way.
MBBlat said:
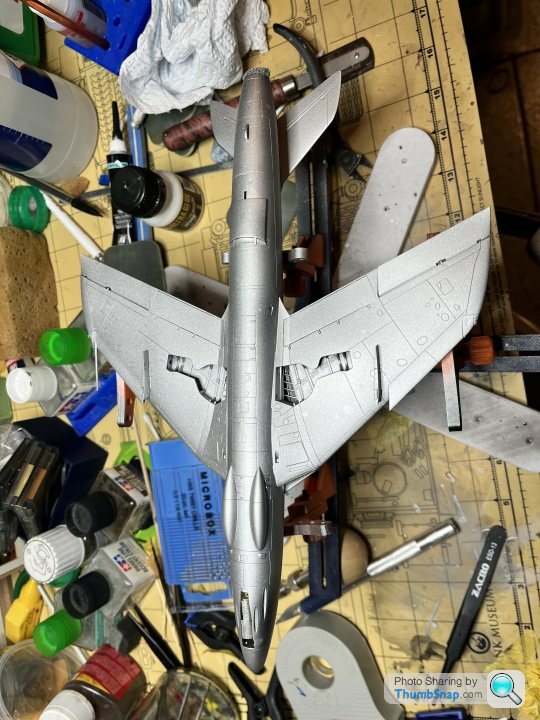
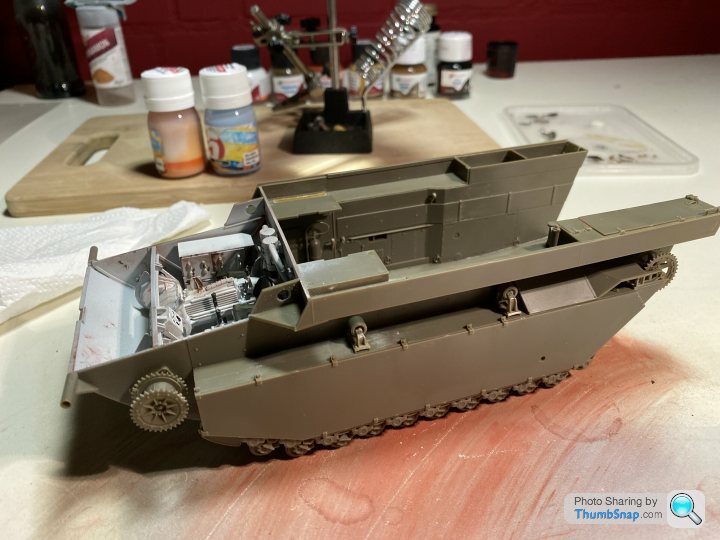
Underside painted in XF-16, may be a bit bright as although the instructions call out silver, and it was apparently dull aluminium, period photos seem to look more as a satin light grey.
I will let it dry overnight then start on the cammo tomorrow.
dr_gn said:
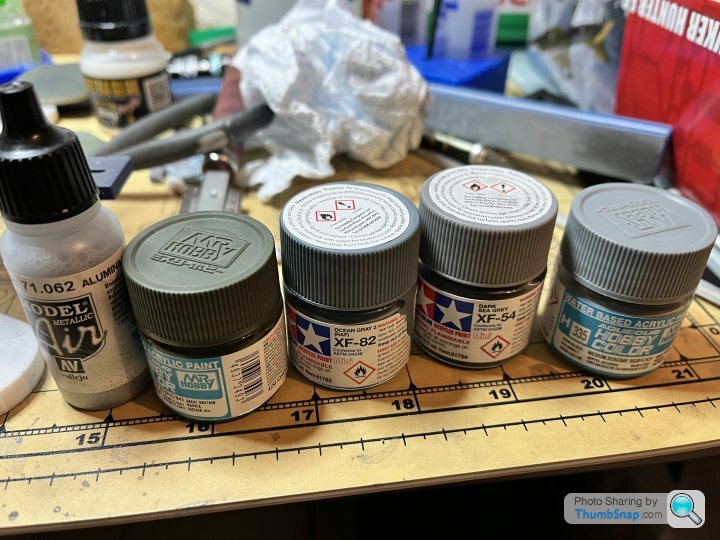
It’ll be “High Speed Silver”, which was basically aluminium colour that often looks like a dull grey in photos. I find XF-16 is a bit glitter-ball. Vallejo Air aluminium is my go-to paint for that type of thing, over coated with Matt varnish.
I like, read am actually capable of getting good results, Tamiya for airbrushing, plus I had XF-16 to hand and all my other aluminium paints are shinier. Just as an experiment I tried painting one of the spare rocket pods with Vallejo Air Aluminium - it may be me but I find it almost too thin.
Next problem is which grey to use, Mr Hobby 385 is the correct BS code but looks too light, XF-82 is too dark.
Current state of play:
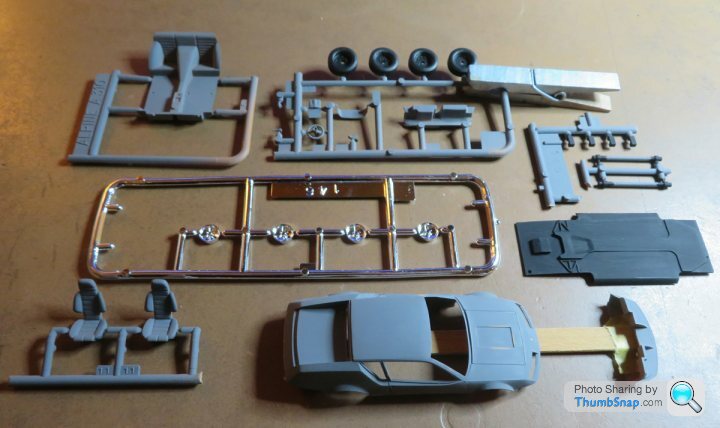
Rear bumper/valance attached to bodyshell and ready for colour. Front bumper/spoiler has a positive fit and I'm going to leave it unattached until final assembly, as it'll be easier to add chrome/foil to the recessed headlights that way.
Have started slapping a bit of brush-painted Revell enamel around. #9 works well for rubber and 'black' trim I find, and the floorpan got some matt black as it won't get seen again. Interior next on the list.
Dinky little alloy wheels need a coat of semi-gloss clear to tone down the shiny plating.
Unfortunately a packed-up boiler means I'll have devote time and energy to sorting that today, hopefully I can keep the kit moving along. With such small pieces I'm finding it easy to do something, anything between other stuff.
Gassing Station | Scale Models | Top of Page | What's New | My Stuff