Christmas Group Build?
Discussion


dr_gn said:
robemcdonald said:
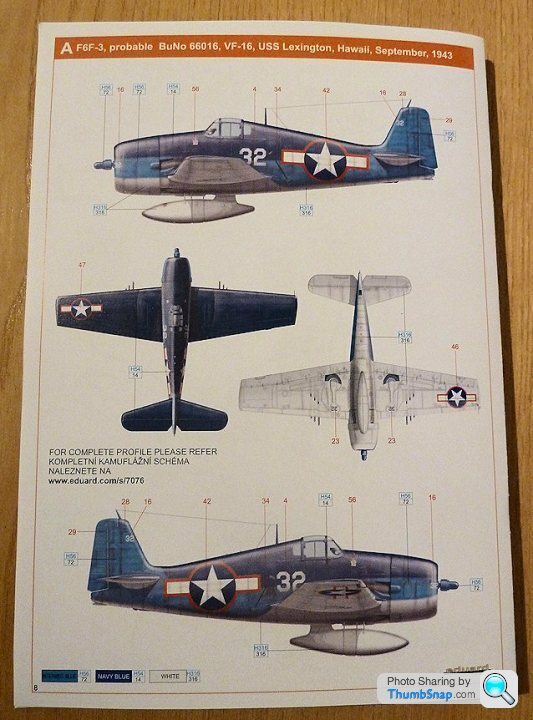
Good choice - I built the F6F-3 version a few years ago - one of the nicest kits you'll find (and you don't have to use the photo-etch if you don't like it).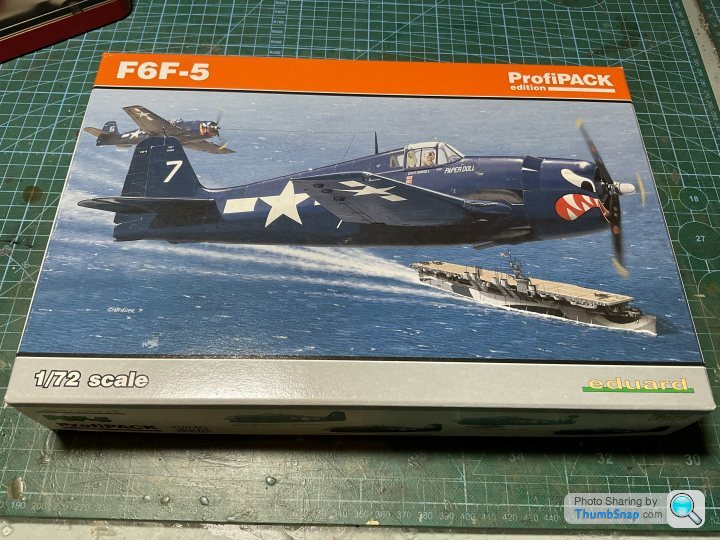
1/72 is a little smaller than I remember.
You're all making my choice look a little lame now...but I'm on the road...a classic from 1966 I didn't build in my youth:
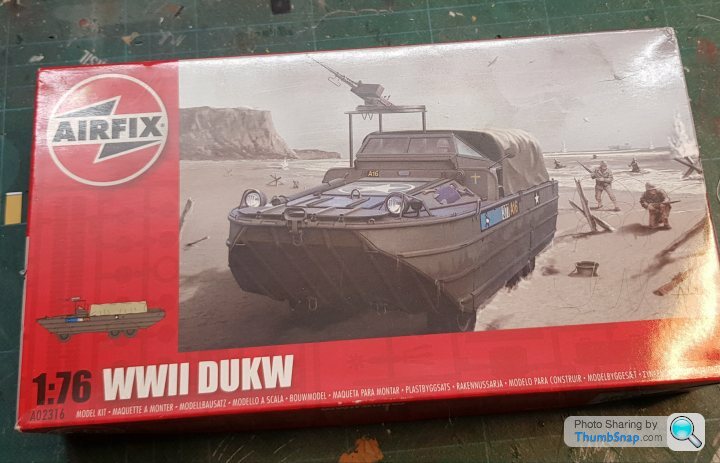
Few parts, '66 crude but tooling only a little scarred for it's age.
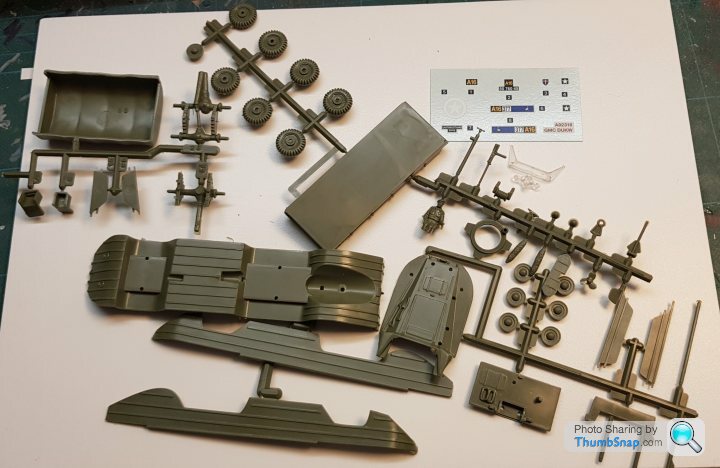
Bit of filing and hull goes together well enough but I've added some superglue fillets inside to help keep it together when the saw comes out later..
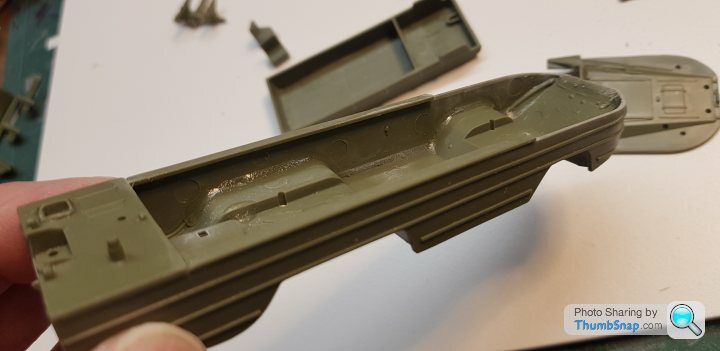
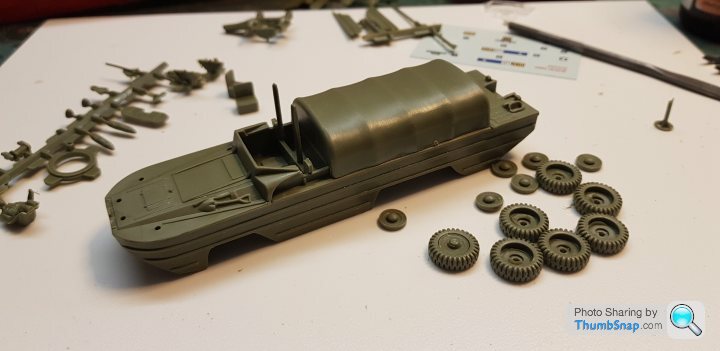
So basic hull box section is together, liquid and cyano glue curing. Not going to use the over thick kit mg ring or simple tilt. Got an idea to have fun with it though....saw definitely required..
Looking forward to posts it 72nd, 43rd and 24th!
Few parts, '66 crude but tooling only a little scarred for it's age.
Bit of filing and hull goes together well enough but I've added some superglue fillets inside to help keep it together when the saw comes out later..
So basic hull box section is together, liquid and cyano glue curing. Not going to use the over thick kit mg ring or simple tilt. Got an idea to have fun with it though....saw definitely required..
Looking forward to posts it 72nd, 43rd and 24th!
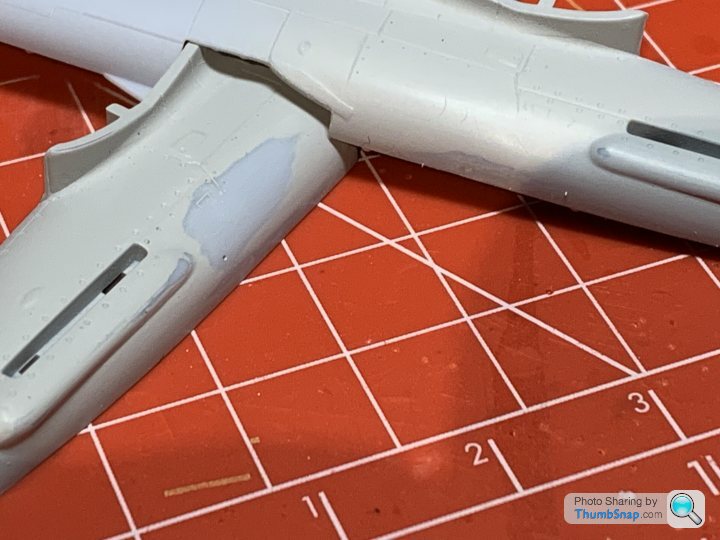
I continued the dissolved sprue experiment with the Spitfire, and it worked fairly well. After a coat of primer, the panel line flaws and grotesque filler cap ‘details’ have gone, and it should be easier to re-scribe than brittle filler. I did find a small dimple, which I think was part of the moulding error behind the exhaust bulges:
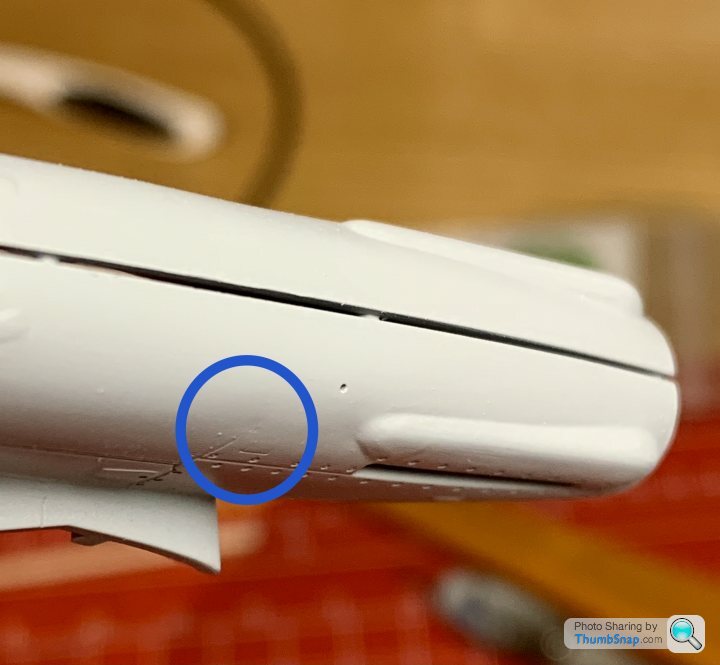
I’ve applied some more plastic goo to that, so after Christmas I’ll try and smooth it back:
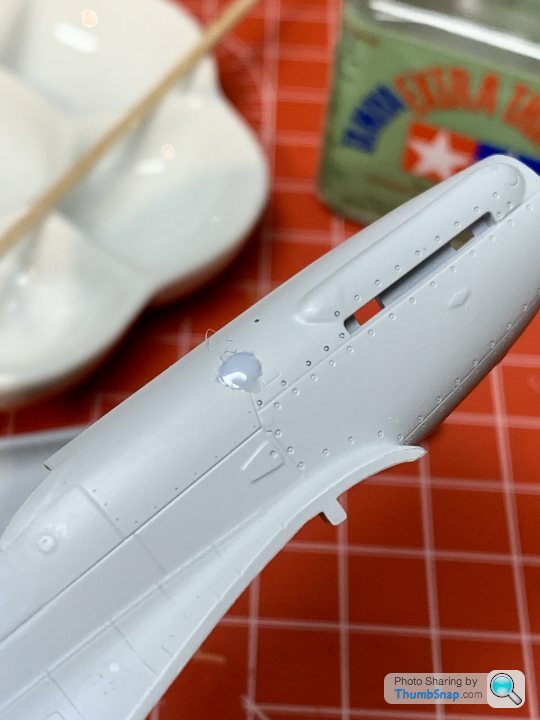
I’ll have spent more time sorting these faults out than I intended to spend on the entire kit, but there we go.
I’ve applied some more plastic goo to that, so after Christmas I’ll try and smooth it back:
I’ll have spent more time sorting these faults out than I intended to spend on the entire kit, but there we go.
Good to see more taking part.
Contents of mine:
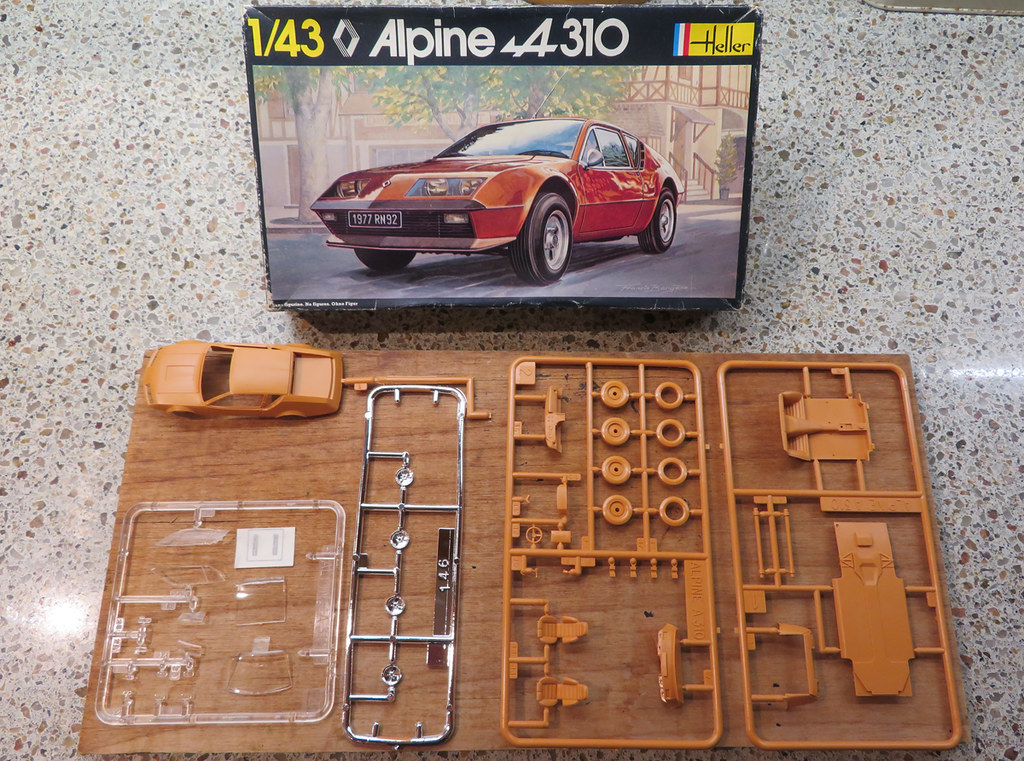
1:43 Heller Renault Alpine A310 kit by Spottedlaurel, on Flickr
Sadly the bodyshell has been squashed at some point, with damage to the roof pillars:

1:43 Heller Renault Alpine A310 kit by Spottedlaurel, on Flickr
I'm not going to attempt any clever reshaping of it, just try and make the bends and breaks weak enough that it'll take up its correct-ish shape once the glass goes in.
Bodyshell has already had a quick session of gentle sanding and washing and it's now sitting in the boiler cupboard drying out ready for primer later today.Thinking of which I must get the rattle can in there too. Unlike yesterday, it's a decent day so I can move the 1:1 car out of the garage and get some primer down on the body and other sprues, setting me up nicely for some colour after Christmas/Boxing Day.
Contents of mine:
1:43 Heller Renault Alpine A310 kit by Spottedlaurel, on Flickr
Sadly the bodyshell has been squashed at some point, with damage to the roof pillars:
1:43 Heller Renault Alpine A310 kit by Spottedlaurel, on Flickr
I'm not going to attempt any clever reshaping of it, just try and make the bends and breaks weak enough that it'll take up its correct-ish shape once the glass goes in.
Bodyshell has already had a quick session of gentle sanding and washing and it's now sitting in the boiler cupboard drying out ready for primer later today.Thinking of which I must get the rattle can in there too. Unlike yesterday, it's a decent day so I can move the 1:1 car out of the garage and get some primer down on the body and other sprues, setting me up nicely for some colour after Christmas/Boxing Day.

dr_gn said:
Looks a nice moulding. Is it worth putting some liquid cement behind the windscreen pillar bends to try and soften the plastic a bit - maybe take the stress out of it? Does the windscreen fit ok?
Could be worth a try. I was planning to cement some very thin styrene sheet inside them as well.Primer's on, sadly the lovely caramel colour has gone.

robemcdonald said:
Merry Christmas all.
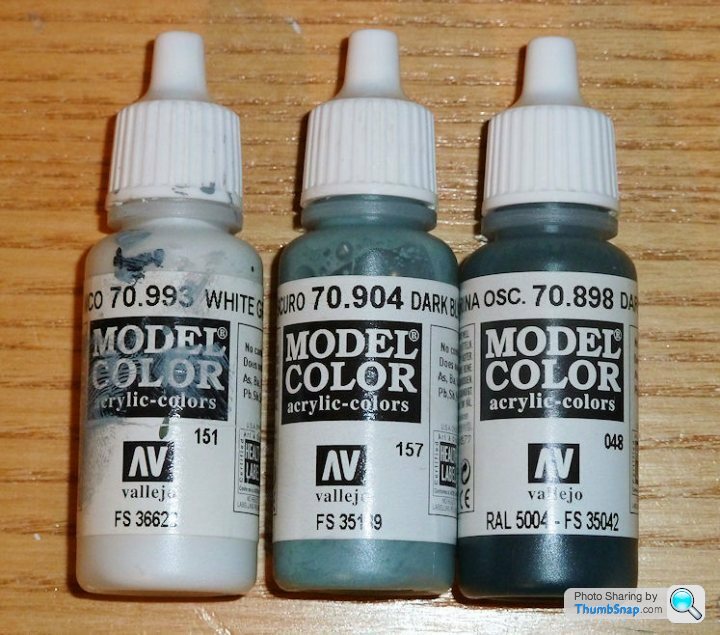
Last night I was messing about trying to get the colour right.
I got to this,before calling it a night
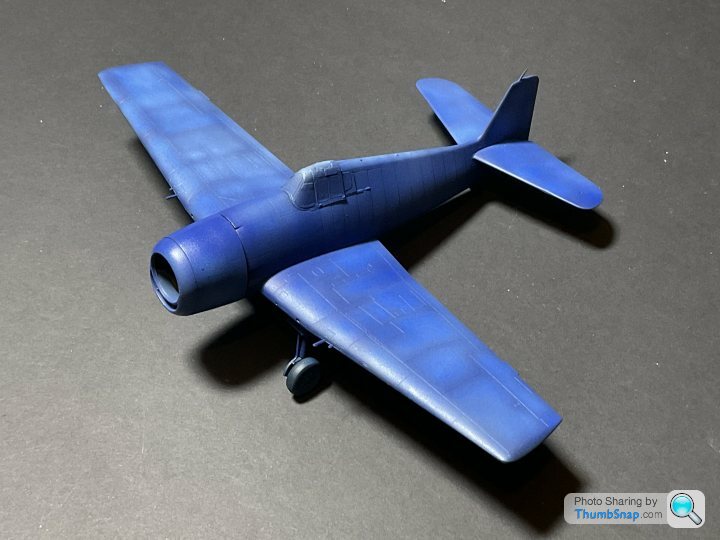
Obviously it’s not right, so I did a bit this morning before everyone got up
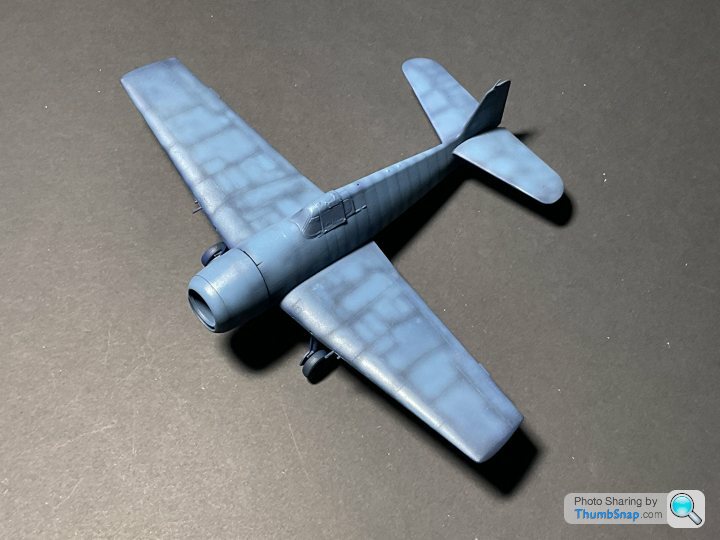
I want to go for that really faded look, but can’t seem to nail it.
Happy Christmas all.Last night I was messing about trying to get the colour right.
I got to this,before calling it a night
Obviously it’s not right, so I did a bit this morning before everyone got up
I want to go for that really faded look, but can’t seem to nail it.
For fading I think I read pastels or weathering powders might work, or adding a drop of white to base colour and mottling the centres of panels. Never tried it though.
I've had an irrational desire to build the re-re-re-re-released Westland Whirlwind HAS.22 for the last couple of years and a last minute trip to Jadlams shop in Glastonbury before Christmas got me this beauty. I'm sure a kit first released in 1956(!) won't cause me any problems....

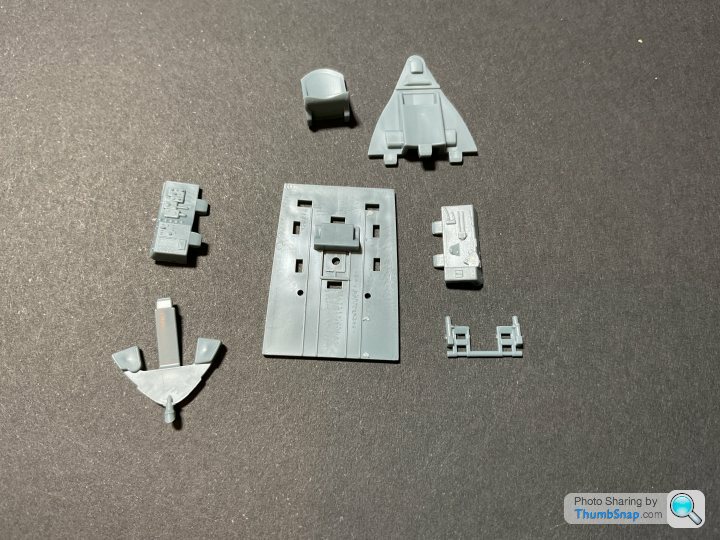
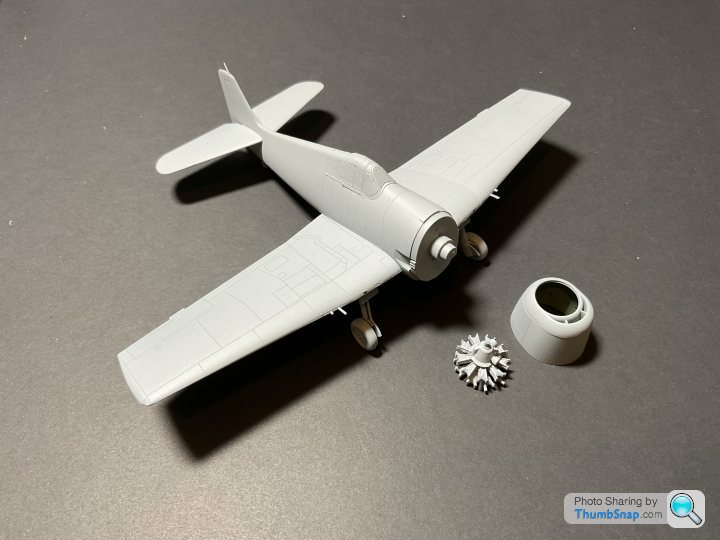
Not many parts on the sprues...

In fact, fewer parts then expected - one of the seats was missing, one of the side transparencies was missing, but I do seem to have an extra undercarriage leg... I've quickly cobbled together some simple seats (they won't be seen through the 'transparencies'), and used some plastic packaging to make a simple window for the side door.

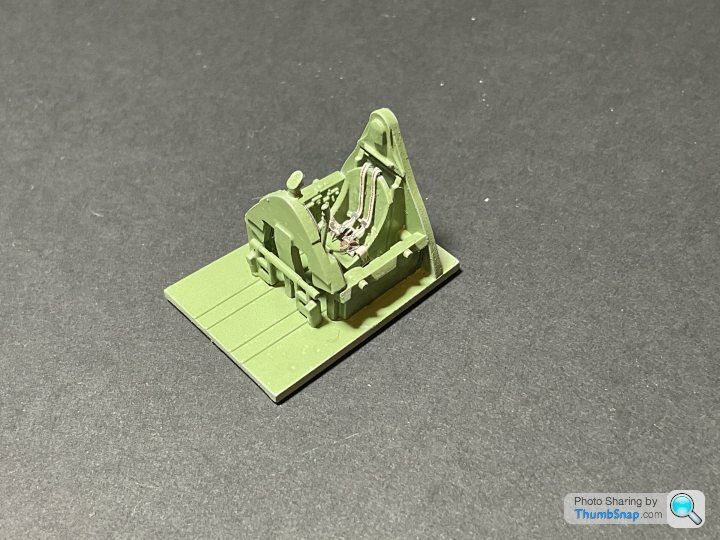
Painted the pilots, and threw the fuselage sides together. This is a very tired mould, there is going to be lots of work just to make this kit look like a badly made model!

The next step is to break out the filler, attempt to rescribe some of the seam-crossing details so that they match up (notably the vents on the nose), and a general clean up to enable me to get the airbrush out and paint the damn thing.
Not many parts on the sprues...
In fact, fewer parts then expected - one of the seats was missing, one of the side transparencies was missing, but I do seem to have an extra undercarriage leg... I've quickly cobbled together some simple seats (they won't be seen through the 'transparencies'), and used some plastic packaging to make a simple window for the side door.
Painted the pilots, and threw the fuselage sides together. This is a very tired mould, there is going to be lots of work just to make this kit look like a badly made model!
The next step is to break out the filler, attempt to rescribe some of the seam-crossing details so that they match up (notably the vents on the nose), and a general clean up to enable me to get the airbrush out and paint the damn thing.
Gassing Station | Scale Models | Top of Page | What's New | My Stuff