Vantage N400 detailed
Discussion


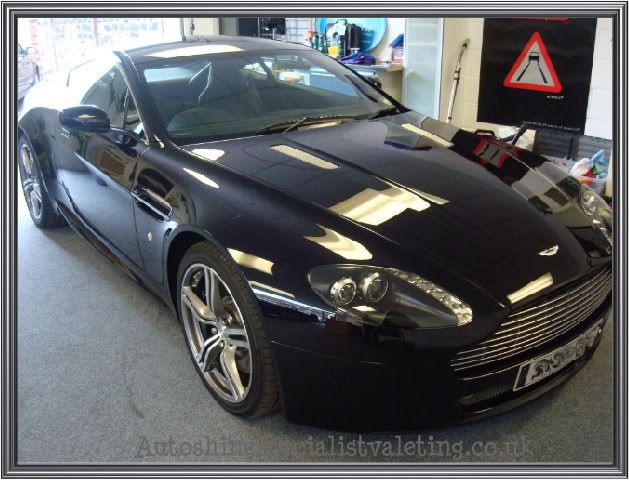
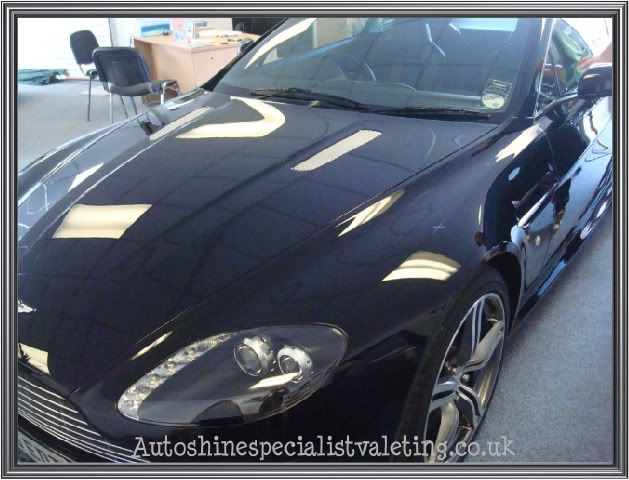
I had the pleasure of getting to perform my detailing services on this special edition Aston Martin Nürburgring N400, it was no 21 of 240 actually built.
This customer informed me that he bought the car at 6 months old, he said the paintwork had swirls when he collected it from the dealership which is the usual case these days. He then took it to someone else local to him in Barnsley who said they could rectify the problem but it was still the same.
The car has only done around 2k miles from new but I decided to allocate it for a 2 day correction detail to take my time and get the paintwork as near as perfect as possible. The customer was only 15 miles away from my detailing bay so he decided to drop it off with me.
The last Aston Vantage I detailed , the customer actually worked for a paint company who design and make the colours for most OEM car manufactures. He told me that Aston use a 4 stage paint application to all their cars as opposed to 3 stages that all others use, they apply a second coat of primer that flat that down to get a perfect level finish, they also apply extra clearcoat which is why you are able to achieve a really deep finish when detailing.
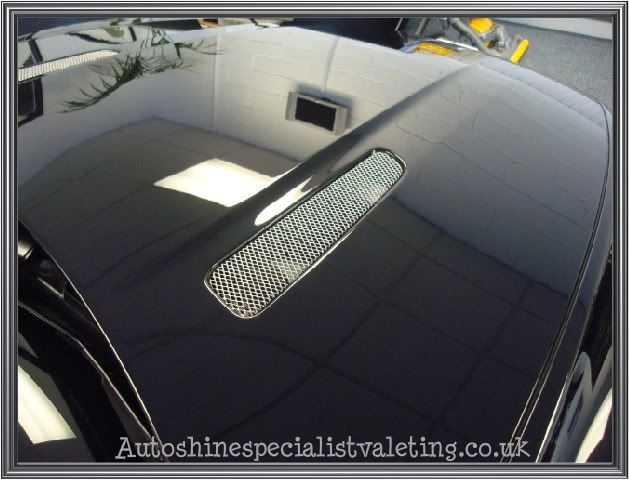
Firstly I placed the car over the wash outside and gave it a full inspection to see what it was like with the sun shining.
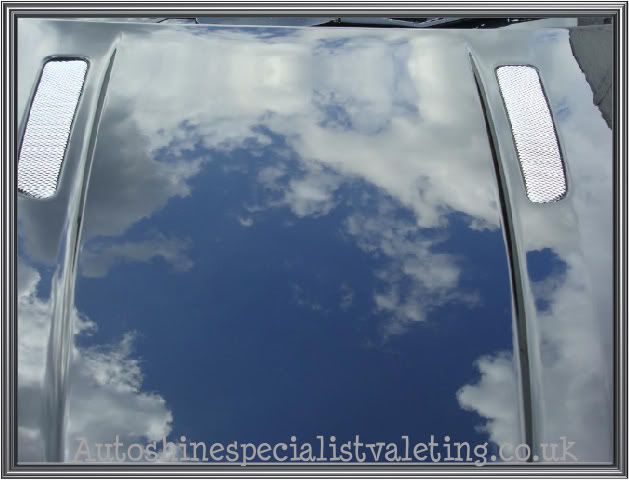
Outside Pictures
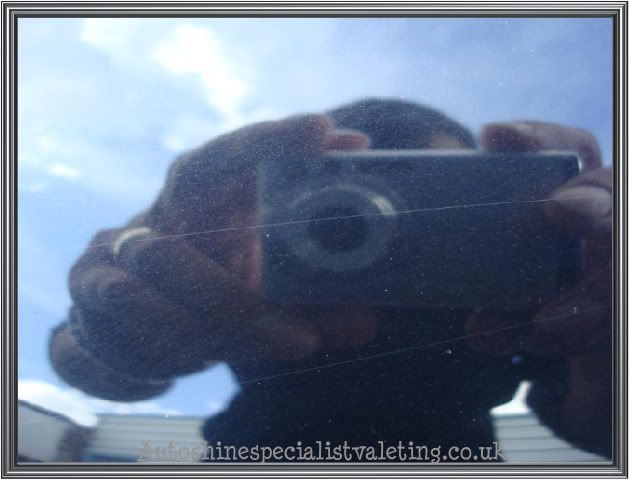
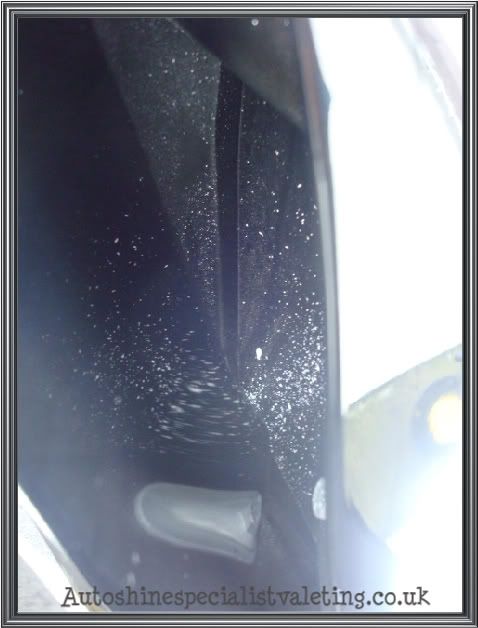
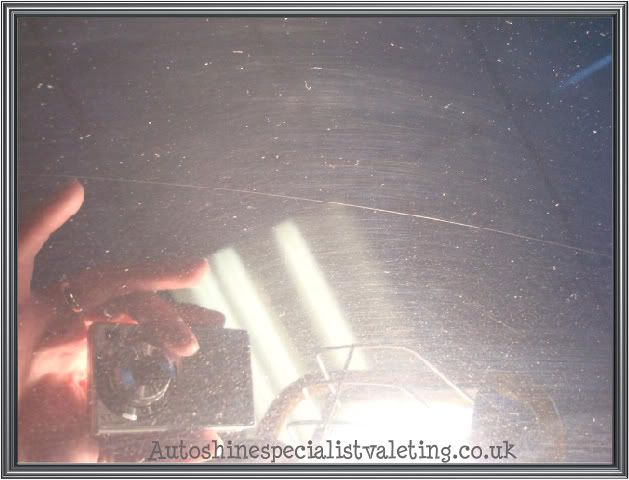
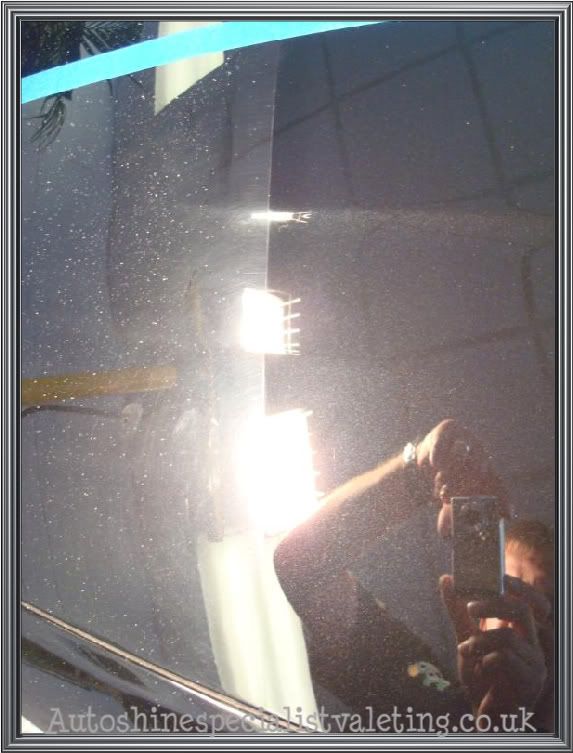
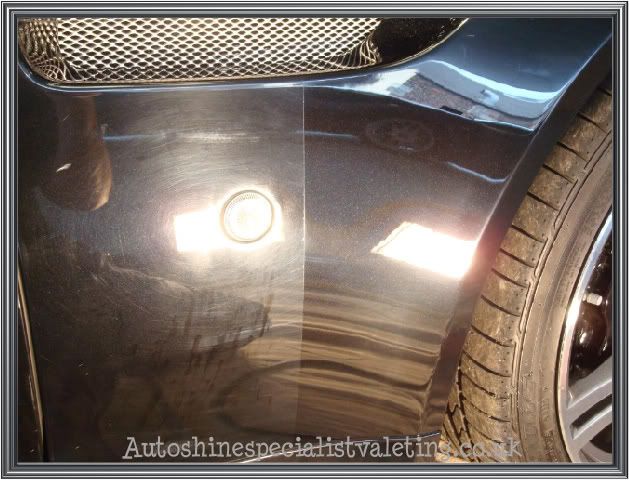
A few fine scratches visible outside which I presume were caused by someone using a flexi blade to dry the vehicle, I personally would never use one .
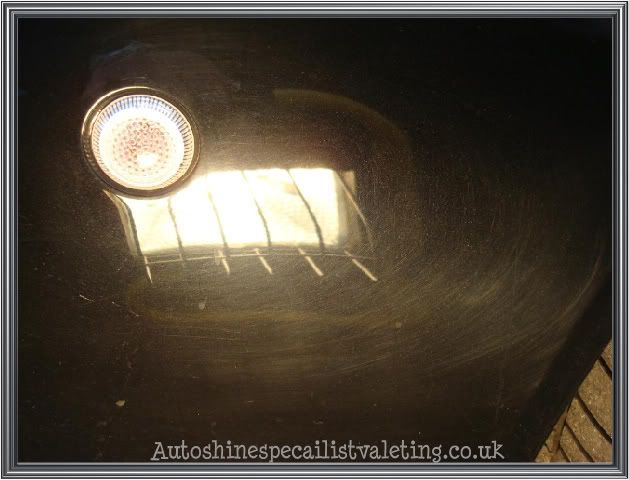
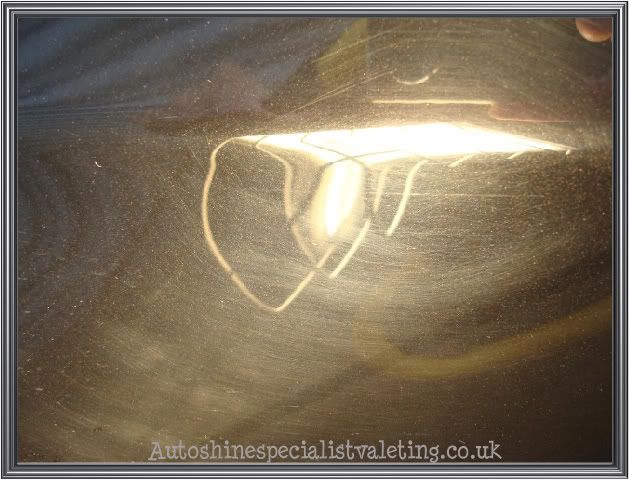
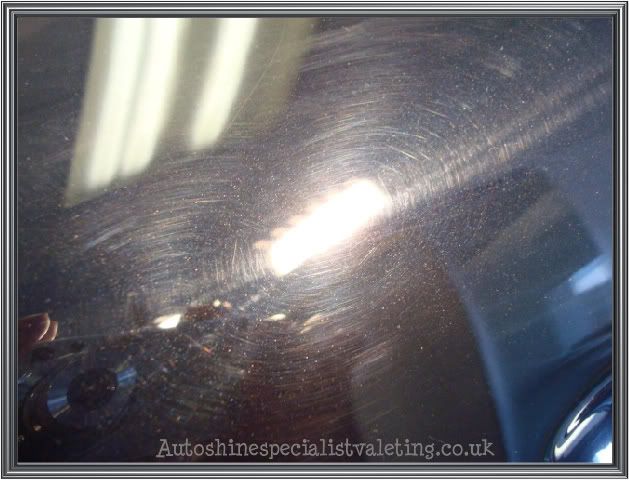
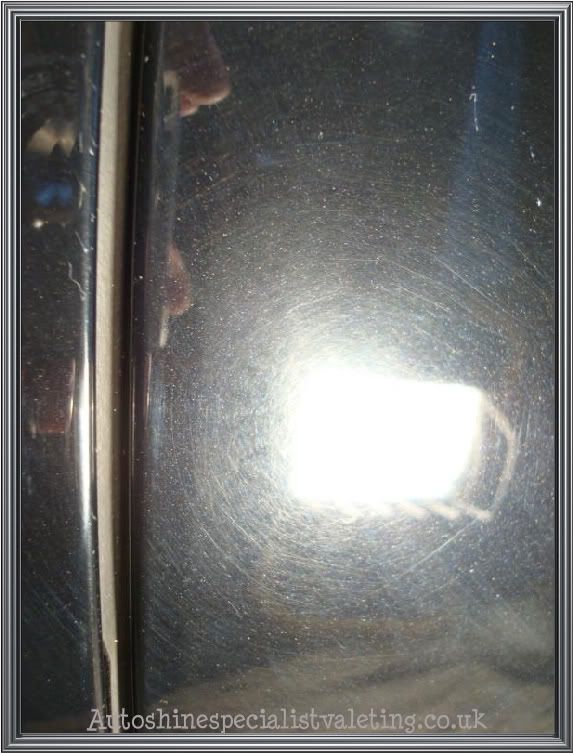
Halogen inspection light reveals major swirl marks
Wash precedure
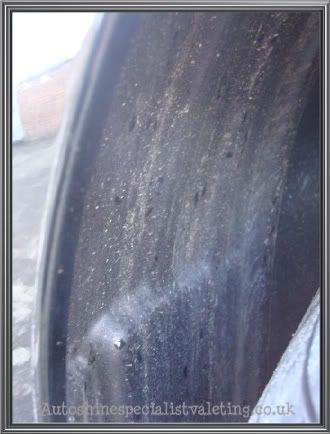
T.F.R (Arches ,door Jams, engine bay, sills and fuel cap)
Washed with my own ph neutral Auto-wash using lambs wool wash mitt.
Wheels pre sprayed with my own Citrus Auto-Wheel klean agitating using a envy wheel brush.
Dried off using a large Miracle Dryer

Traces of white compound splatter found on door hinge shuts, indicates someone has had ago at correcting the paintwork previously .
Clay Procedure
[LIST]
[*]Yellow poly clay
[*]Auto-wash watered right down to use as lube.
[/LIST]

Exterior paint correction precedure used
Full inspection using halogen lamps to reveal swirl mark
No paint depth readings due to fibre glass.
3M masking tape used to protect rubber and plastic trims and also 50/50 shots.
3M Fast cut and Finesse-it used to remove severe swirls and scratches.
Menzerna 302 1 pass
Menzerna 85rd used to finish to remove any buffing marks or holograms caused., and refine the finish.
Dodo Juice Lime Prime hand application to areas the rotary buffer wont access.
Sealant applied
Smart gel used for rubber and plastic trims
Rimwax applied to wheels
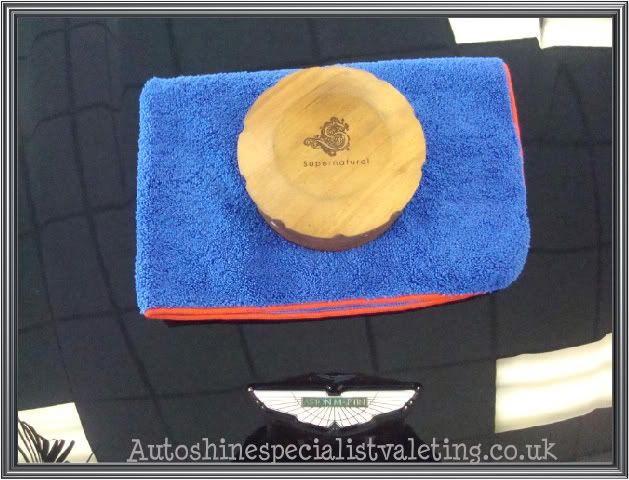
Dodo Juice Supernatural wax used
Tyres dressed once the car is driven outside
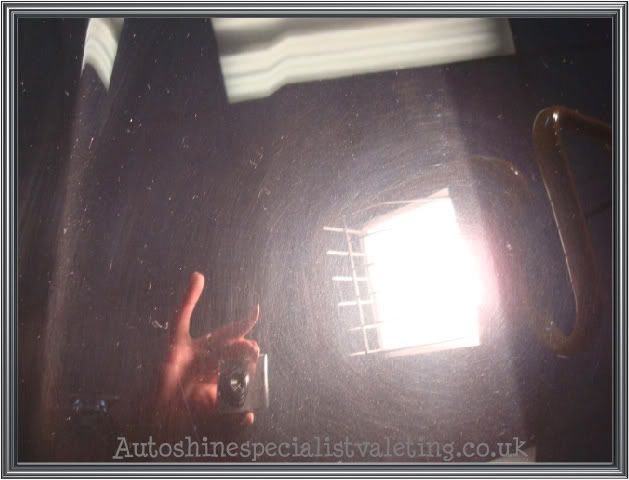
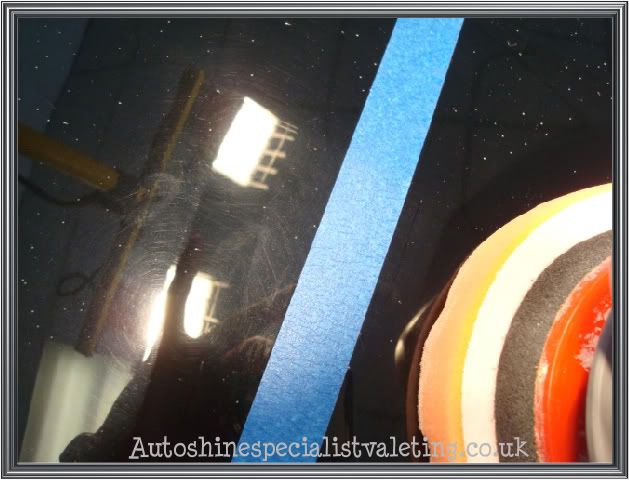
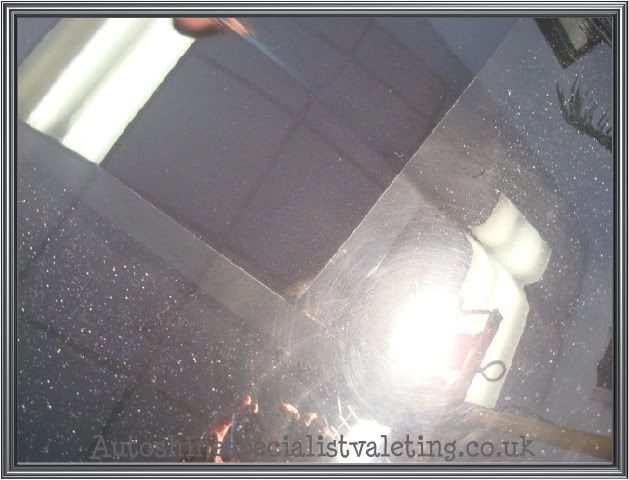
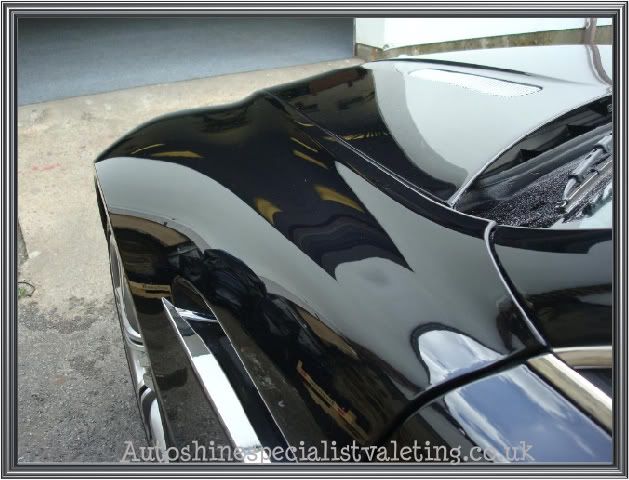
Plenty of swirls
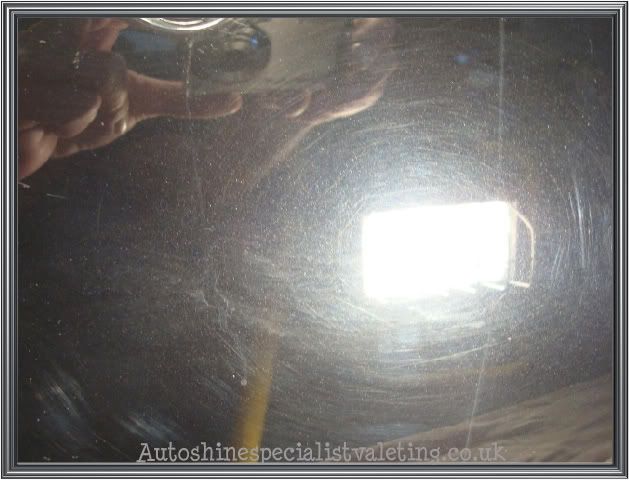
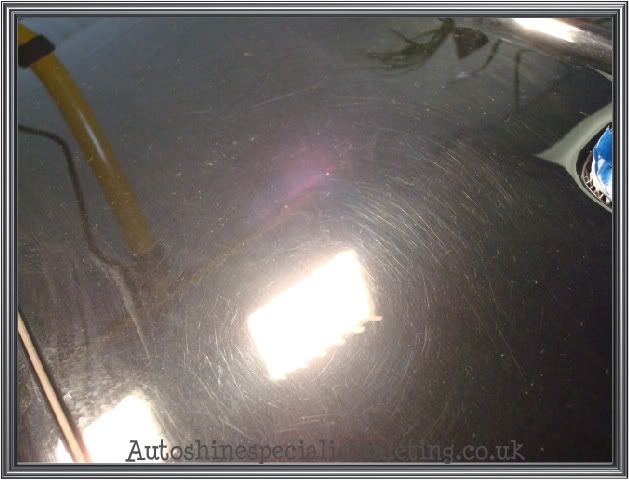
Bonnet Swirls
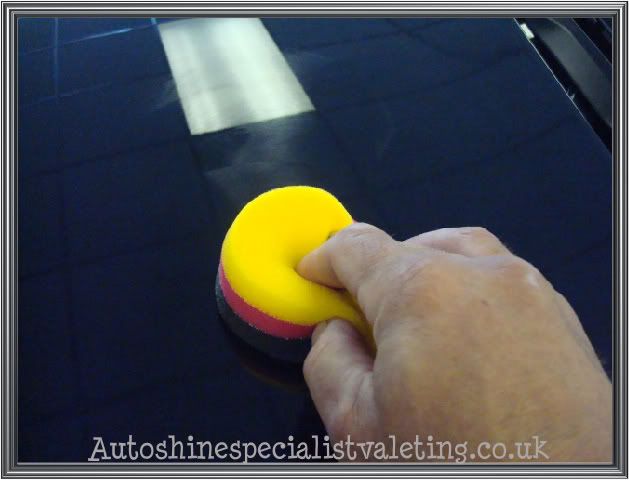
Correcting Bonnet using 3M Finesse-it mixed with fast cut
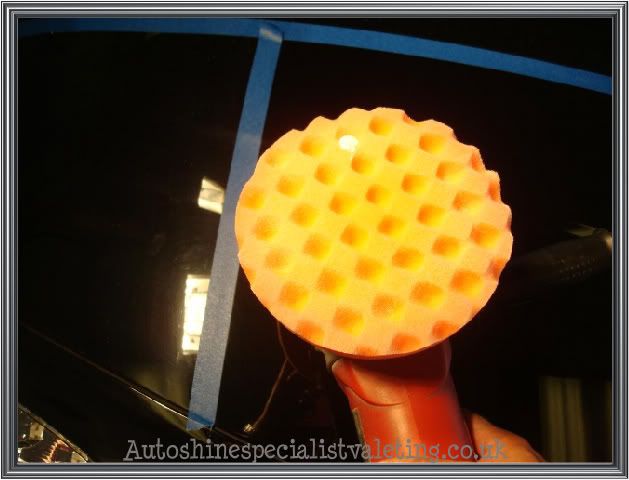
Orange waffle foam cutting pad used .
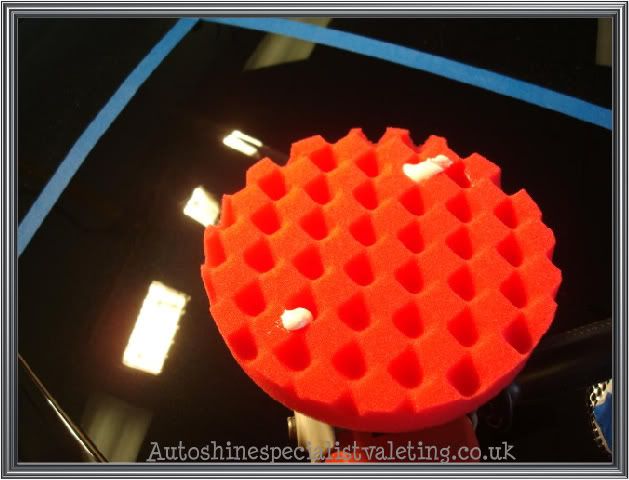
Red waffle foam finshing head used with Menzerna 302
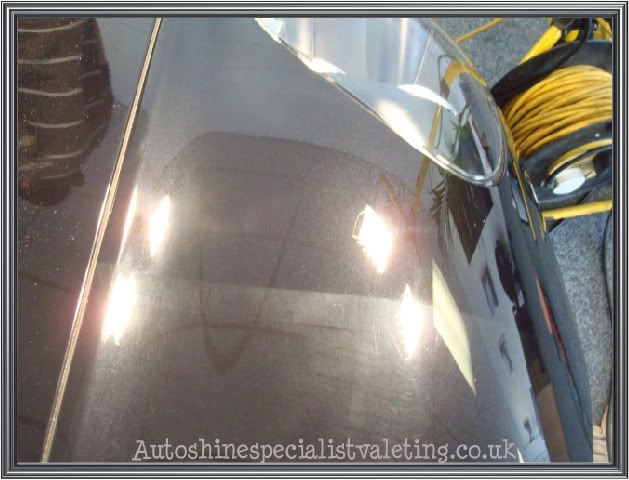
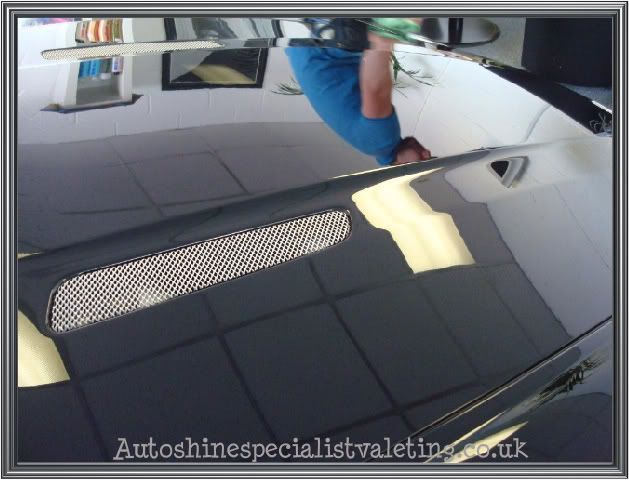
50/50 shots bonnet
[B]
50/50 shots on wing[/B]
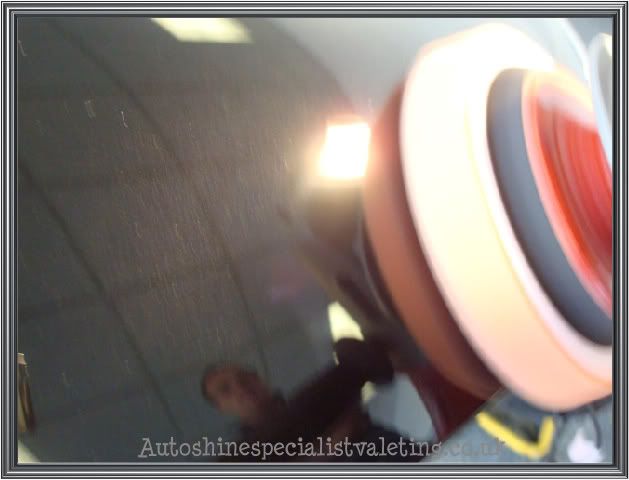
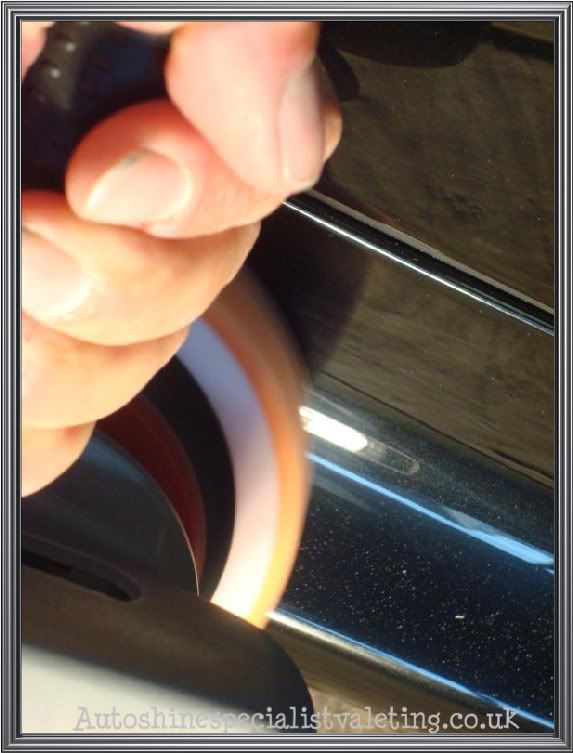
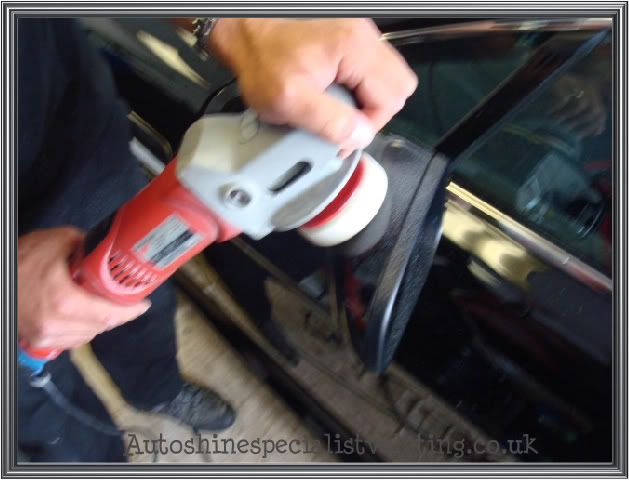
Buffer in motion on wing
50/50 wing shot before

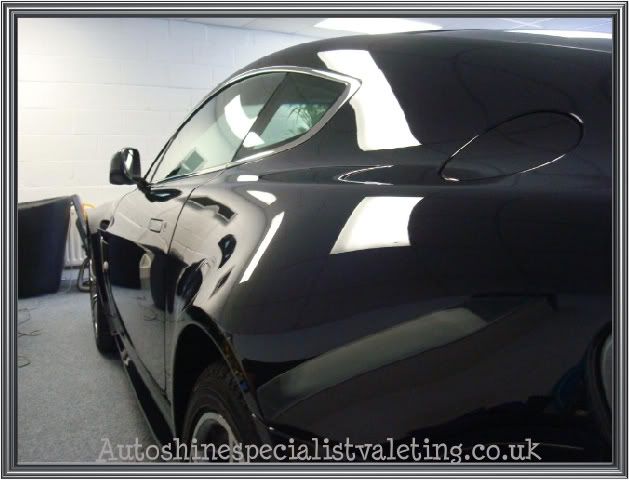
After shot
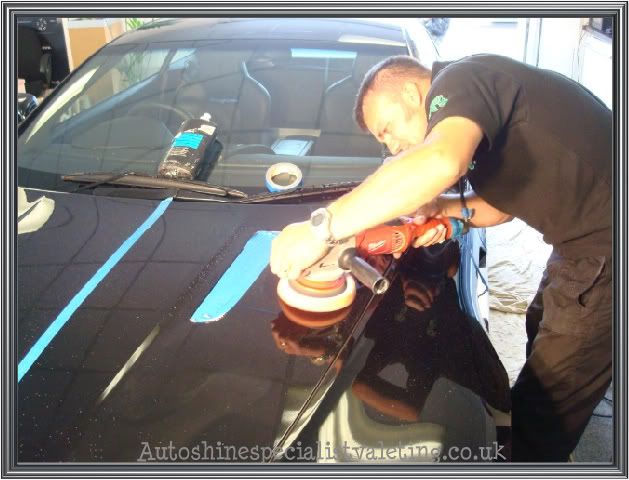
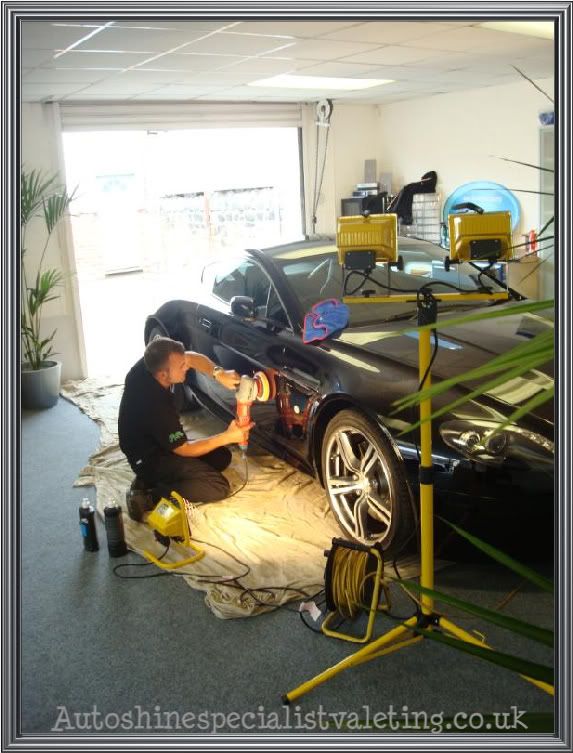
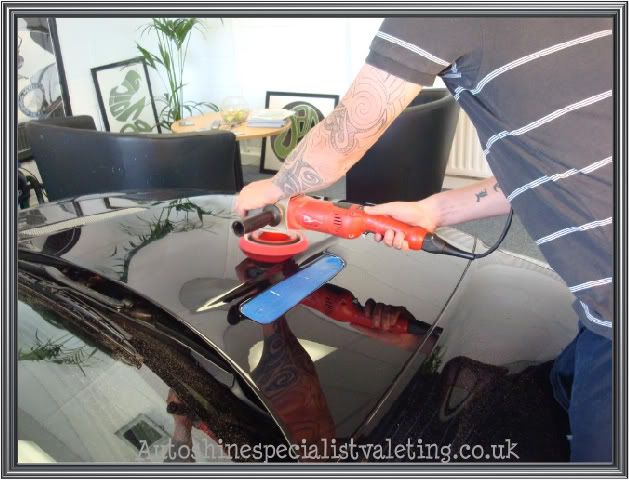
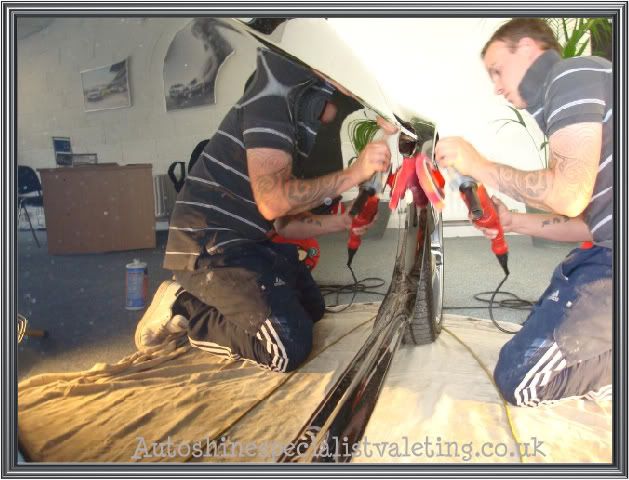
Myself in action with the Rotary
Correcting the sill
Spears junior following me round with the Menzerna 85rd
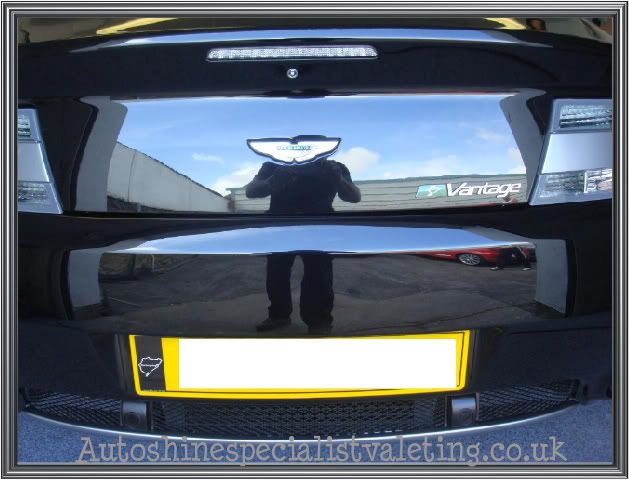
More swirls and scratches on tailgate
2 inch cutting head used on wing mirror
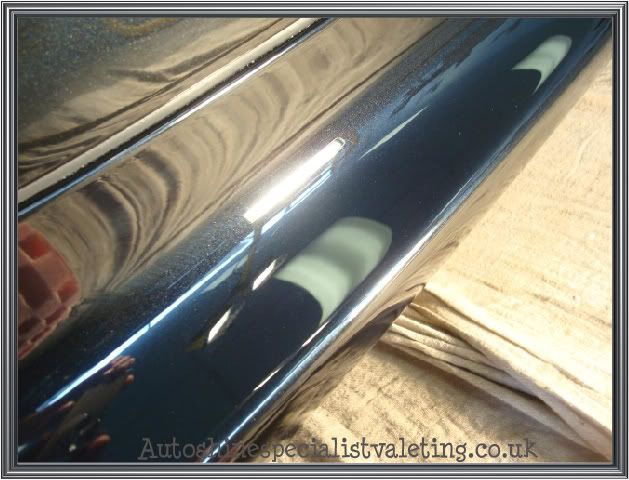
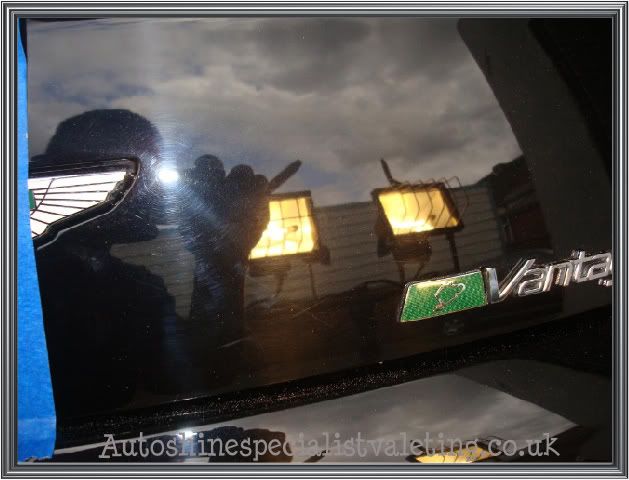
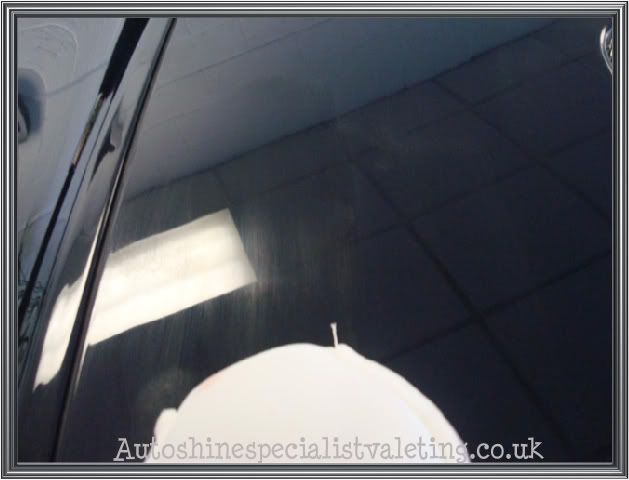
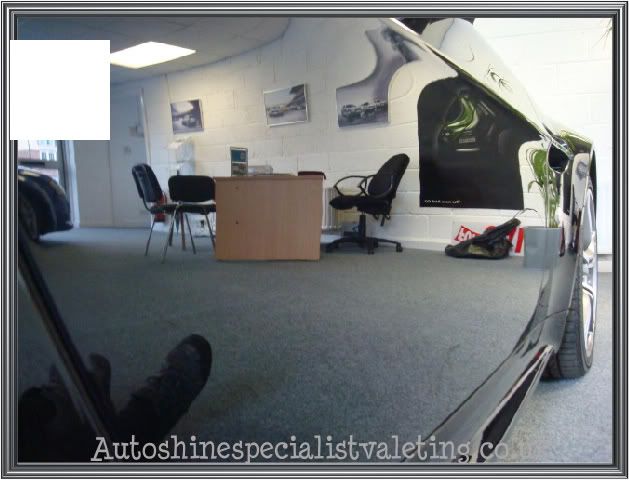
Once we had completed the buffing stages with the rotary we then pulled the car outside to check for any buffer trails or holograms.

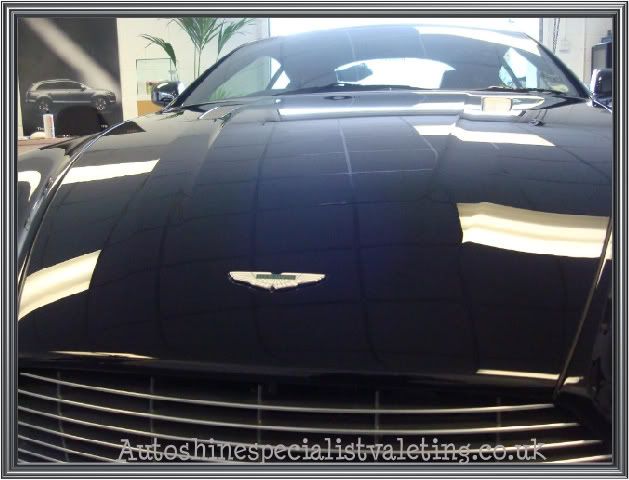
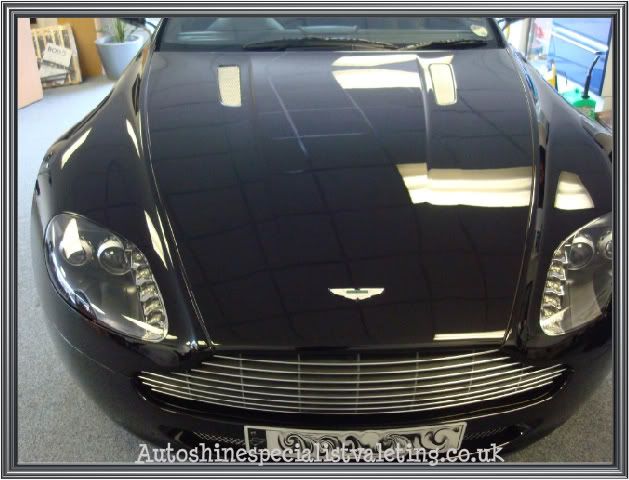
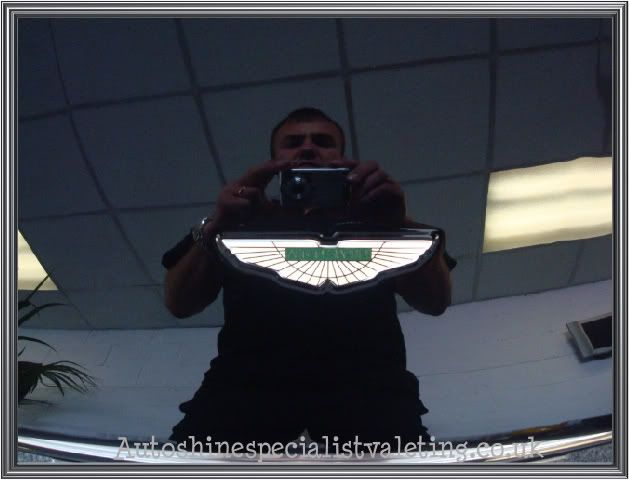
Looks perfect
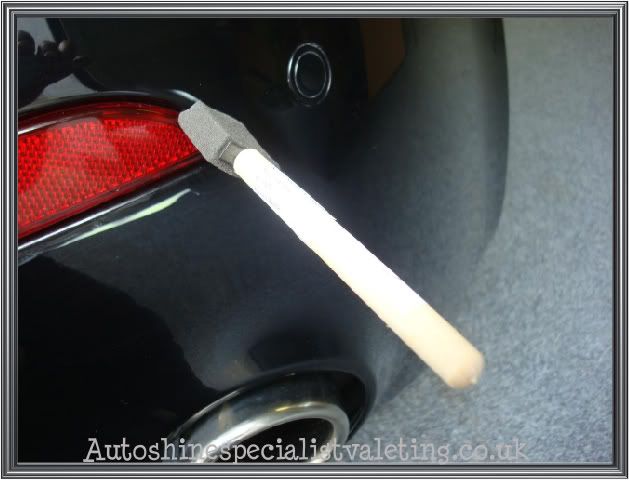
Once back inside we began to apply Dodo Juice Lime prime to all the nooks and crannies using a soft detail sponge brush.
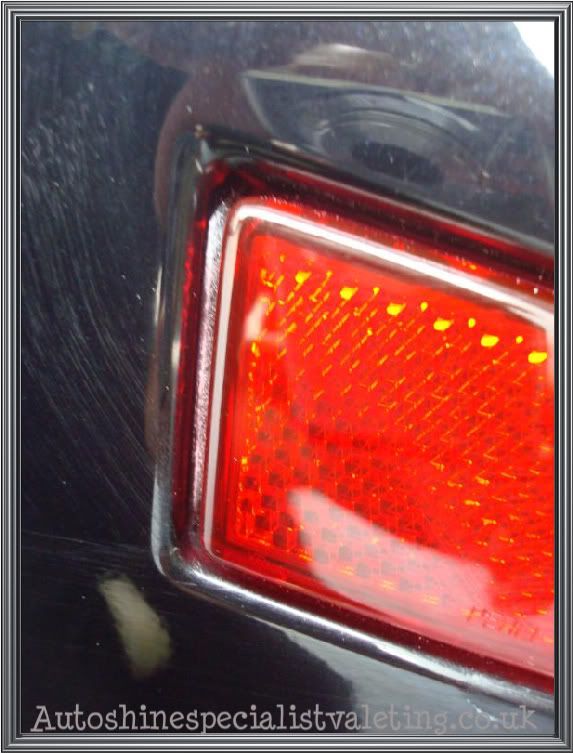
[B]
Compound residue around awkward rear light clusters[/B]
[B]
Great for front grills[/B]

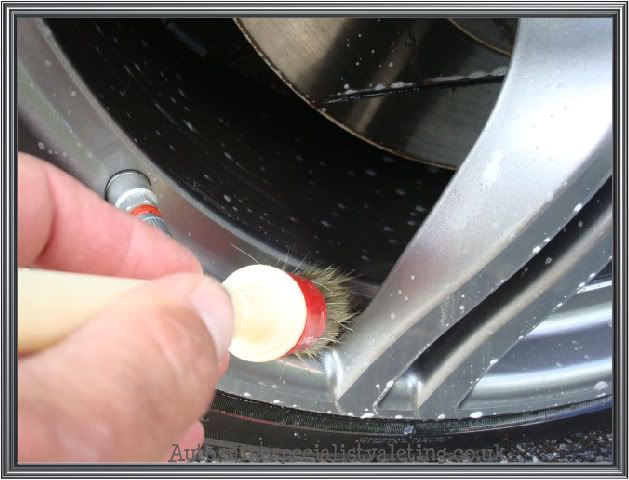
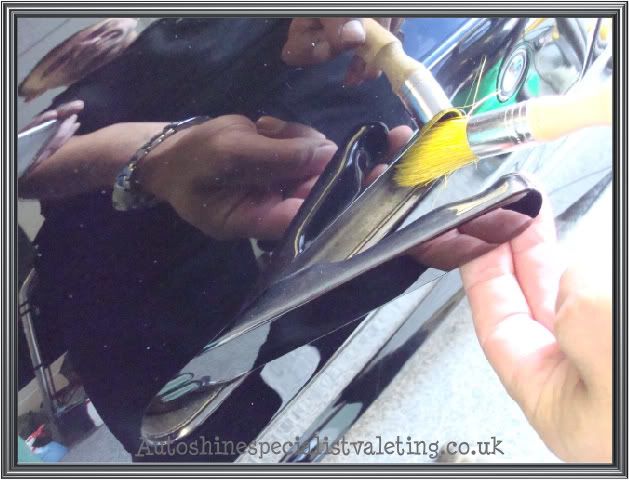
Brush used to get dust from back of handle
Sealant applied using 3 finger applicator from Dodo Juice
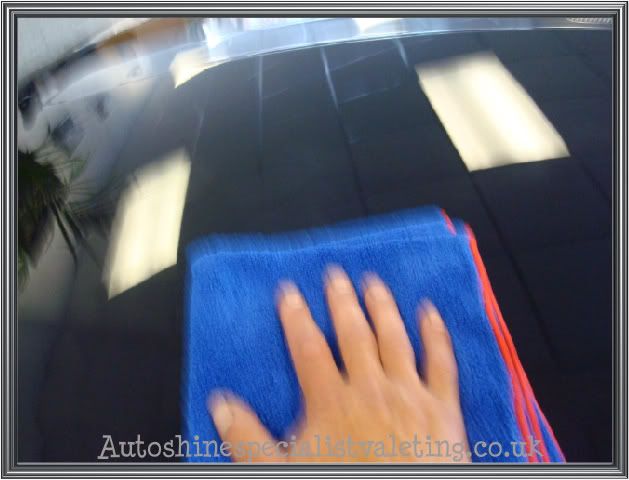
Buffed off using a new blue soft fluffer micro-fibre cloth
Wax of the day chosen on this occasion will be Dodo Juice Supernatural.
German wax applictor used
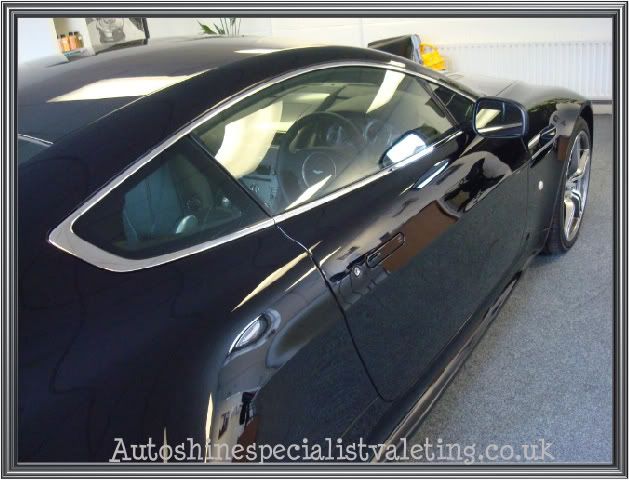
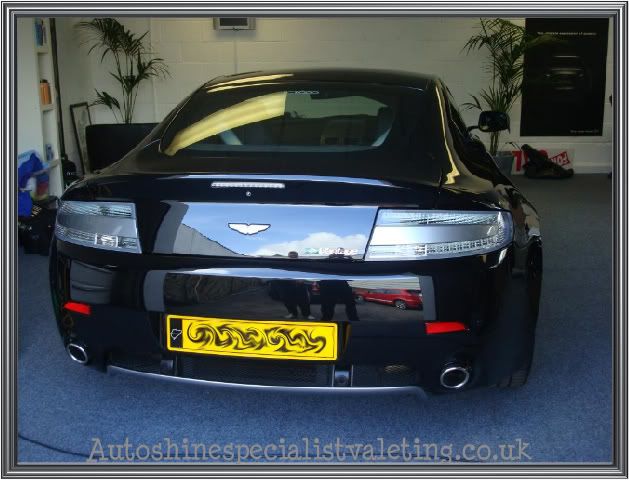
Final after pictures


This customer informed me that he bought the car at 6 months old, he said the paintwork had swirls when he collected it from the dealership which is the usual case these days. He then took it to someone else local to him in Barnsley who said they could rectify the problem but it was still the same.
The car has only done around 2k miles from new but I decided to allocate it for a 2 day correction detail to take my time and get the paintwork as near as perfect as possible. The customer was only 15 miles away from my detailing bay so he decided to drop it off with me.
The last Aston Vantage I detailed , the customer actually worked for a paint company who design and make the colours for most OEM car manufactures. He told me that Aston use a 4 stage paint application to all their cars as opposed to 3 stages that all others use, they apply a second coat of primer that flat that down to get a perfect level finish, they also apply extra clearcoat which is why you are able to achieve a really deep finish when detailing.
Firstly I placed the car over the wash outside and gave it a full inspection to see what it was like with the sun shining.
Outside Pictures
A few fine scratches visible outside which I presume were caused by someone using a flexi blade to dry the vehicle, I personally would never use one .
Halogen inspection light reveals major swirl marks
Wash precedure
T.F.R (Arches ,door Jams, engine bay, sills and fuel cap)
Washed with my own ph neutral Auto-wash using lambs wool wash mitt.
Wheels pre sprayed with my own Citrus Auto-Wheel klean agitating using a envy wheel brush.
Dried off using a large Miracle Dryer
Traces of white compound splatter found on door hinge shuts, indicates someone has had ago at correcting the paintwork previously .
Clay Procedure
[LIST]
[*]Yellow poly clay
[*]Auto-wash watered right down to use as lube.
[/LIST]
Exterior paint correction precedure used
Full inspection using halogen lamps to reveal swirl mark
No paint depth readings due to fibre glass.
3M masking tape used to protect rubber and plastic trims and also 50/50 shots.
3M Fast cut and Finesse-it used to remove severe swirls and scratches.
Menzerna 302 1 pass
Menzerna 85rd used to finish to remove any buffing marks or holograms caused., and refine the finish.
Dodo Juice Lime Prime hand application to areas the rotary buffer wont access.
Sealant applied
Smart gel used for rubber and plastic trims
Rimwax applied to wheels
Dodo Juice Supernatural wax used
Tyres dressed once the car is driven outside
Plenty of swirls
Bonnet Swirls
Correcting Bonnet using 3M Finesse-it mixed with fast cut
Orange waffle foam cutting pad used .
Red waffle foam finshing head used with Menzerna 302
50/50 shots bonnet
[B]
50/50 shots on wing[/B]
Buffer in motion on wing
50/50 wing shot before
After shot
Myself in action with the Rotary
Correcting the sill
Spears junior following me round with the Menzerna 85rd
More swirls and scratches on tailgate
2 inch cutting head used on wing mirror
Once we had completed the buffing stages with the rotary we then pulled the car outside to check for any buffer trails or holograms.
Looks perfect
Once back inside we began to apply Dodo Juice Lime prime to all the nooks and crannies using a soft detail sponge brush.
[B]
Compound residue around awkward rear light clusters[/B]
[B]
Great for front grills[/B]
Brush used to get dust from back of handle
Sealant applied using 3 finger applicator from Dodo Juice
Buffed off using a new blue soft fluffer micro-fibre cloth
Wax of the day chosen on this occasion will be Dodo Juice Supernatural.
German wax applictor used
Final after pictures
Edited by spearsy on Sunday 14th June 22:31

cardigankid said:
Good question.
If it is washed carefully is that a once a year or once every couple of years exercise, and what can the owner do if he wants to give it an occasional light polish in the meantime?
Found this on the Dodo Juice Website....If it is washed carefully is that a once a year or once every couple of years exercise, and what can the owner do if he wants to give it an occasional light polish in the meantime?
http://www.dodojuice.com/dodo-juice-detailing.html
"The good news is that you don't need to go to the effort of a full detail that often. Once you have some Dodo Juice wax on your car, it will be protected from dirt for a few months. During that time, just wash it with a wax-friendly pH-neutral shampoo (like Dodo Juice Sour Power) - you'll find it's easier to wash than normal as the dirt doesn't stick to the paint so easily. There's no need to clay it or use strong detergents (these will actually destroy the wax layer). For fingerprints and dust, use a protection detailer spray like Dodo Juice Red Mist (adds protection) or Dodo Juice Time to Dry (as good as a normal quick detailer but reduces surface beading), or even just a fine water mist ('spit shining'). After a few weeks, the beading will start wearing off and then - a month or two later - all but disappear (unless you have topped-up the protection with Red Mist). At this point, you just need to strip off the old 'dirty' wax, which will have acted as a sacrificial layer and picked up the contaminants that were intended for your paintwork... you can then wash and deep clean the paint once again, before applying fresh wax to 'recharge' the protection. A new wax layer (or layers) every 3 months is the detailing equivalent of wearing fresh undies every day. And as anyone's mother will tell them, that's really quite essential."
Mr Noble said:
I've just bought some Auto Glym High Def Wax for £39 from Halfrauds, but I wonder if I should have done some homework 1st??
£95 for the Dodo Wax used on the N400.....http://detailingstore.com/shop/product_info.php?ma...
Spearsy... a lovely detail but to avoid Pistonheads becoming an advertising board for detailers, posts have to be as uncommercial as possible. However, I think there is real value at having a 'step for step' detail viewable on the forum so that people can see what high end detailing is all about so I'm begging to keep this up, as a one-off. Without seeing or hearing about the work people like Kelly at KDS or you can actually acheive, it is difficult to appreciate what is involved and the great things that can done to paintwork. 
Gassing Station | Bodywork & Detailing | Top of Page | What's New | My Stuff