Tuscan suspension pinch bolts and tube
Discussion
I'm having a problem with freeing off the front upper suspension arm rear pinch bolt on a mk1 Tuscan. It's the bolt that goes through a ~60mm pinch tube. It looks like the bolt is a near interference fit through the tube.
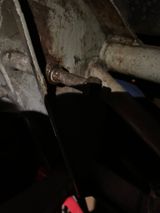
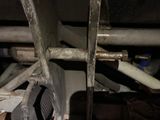
Attached are a few pics where I've cut off the bush to try and get some lubricate down the pinch tube (no joy). You can see some damage to the bolt from me drilling off the inner steel tube of the bush but there was a lot of evidence of corrosion to the bolt shaft and that is probably what's blocking the tube now. It won't move in either direction at the moment or turn with a bar on the bolt head.

My plan is to carefully get some heat onto the tube using one of those induction heater things and then see if I can rock that bolt back and forth. Hopefully it doesn't shear. Failing that, or if it shears, I'll carefully cut with a slitting disc the two locating welds (they're only 1 cm long) that secure the pinch tube to the uprights and push the tube out through the rear upright. Either clean up and reuse or replace with a new tube.
Any thoughts please on removing this bolt and/or tube? What dimension replacement tube would be needed? I can't see an obvious imperial size. I'm thinking 18mm OD by 12mm ID.
Attached are a few pics where I've cut off the bush to try and get some lubricate down the pinch tube (no joy). You can see some damage to the bolt from me drilling off the inner steel tube of the bush but there was a lot of evidence of corrosion to the bolt shaft and that is probably what's blocking the tube now. It won't move in either direction at the moment or turn with a bar on the bolt head.
My plan is to carefully get some heat onto the tube using one of those induction heater things and then see if I can rock that bolt back and forth. Hopefully it doesn't shear. Failing that, or if it shears, I'll carefully cut with a slitting disc the two locating welds (they're only 1 cm long) that secure the pinch tube to the uprights and push the tube out through the rear upright. Either clean up and reuse or replace with a new tube.
Any thoughts please on removing this bolt and/or tube? What dimension replacement tube would be needed? I can't see an obvious imperial size. I'm thinking 18mm OD by 12mm ID.
I'm not familiar with that setup, but I assume that tube is just to stabilise the bolt and doesn't have anything connected directly to it. Since there's no wishbone, I guess you were able to remove the bolt previously and it siezed when you tried to reinstall it. Perhaps a lump of rust got jammed in there. Have you tried drifting it out from the threaded end?
If you can't remove it with heat and time, and aren't prepared to drill it out, I don't see anything wrong with your plan to saw through the tube + bolt at both ends and pull the bits out sideways. You'd need to replace the tube, of course. If it's only supporting the bolt then I don't think the exact diameter matters as long as it is thick enough and exactly the right length. It's the holes in the web which will locate the bolt and this tube is only carrying the clamping force between the two webs.
If you can't remove it with heat and time, and aren't prepared to drill it out, I don't see anything wrong with your plan to saw through the tube + bolt at both ends and pull the bits out sideways. You'd need to replace the tube, of course. If it's only supporting the bolt then I don't think the exact diameter matters as long as it is thick enough and exactly the right length. It's the holes in the web which will locate the bolt and this tube is only carrying the clamping force between the two webs.
Thanks for getting back to me. It's the original bolt that is still in there. I've tried drifting from both ends but it's solid. I think previous owners have had a go and given up as the thread end was a bit damaged. I've had to tackle this issue now as it was clonking badly and the rubber part of the bush was shot. It didn't take much effort to split off the bush and work the suspension arm over the head end of the bolt. No washer was present at the end of the bush - between the bolt head and the bush end.
I'll report back once I've carefully applied some heat to it. Waiting on that tool to arrive.
I'll report back once I've carefully applied some heat to it. Waiting on that tool to arrive.
I am not seeing the sleeve as being part of actual chassis is it gripping the bolt shank (the ID of the chassis is 7/16).
I am about to replace the towers on my spare Tamora chassis (so, cut that tube out, IF I need to replace it OD is not critical, and I will speak to Adrian at Central TVR) and swap that tube between the new towers. A@
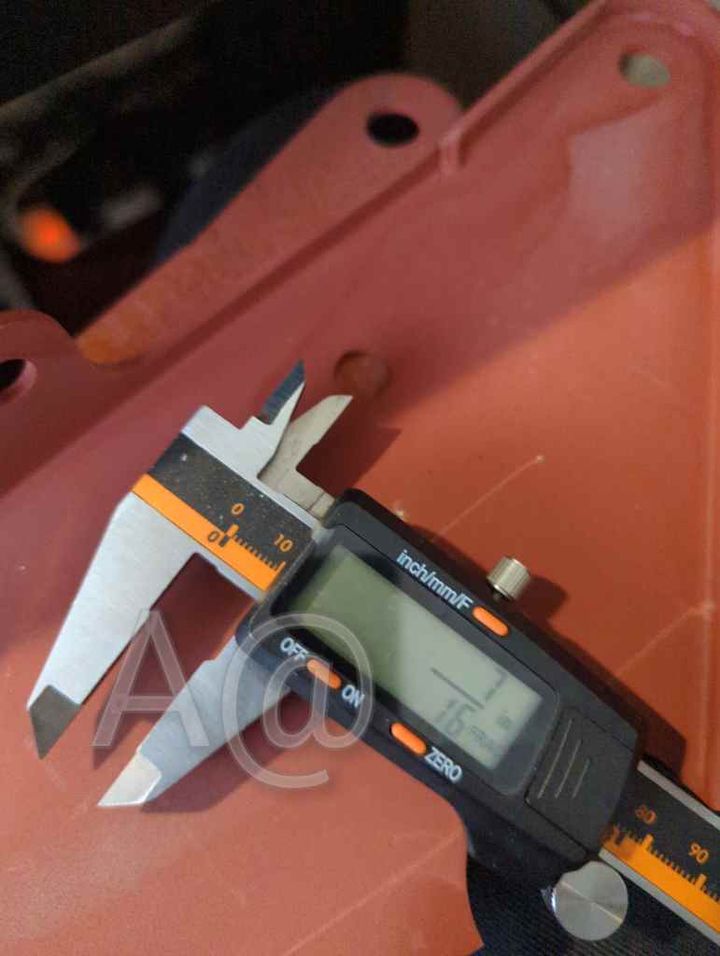
I am about to replace the towers on my spare Tamora chassis (so, cut that tube out, IF I need to replace it OD is not critical, and I will speak to Adrian at Central TVR) and swap that tube between the new towers. A@
Edited by Adrian@ on Wednesday 19th February 17:02
The induction tool arrived tonight and heat is indeed my friend! 
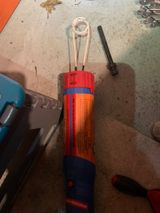
Never used one of these before and it was a cheap-ish eBay item (<£135) so I didn't know what to expect. Started by heating both ends until cherry red and worked the bolt head with a short breaker bar. No joy.
Next I wrapped one of the provided leads around the tube between the uprights and slowly worked the coil to and fro until the tube became cherry red. Same deal with the breaker. No joy. Persisted a few times more and then some movement. Blasts of WD40 and moving the breaker bar to and fro and it got easier and easier.
Adrian@ - you're right there is a sleeve on the bolt head side between the upright and the bush. It was tight onto the bolt so I thought it was part of the upright, my mistake.
Once the bolt started to move, I didn't need any further heat. WD40 and an impact finished the job. Success!
Wire wrapped around the tube.
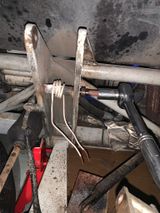
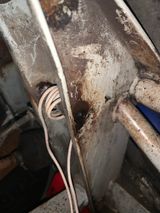
Bolt removed with the induction tool. Sleeve still attached to the bolt and has moved towards the bolt head end.
Little damage done to the surrounding paint on the upright.
Thanks everyone for your help today. Great to have a little success story every now and then and it's great help with the self confidence to tackle these jobs!

Never used one of these before and it was a cheap-ish eBay item (<£135) so I didn't know what to expect. Started by heating both ends until cherry red and worked the bolt head with a short breaker bar. No joy.
Next I wrapped one of the provided leads around the tube between the uprights and slowly worked the coil to and fro until the tube became cherry red. Same deal with the breaker. No joy. Persisted a few times more and then some movement. Blasts of WD40 and moving the breaker bar to and fro and it got easier and easier.
Adrian@ - you're right there is a sleeve on the bolt head side between the upright and the bush. It was tight onto the bolt so I thought it was part of the upright, my mistake.
Once the bolt started to move, I didn't need any further heat. WD40 and an impact finished the job. Success!
Wire wrapped around the tube.
Bolt removed with the induction tool. Sleeve still attached to the bolt and has moved towards the bolt head end.
Little damage done to the surrounding paint on the upright.
Thanks everyone for your help today.
 Great to have a little success story every now and then and it's great help with the self confidence to tackle these jobs!
I saw Alan Millyard use an induction heater on one of the bike shows with Henry Cole.
Because it uses induction, one end of a metal tube can be red hot but the other end safe to touch! My Physics was over 40 yrs ago so I don't quite know why. I suppose if you leave it a while, it would get hot, by conduction alone.
Because it uses induction, one end of a metal tube can be red hot but the other end safe to touch! My Physics was over 40 yrs ago so I don't quite know why.
 I suppose if you leave it a while, it would get hot, by conduction alone.
Great news, on further investigation of my spare chassis, that tube needs to be replaced on the opposite side of the chassis to the one I am working on (I shall order two today rather than waste time on a good guesstimate) and yes, it appears to be 2 x major tacks that need dressing away to swap it out. I am only replacing parts that have rusted due to the powder coating failing and damp instilled under the coating. (lots of pictures on my FB page). A@
Adrian@ said:
Back on my chassis today, the tubes and oval uprights, (purchased as a precaution as I am dressing the upright plates off these faces) A@
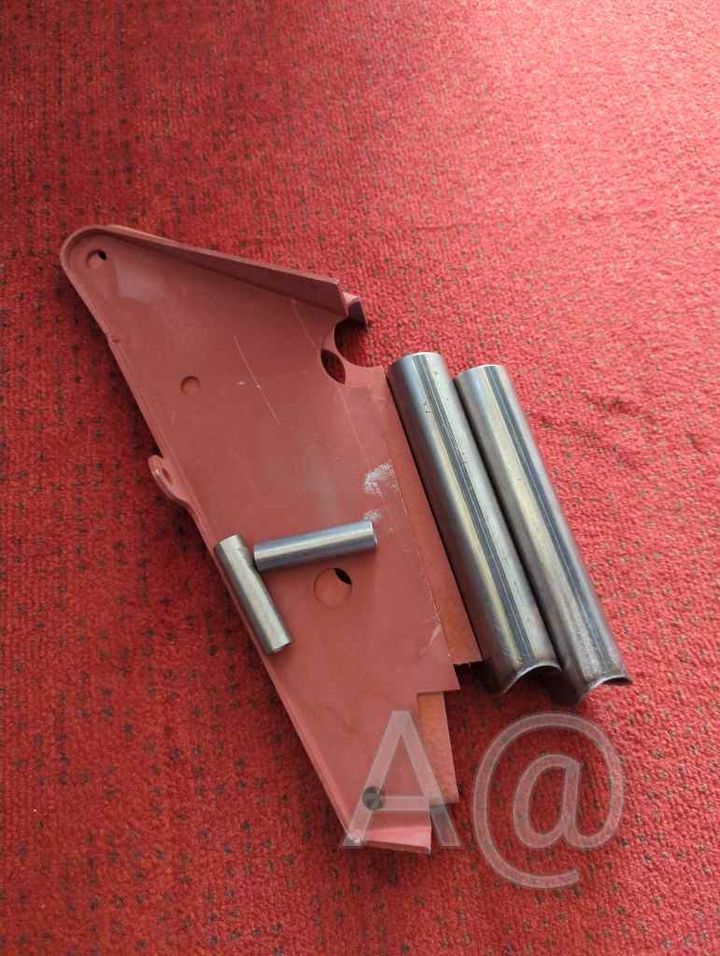
Those front plates on each side had some of the worst corrosion on my chassis, disguised by the sheet of powder coat still in place. One of them had a big hole in the middle.All the issues I have, IMHO, are exactly that, (thin) front diff mounts, (very thin) front uprights (pictured is the worst side).
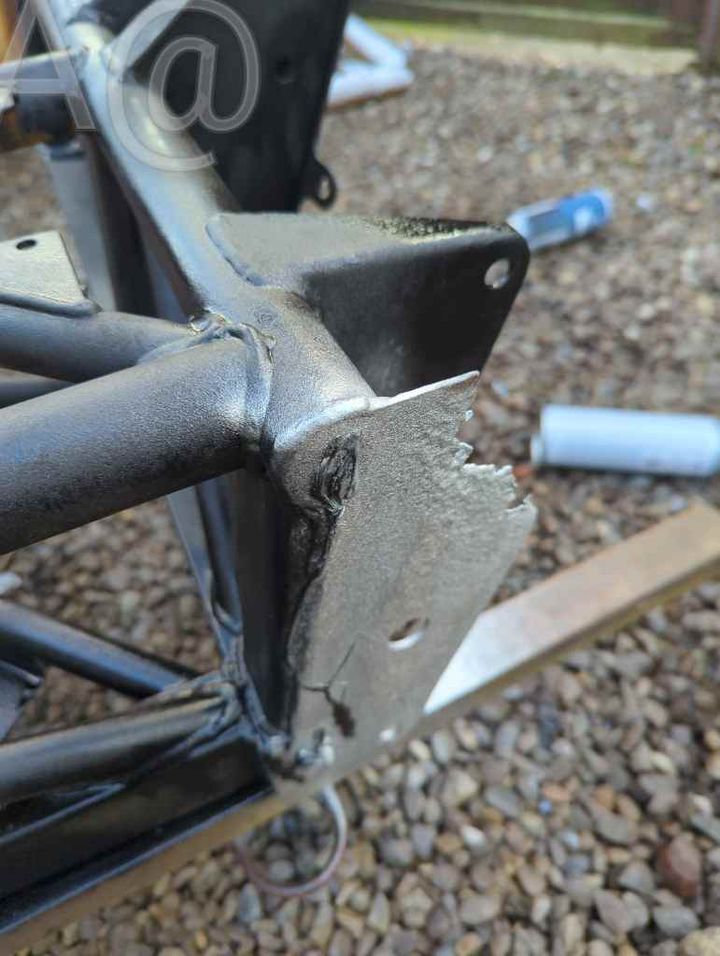
My drivers side two towers (in the previous picture) have elongated holes that appear to be from a loose lower arm bolt, I have removed a plate from each side (previous repair) and have those to swap in.
A@
My drivers side two towers (in the previous picture) have elongated holes that appear to be from a loose lower arm bolt, I have removed a plate from each side (previous repair) and have those to swap in.
A@
Gassing Station | General TVR Stuff & Gossip | Top of Page | What's New | My Stuff


