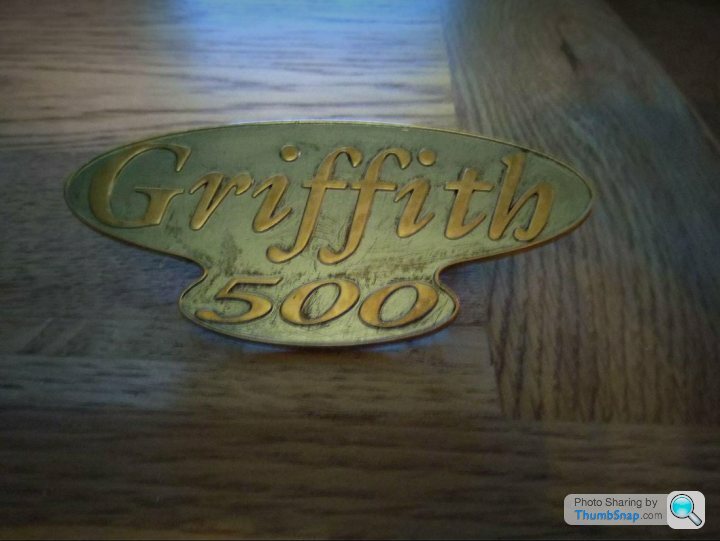
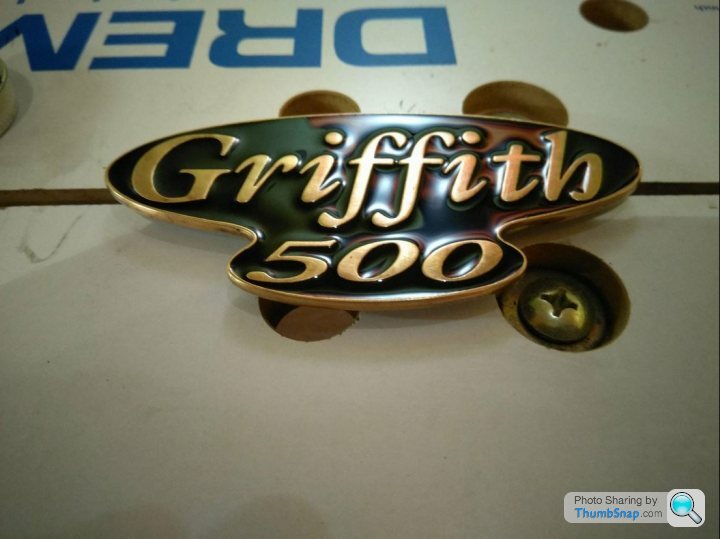
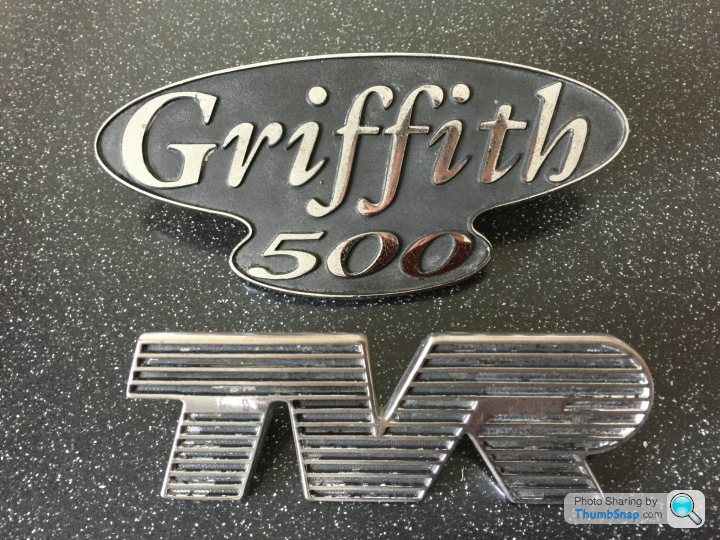
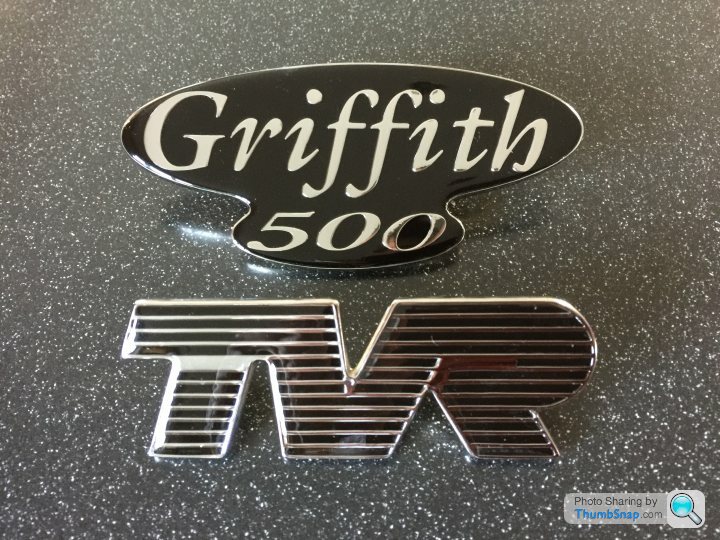
Griffith rear badge
Discussion
Shortly having full respray at D&C Trim, and just occured to me that the "Griffith" badge on the back is looking a bit tired, does anyone know where I can buy a new one. I have just bought and received a new "TVR" metal badge for the bonnet from the TVRCC shop, but they do not do the rear Griffith badge.
simply red said:
......does anyone know where I can buy a new one. I have just bought and received a new "TVR" metal badge for the bonnet from the TVRCC shop, but they do not do the rear Griffith badge.
TVR Parts - https://tvr-parts.com/tvr-parts/part-details/tvr-u... @ £78. Please see pm also.https://www.ebay.co.uk/itm/TVR-Badge-Restoration-R...
Not used them myself, but I know people who have and are very pleased with the results.
However, you could probably buy a new one for a similar price?
Not used them myself, but I know people who have and are very pleased with the results.
However, you could probably buy a new one for a similar price?
Very easy to do your own, I've done five so far. Buy some black enamel paint and a bottle of thinners. Make up a very watery mix. Carefully chip off the old cruddy paint, support the badge perfectly horizontal with a spirit level and drip in the watery mix. You have to keep filling it as the solvent evaporates and before it cures but the end is fantastic and very resilient


bobfather said:
Very easy to do your own, I've done five so far. Buy some black enamel paint and a bottle of thinners. Make up a very watery mix. Carefully chip off the old cruddy paint, support the badge perfectly horizontal with a spirit level and drip in the watery mix. You have to keep filling it as the solvent evaporates and before it cures but the end is fantastic and very resilient


 Brilliant, Excellent job, well done Bob.
I suspect those guys on eBay are the same ones who used to do the refurb work for Leven; I called Leven/PPC a while back to ask about badge refurbs and they said they don’t do them any more but passed on the number for the Birmingham company they used to sub them out to in case I wanted to contact them directly. I think I’ll get mine done there.
Edited by ruaricoles on Sunday 10th March 21:37
simply red said:
Thanks everyone, I am going to try the diy route as suggested.
In that case I should add. I use a small artists brush to drip the enamel onto the surfaces. I use the point of a cocktail stick for the small areas and to encourage the enamel into the corners. Once you have complete coverage the enamel will flow into the corners on its own. Fill it until it is brimming, the rate of volume loss due to evaporation is big, you'll need to refill many times as the solvent evaporates but be sure to refill before the surface cures. Gentle heat from a hair-drier will speed the solvent evaporation but be careful not to blow the enamel over the edges. I mount the badges in a raised position so that I can apply the hair-drier heat from underneath.
Actually the Birmingham location must be a red herring, the contact details that PPC/Leven gave me for the guys that did their refurbs was
Capricorn Coating Services
1 Warstone Parade East
Hockley
Birmingham
B18 6NR
Tel: 0121 212 2361
So the company on eBay is presumably different (a different address at least). Good to know there are different options, and DIY of course The one above looks great too.l
Edit to add: Ignore that, just noticed the eBay contact address is capcoat@... So must be the same business. I'm about to send mine off there.
Capricorn Coating Services
1 Warstone Parade East
Hockley
Birmingham
B18 6NR
Tel: 0121 212 2361
So the company on eBay is presumably different (a different address at least). Good to know there are different options, and DIY of course
 The one above looks great too.l
Edit to add: Ignore that, just noticed the eBay contact address is capcoat@... So must be the same business. I'm about to send mine off there.
Edited by ruaricoles on Sunday 17th March 16:41
Hi - Love your badge refurb method. I've got some old brass badges and the 'ground glass' element is semi-transparent. Does the approach you used make a solid colour or can it be semi-transparent in a similar (obviously not quite the same) way as the 'baked' ground glass colour method?
Gassing Station | General TVR Stuff & Gossip | Top of Page | What's New | My Stuff


 |https://thumbsnap.com/GRawN1Wd[/url]