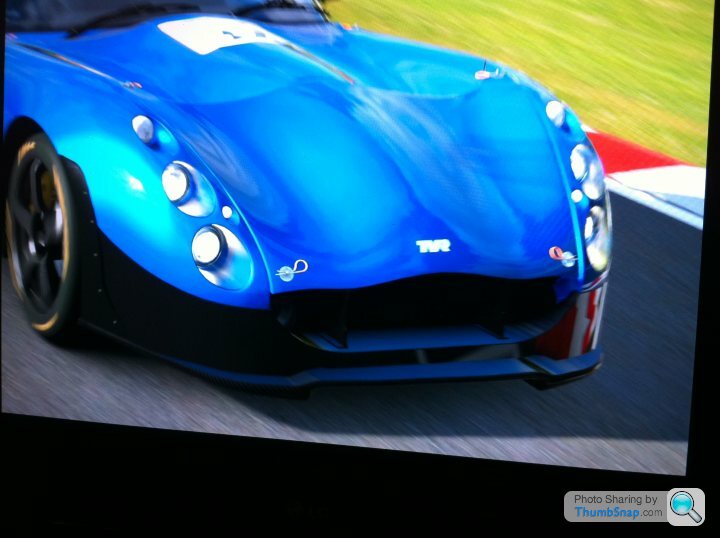
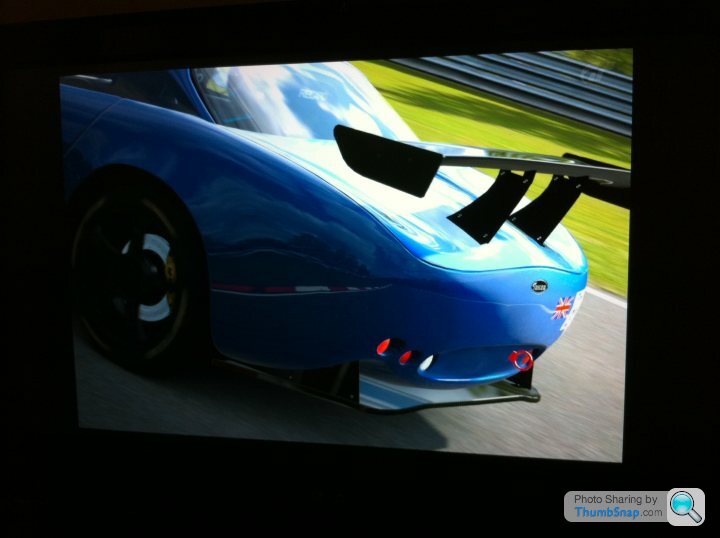
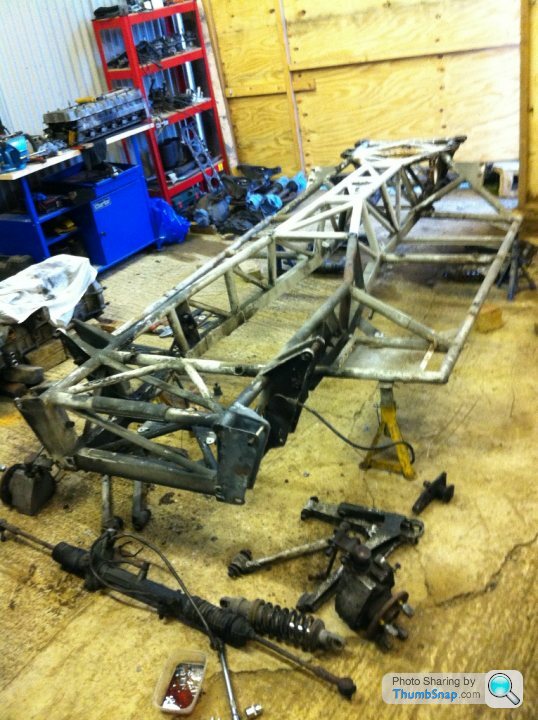
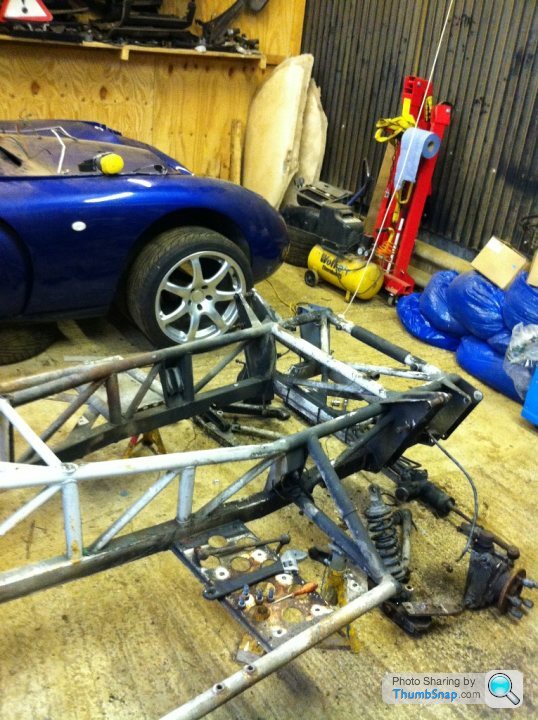
Dissassembly of Tuscan is complete... what now????
Discussion
I've now taken my Cad D 2000 year Tuscan appart and now need to clean everything up and restore/replace with new some fo the parts.
What upgrades improvements would you make if you had the chance?
So far my plans are:
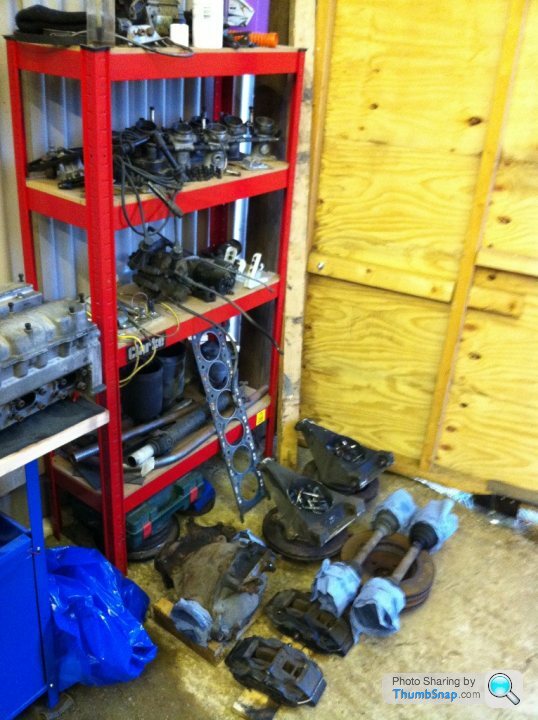
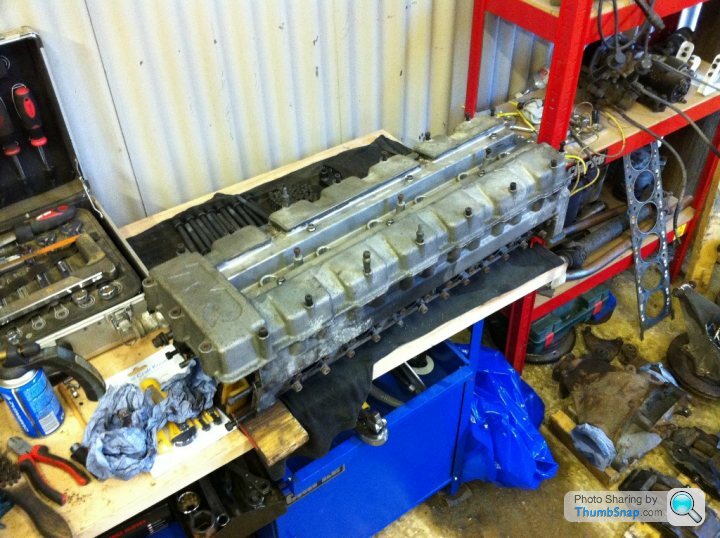
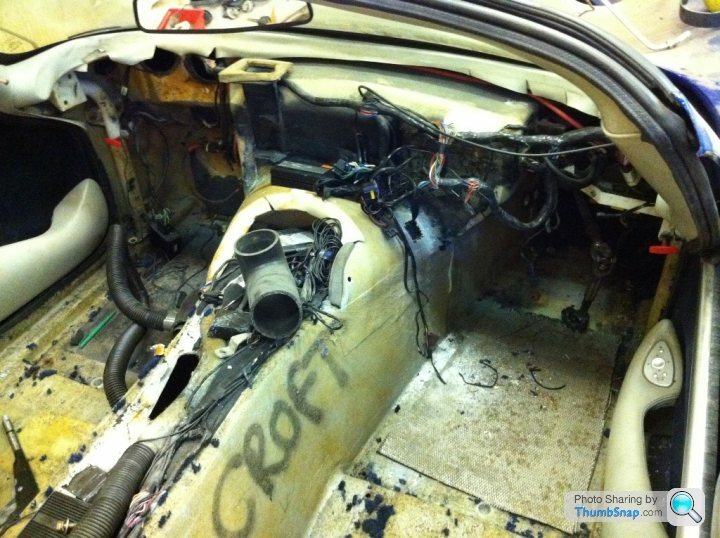
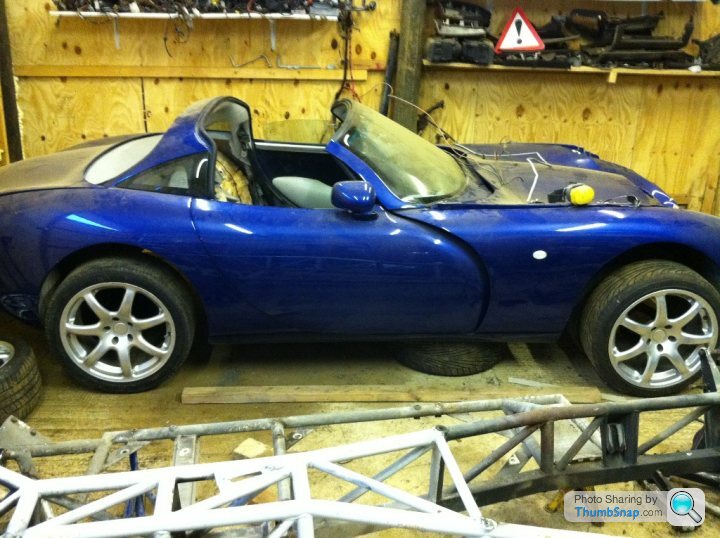
What upgrades improvements would you make if you had the chance?
So far my plans are:
- TVR Power Standard rebuild to S/red rose spec
- Stip and Zinc coat chassis and wishbones
- Rebuild Protech shocks
- Fit polybushes all round
- New upgraded clutch and slave cylendar
- Change interior leather colour from grey to grey + black using furniture clinic relocour kit
- Fit Tamora/Sagaris Cluster
- Paint exterior in Lotus Electric Blue/Viper GTS or Red Bull Blue.
- Upgrade performance of the HVAC system
- Bump steer mod (new arm or 8mm raise of rack?)
- Install iPad multimedia interface and high end Audio system
- Heat relective shields in engine bay to cool cabin temps
- Mk2 grill and winglets
- LED taillights and Xenon headlamps


Edited by MPETT on Monday 24th October 22:49
dvs_dave said:
Add to that list Ceramic coat the exhaust manifolds and nearside engine mount bracket. Will reduce heat soak even more and keep engine bay temp down, as well as stopping the engine mount rubber from melting every 5 mins.
Who donyou recconend using and what does it cost? I haven't heard of coating the mount?! Will this work on rubber? I've heard of shields.Zircotec is the best but it's not cheap. Normal ceramic coating is a lot cheaper and probably 90% as effective but I don't think quite as durable.
With regards the mount, the primary reason it melts is from heat transfer from the bracket between the block and the rubber mount. As it runs between the manifolds it absorbs a lot of heat from the manifolds which it transfers into the rubber mount so melting it. It does also suffer from directly radiated heat from the manifolds, but this is not the main cause of failure.
Coating the manifolds reduces the radiated heat significantly anyway, but coating the bracket also will reduce the heat transfer further. If you're getting the manifolds done, you may as well throw the bracket in there at the same time as it won't cost any extra.
Martin. Very envious. I would love to do this to mine if I had the space and the balls.
Have you considered a brake upgrade? Increasing disc size, pad quality and hoses etc?
The only other thing for me would be looking at improving the aeros. Front splitter and something at the rear for balance. Often wondered about if you could run some sort of wing shapped unit on the under side of the chassis! Would it work?
Anyway good luck and progress pics as and when please.
reinforce seat back wings so they don't bend
fit fan override switch
hinge the bonnet?
get nitrons
don't bother with zinc coating the chassis, it will add weight, some 50-70 kilos I believe!!
also, get the 4.3 upgrade. if power are doing a RR full rebuild you might as well... it's only a few £k more
ps, nice colour...
fit fan override switch
hinge the bonnet?
get nitrons
don't bother with zinc coating the chassis, it will add weight, some 50-70 kilos I believe!!
also, get the 4.3 upgrade. if power are doing a RR full rebuild you might as well... it's only a few £k more
ps, nice colour...
Edited by leerdam23 on Tuesday 27th September 13:39
All great ideas guys and on my radar!! Unfortunately the build costs are on my wife's radar, so have to be reasonable. Base rebuild costs look like £7500. Dream rebuild cost £17000!!!
Off to rt racing to get chassis and wishbones treated!
http://www.youtube.com/watch?v=x8fNUFo-vcA&fea...
Off to rt racing to get chassis and wishbones treated!
http://www.youtube.com/watch?v=x8fNUFo-vcA&fea...
I'd hoped to gte RT racing to look at, repair and paint my chassis. But unfortunatley, the cost just escalated too much for my pocket. See the cost below:
> Bolt kits: £80 pounds
> Wishbone bush kits : £TBC
> 2 hours for the fitting: £100.00 ??
> Shot blasting of chassis and all wishbones £185.00
> Replacement of top tubes where pitted £300.00 6 hrs est
> Remove old bushes from wishbones and prep
up for powder coat £135.00 3 hrs est
> Bead blast, phosphate dip Zink prime and
epoxy powder coat all items & chassis £499.00
This equated to : £1299+vat = £1558.90
So in order to save money I'm going to sand bast the chassis locally and hopfully I can repair the pitted tube (if necessary) and repair the elongated chassis pick up point myself. I should realy get the chassis alignment checked, so perhaps before I paint it, I might take it up to sheffield and get it checked.
I've cleaned up the rear uprights and they don't look too bad. Well they say road grime protects, but in this case it was axle grease that had leaked from the rubber gaitors.
I've also looked at the seats and interior leather, cleaning them as I go. The frame had broken on the driver's bolster, so I had to remove it and I'm going to weld a stronger bracket in place.
Link of the latest tinkering: http://www.photobox.co.uk/album/882129743
Edited by MPETT on Sunday 16th October 23:11
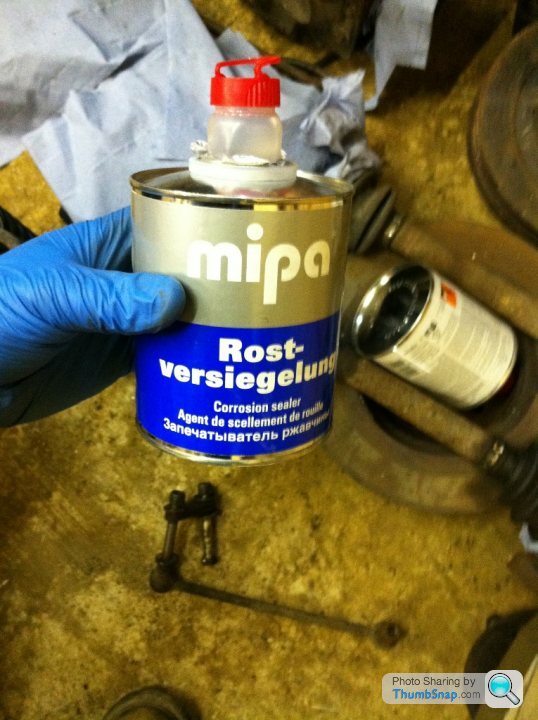
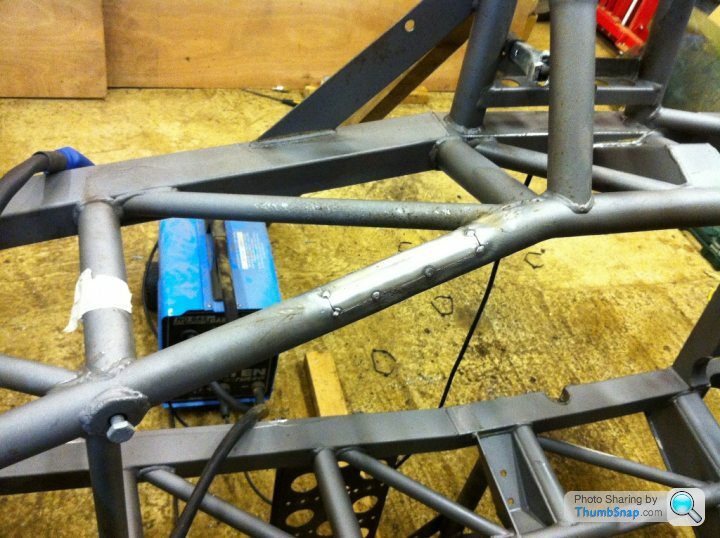
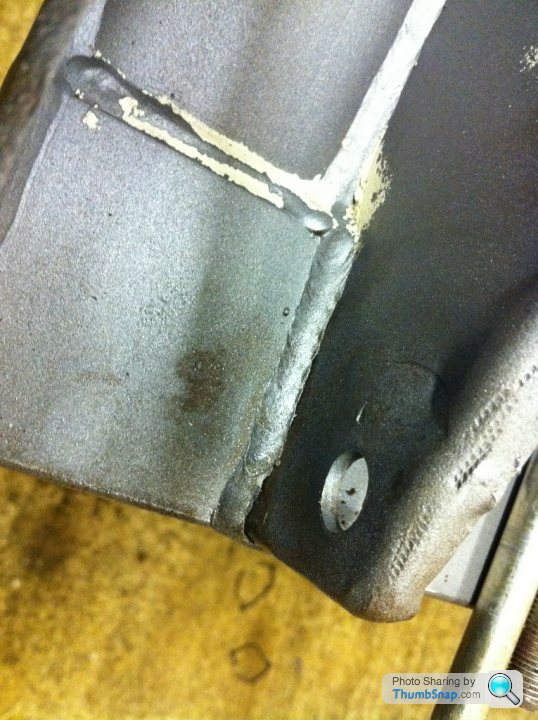
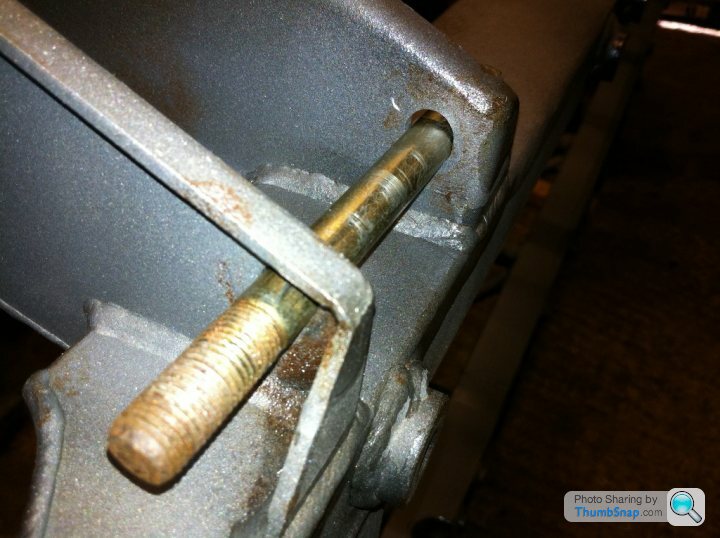
I've just had the chassis and wishbones sand blasted. Got them back and you could see the corrosion forming after just 4 hours. The paint shop gave me a clear paint that seals the metal from the air/preserving its condition. I cut out the corosion that was caused by the proximity to the exhaust manifold then took a look a the wishbone pick up points on the chassis. Upon inspection I identified that there were 2 sets of deformed wishbone mounting points both of which were caused by the wheel being pushed backwards in the impact/accident. I also found a crack between the wishbone mounting plate and the chassis!
What do I do next? I'm not sure I can 100% fix the chassis and get the wisbone mounts fixed and straight. They say a good chassis needs to be within 1mm accurate side to side. Am I being overly perfectionist? I'm also in 2 minds re poly bushes or metalastic. Any thoughts?
The base coat on the wishbones

An example of the bushes condition

The clear coat paint
The chassis rust cut out and replaced
Can you spot the crack in the weld?
The front pick up point (minus the section of the front pick up point that had stretched)
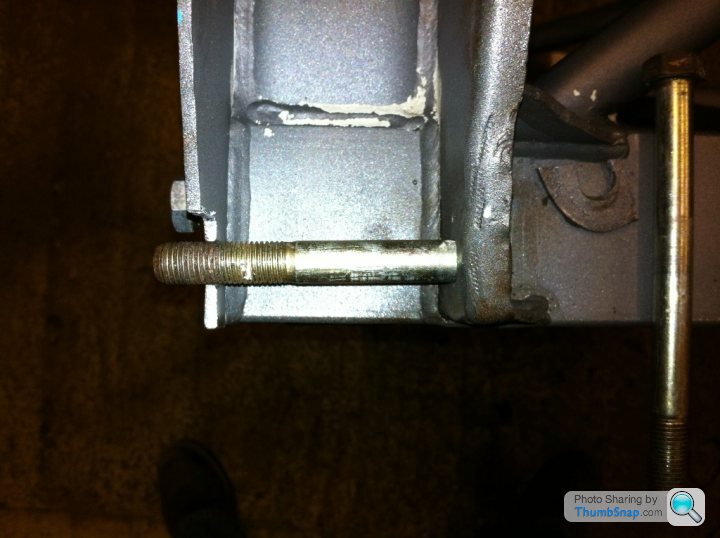
The second front lower wishbone pick up point (stretched bolt hole also)

What do I do next? I'm not sure I can 100% fix the chassis and get the wisbone mounts fixed and straight. They say a good chassis needs to be within 1mm accurate side to side. Am I being overly perfectionist? I'm also in 2 minds re poly bushes or metalastic. Any thoughts?
The base coat on the wishbones

An example of the bushes condition

The clear coat paint

The chassis rust cut out and replaced

Can you spot the crack in the weld?

The front pick up point (minus the section of the front pick up point that had stretched)

The second front lower wishbone pick up point (stretched bolt hole also)


Edited by MPETT on Monday 24th October 22:51
1mm accuracy on a TVR chassis? Are you serious
A mate was repairing a crash damaged metal bodied sports car and getting frustrated that he couldn't get the setback to less than 15 mm difference... On checking the manufacturer figures, that was within tolerance! For a car coming down the line....
On the poly v std bushes, I'm rebuilding my chum and after talking to a lot of specialists stock bushed going in
Really? 15mm. I've been trying to digest info re suspension set up (the sports car and kit car suspension and brakes high performance manual) what a mouthful, and that says any more than 3mm difference side to side will make the car impossible to get handling well! The RTRacing jig is meant to be super accurate, so was thinking that might be a necessity for piece of mind whilst the chassis is bare.
Gassing Station | General TVR Stuff & Gossip | Top of Page | What's New | My Stuff


