Removing scratches, don't look if you have paint OCD
Discussion


Got some good scratches removed today. I wasn't convinced they would come out.
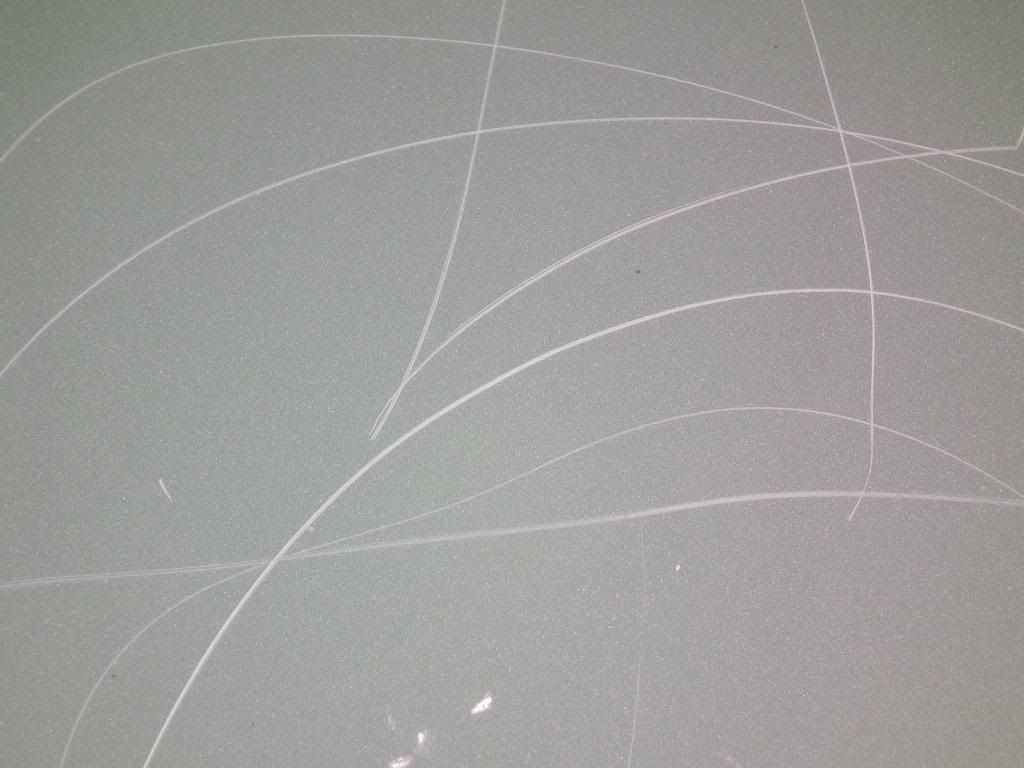
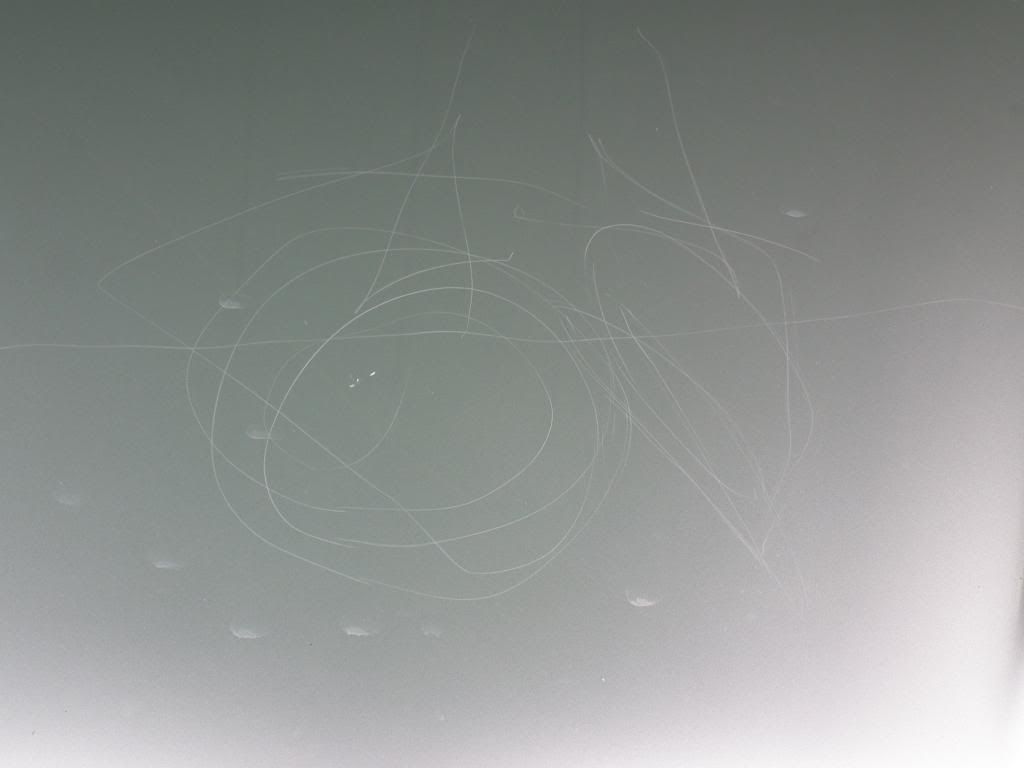
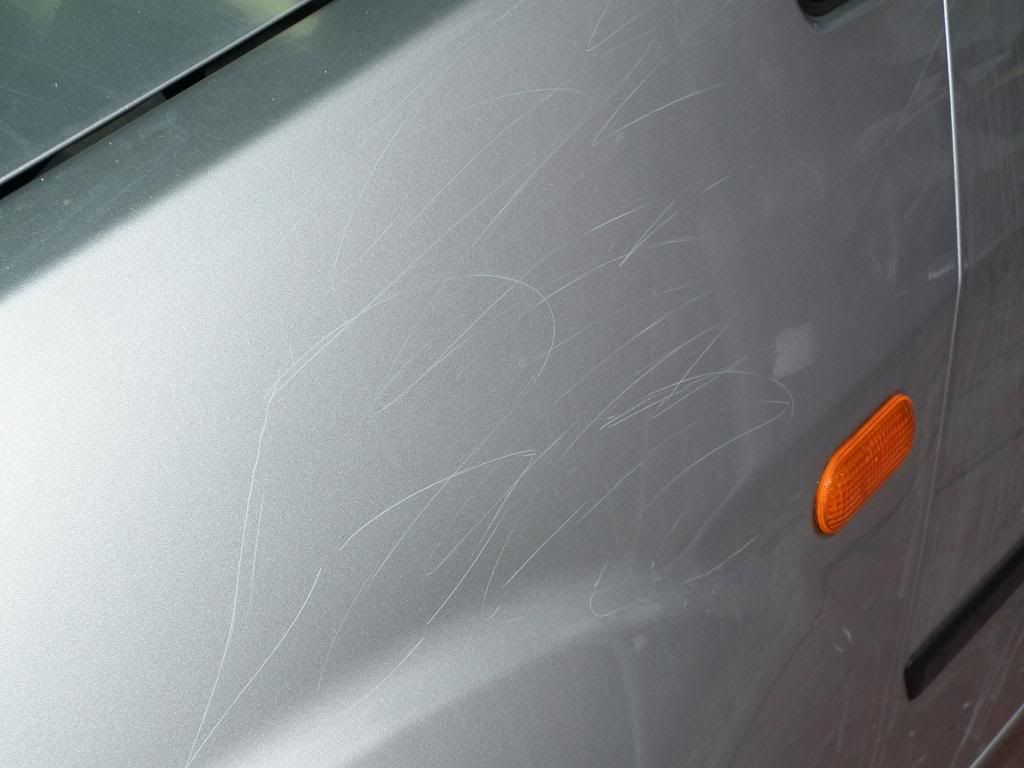
[worst nightmare] Imagine a young kid, imagine them picking up a stone and thinking it would be good to draw pretty patterns...
Thankfully a good wet sanding technique and some serious polishing sorted it. 8)
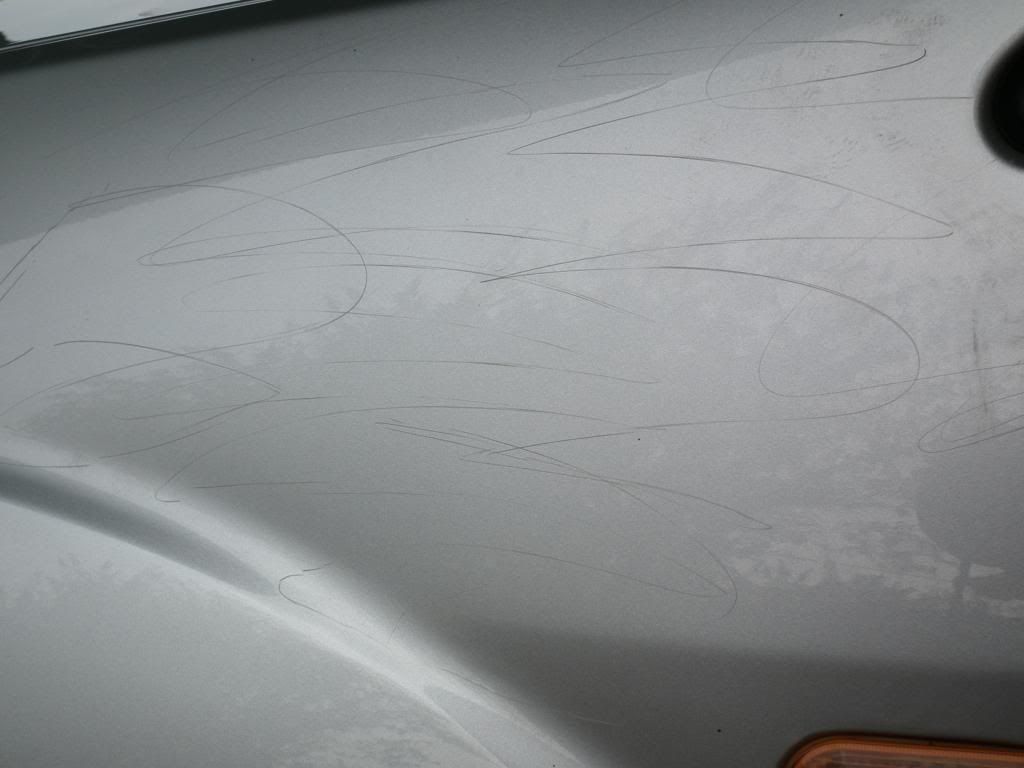
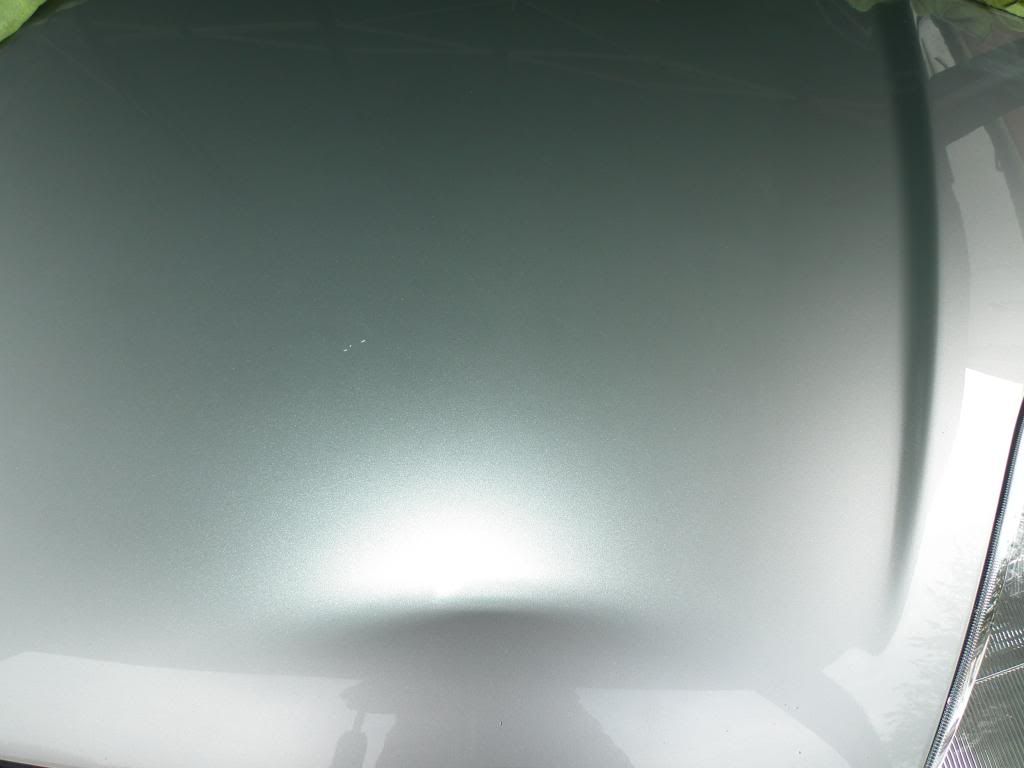
bonnet
bonnet...
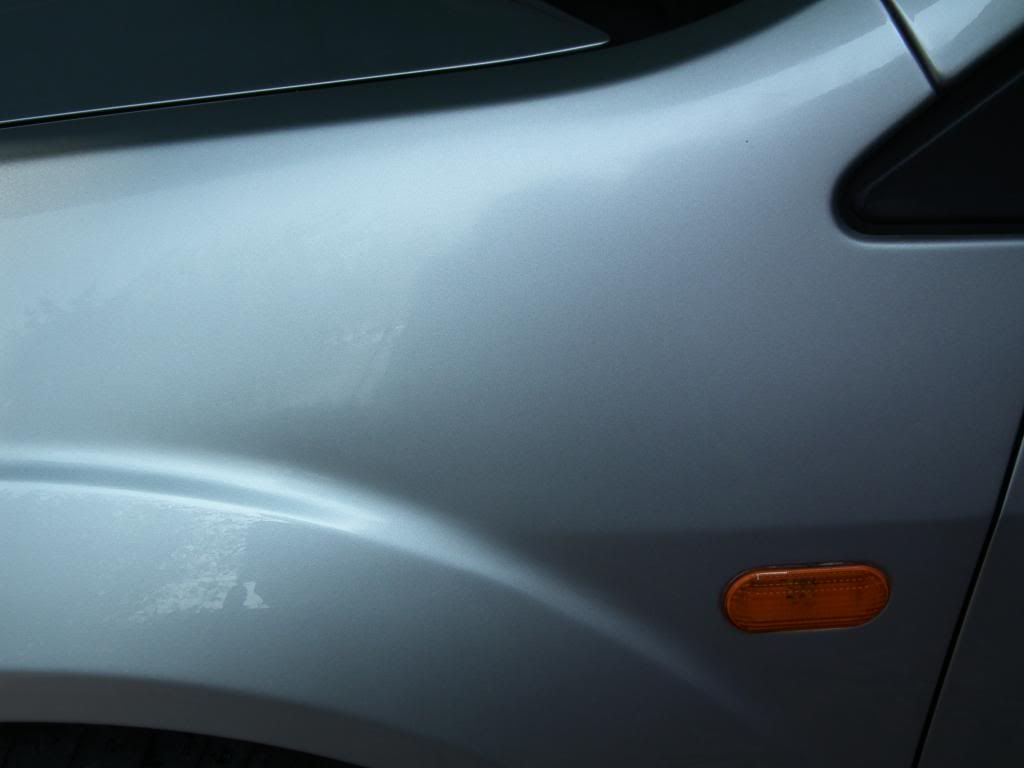
wing
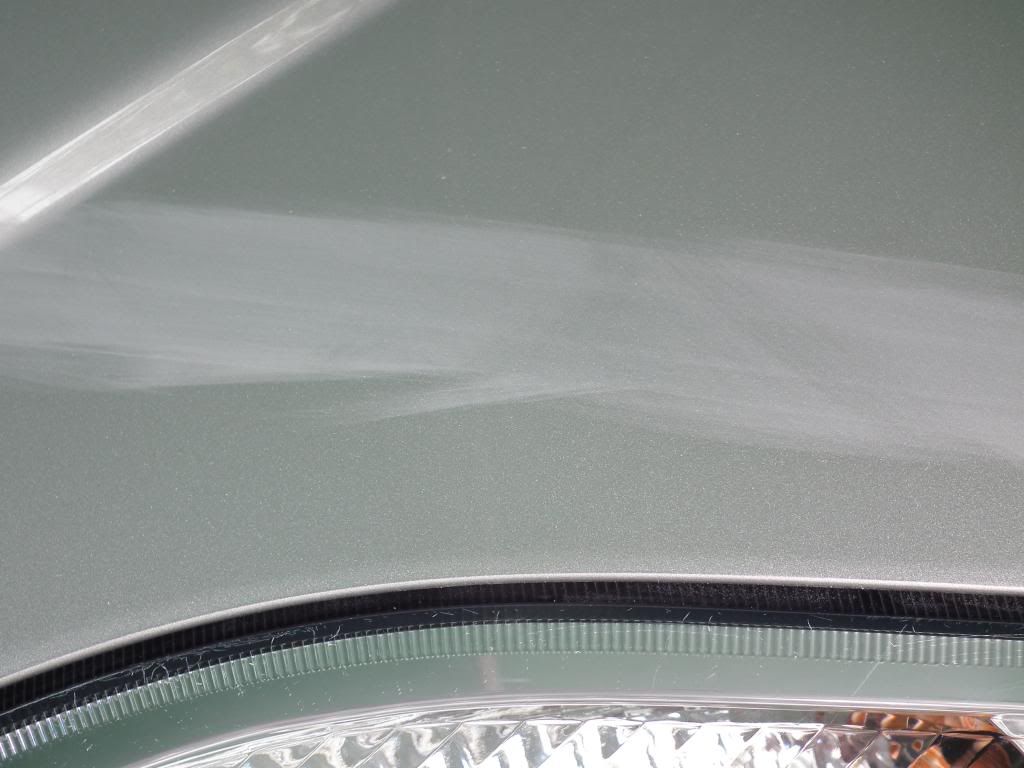
First tried area above headlight as a tester
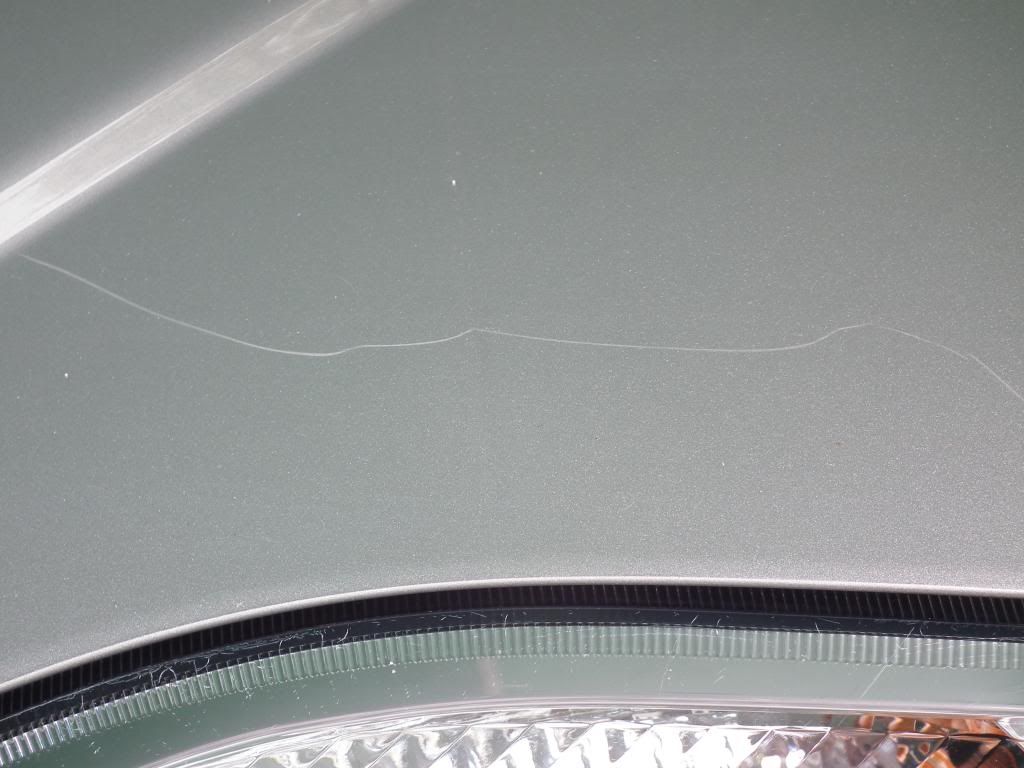
Sanded with 1200, 2000 and 2500 grit wet & dry, then dried off. Looks bad eh?
Then polished with a cutting compound, and then refined using gradually gentler polishes.
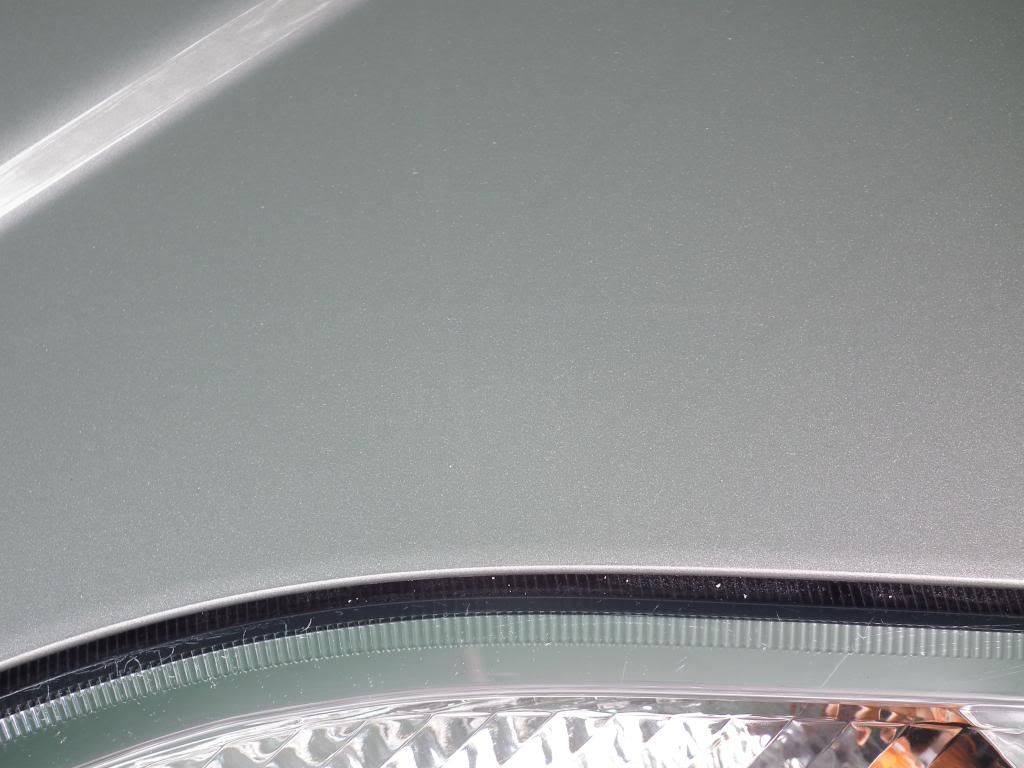
Bonnet when finished (reflection of gazebo rafter at the top)
Reminder of the wing
and now
Very happy!
[worst nightmare] Imagine a young kid, imagine them picking up a stone and thinking it would be good to draw pretty patterns...
Thankfully a good wet sanding technique and some serious polishing sorted it. 8)
bonnet

bonnet...

wing

First tried area above headlight as a tester

Sanded with 1200, 2000 and 2500 grit wet & dry, then dried off. Looks bad eh?

Then polished with a cutting compound, and then refined using gradually gentler polishes.

Bonnet when finished (reflection of gazebo rafter at the top)

Reminder of the wing

and now

Very happy!
No worries
Fairly convoluted stages, but essentially
1) Full use of Autosmart Tardis and Iron-X to ensure paint cleansed, followed by claying (3M clay)
2) Wet sanding of marks using 1200, 2000 then 2500 grit wet and dry, using a small eraser as a rubber block (thin edge used) until scratches looked to have gone
3) Polishing first with 2" wool pad using cutting compound to remove the glaze left by the sanding, on a rotary machine
4) Refinement polishing using larger pad and gentler polish
job done.
All the time though I was stopping to take paint depth measurements as the last thing I wanted to do was burn through the clearcoat. I reckon I had to sand away around 1/3 to 1/2 the available clearcoat to remove these scratches, so it's not something you can keep doing time after time...

LancerG said:
Nice work, can you replace the lacquer thats gone ?
The owner (elderly gent) "put it down to experience".... Kid was only 6 apparently but still!In answer to the lacquer thing - no.... Quite simply once the lacquer is all gone, the panel needs to go through the whole basecoat/lacquer process from the start again. I "think" if you sand away all the lacquer, and have a good condition basecoat, you might get away without putting on more basecoat - this might be an advantage if you are concerned about colour matching. The basecoat would need a little wet & dry before relacquering though, to bring out the finish once the clear is re-applied.
i keep a good distance from anything spraying related. Very happy to spray up my own bits for the Skoda - rough style, hanging off a tree, with a rattle can style, but would never think of offering it as a service to others.
Great job 
The car is worth about 50p so it's not worth getting a professional to do it, just don't want to make it even worse than it is.
TDIfurby said:
In answer to the lacquer thing - no.... Quite simply once the lacquer is all gone, the panel needs to go through the whole basecoat/lacquer process from the start again. I "think" if you sand away all the lacquer, and have a good condition basecoat, you might get away without putting on more basecoat - this might be an advantage if you are concerned about colour matching. The basecoat would need a little wet & dry before relacquering though, to bring out the finish once the clear is re-applied..
I have a car with really badly peeling lacquer and was thinking about doing as you describe (sand away the lacquer and then re-apply without any more base coat) - is it a terrible idea for an amateur to attempt ? The car is worth about 50p so it's not worth getting a professional to do it, just don't want to make it even worse than it is.
You can lacquer over lacquer if you want, without too many problems. Just needs keying first. If you go through the base layer, that's when you have problems - and that's easy to do, as the base layer is quite thin, so if you flat polish or burn through the lacquer, it's very easy to go through the base coat to the primer.
Excellent work on those panels though, tremendous results.
Excellent work on those panels though, tremendous results.
VDubMatt said:
Fancy doing one of mine on my roof? its fairly deep! and will pay? done by vauxhall themselves  You got some amazing results with that!
How deep though? If you feel significant resistance when running a fingernail over it, chances are you have burned through the clearcoat. There is only around 1mm to 1.5mm of clearcoat on the average car. It doesn't take much of an accident / mistake to go right through it in one go. I am always happy to take a look at cars if you come to me in Exmouth. You got some amazing results with that!TDIfurby said:
All the time though I was stopping to take paint depth measurements as the last thing I wanted to do was burn through the clearcoat. I reckon I had to sand away around 1/3 to 1/2 the available clearcoat to remove these scratches, so it's not something you can keep doing time after time...
How can you tell how thick the clear coat is please?Matt Seabrook said:
How can you tell how thick the clear coat is please?
A very handy gauge I bought. It doesn't specifically tell you the clearcoat layer only, just the whole paint depth to the metal. I know from experience though the traditional thickness of the primer & basecoat layers, so based on readouts, I know how far to push it. I begin to worry when I start getting readouts in double figures. 225 microns as in the case of this Flying Spur meant there was plenty to work with.

Gassing Station | South West | Top of Page | What's New | My Stuff