Low light tips
Discussion


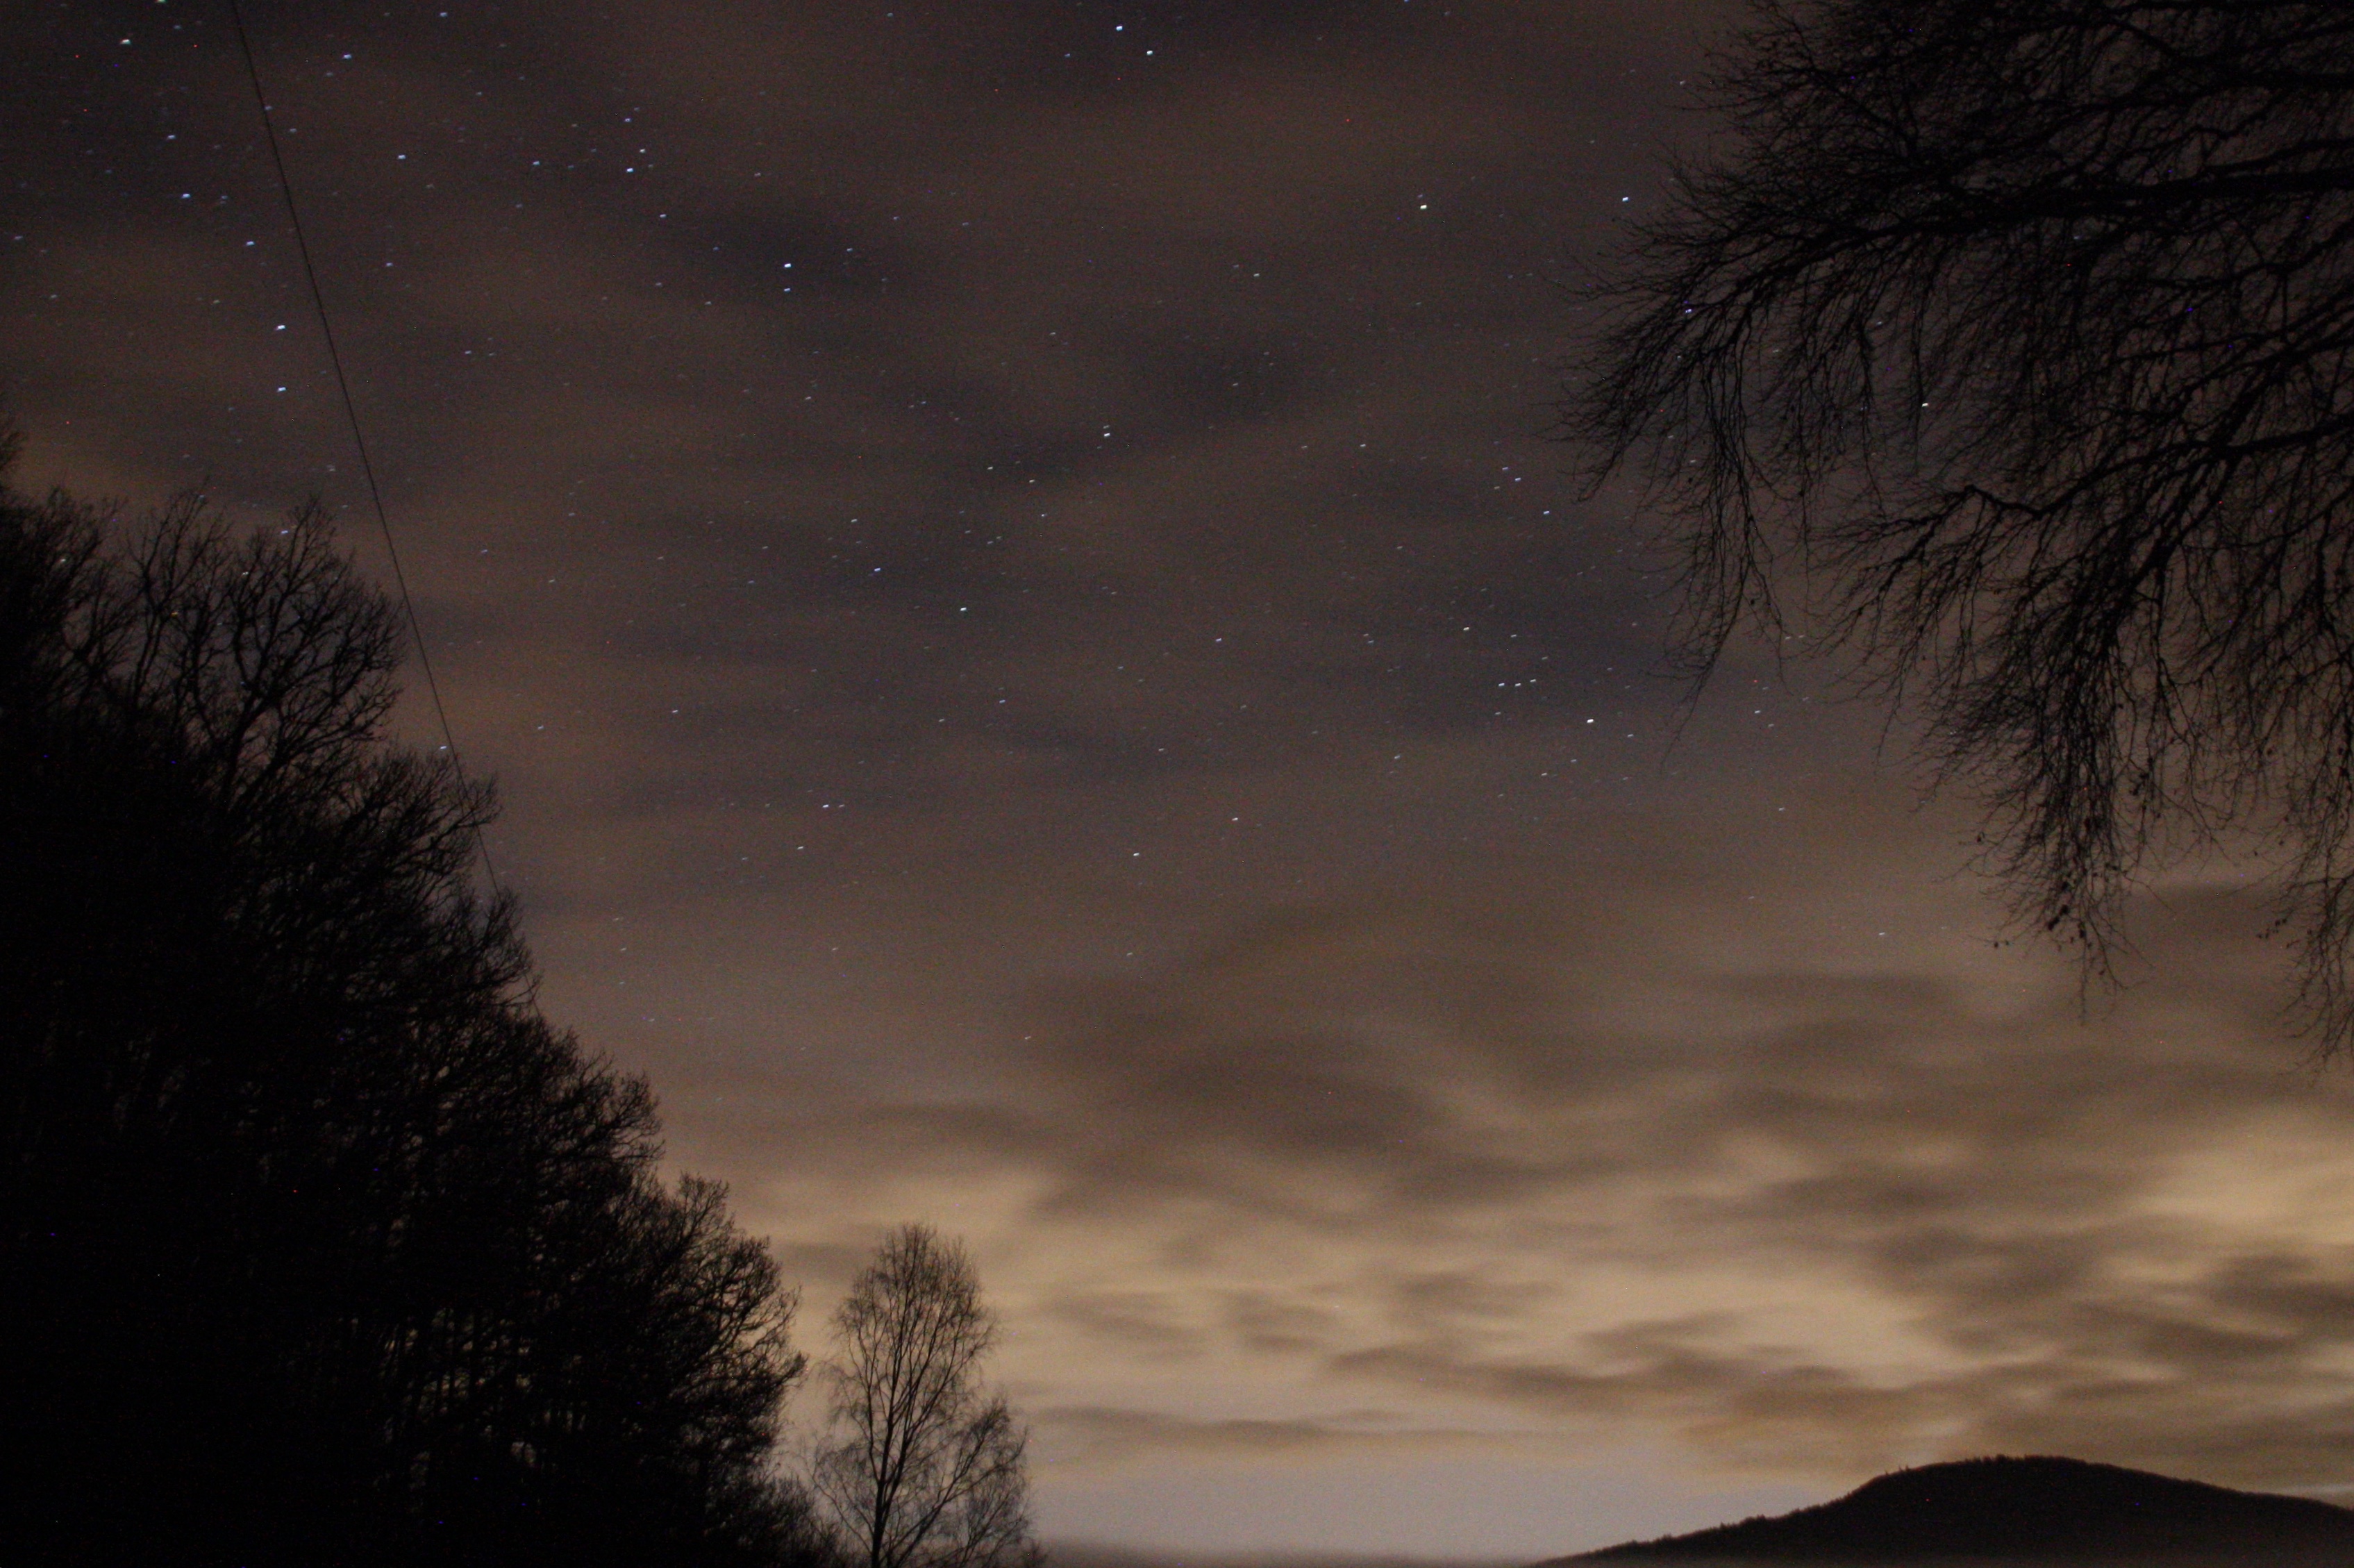
I am a crap photographer. However my daughter (13) appears to have an eye for a good pic. She’s currently using a Canon EOS 40D with a Sigma zoom lens and I’ve been trying to help her with night sky photography, which is a bit like asking your plumber to perform open heart surgery.
Can you please give me (her) some tips? We live in a fairly low light area with a small town 3.5 miles east and a village 3.5 miles west. No street lights where we are. Ignoring composition, what are we doing right/wrong? e.g., I know there’s a phone line in the middle of the pic but we were just messing around to see if we understand the basic settings.
Settings...
F4.0 (the lowest I can make it go)
ISO 1600
30 seconds exposure
Cheers.
All good tips - thank you. I have no idea what we’re trying to achieve other than doing better than we’re already doing. Does lower ISO and longer exposure mean better quality?
We don’t have a tripod or remote release. I’m propping the camera up on logs and using the timer to delay the shot by 2 seconds.
We don’t have a tripod or remote release. I’m propping the camera up on logs and using the timer to delay the shot by 2 seconds.
Auto white balance can also add a strange cast to the colours, so be prepared to alter that if you don't set it up front.
Also, use the '500' rule to sort out your shutter speed if you are taking long exposures of stars. Divide 500 by the focal length that you have set and that's the longest shutter speed you should use to avoid star trails So, for a 25mm focal length (zoom or prime), use a shutter speed of less than 20 seconds.
Also, use the '500' rule to sort out your shutter speed if you are taking long exposures of stars. Divide 500 by the focal length that you have set and that's the longest shutter speed you should use to avoid star trails So, for a 25mm focal length (zoom or prime), use a shutter speed of less than 20 seconds.
Don’t bother with buying a cable release, the 2 second timer will be fine and the max 30sec timing will also be fine see the rule of 500 above (ofcourse if you want to get star trails the you will have to buy one, keep it as simple and cheap as you can, you won’t need anything fancy)
Definitely buy a tripod, doesn’t need to be expensive , just sturdy, so an aluminium one is fine, carbon ones are too expensive and don’t get a travel one either, thick and sturdy is the way to go for your needs.
The tripod will allow for much better composition and flex ability of shot.
Definitely buy a tripod, doesn’t need to be expensive , just sturdy, so an aluminium one is fine, carbon ones are too expensive and don’t get a travel one either, thick and sturdy is the way to go for your needs.
The tripod will allow for much better composition and flex ability of shot.
My 2p worth...
There are (broadly) 3 types of shot you can go for:
1. General star shots - you're fine with 30s, f4 and about iso 400/800 as preferred (you'll get plenty even at iso100)
2. Star trails - as per 1 but you need a sequence of shots and software to overlay the images. Good fun but maybe once you've got the hang of it
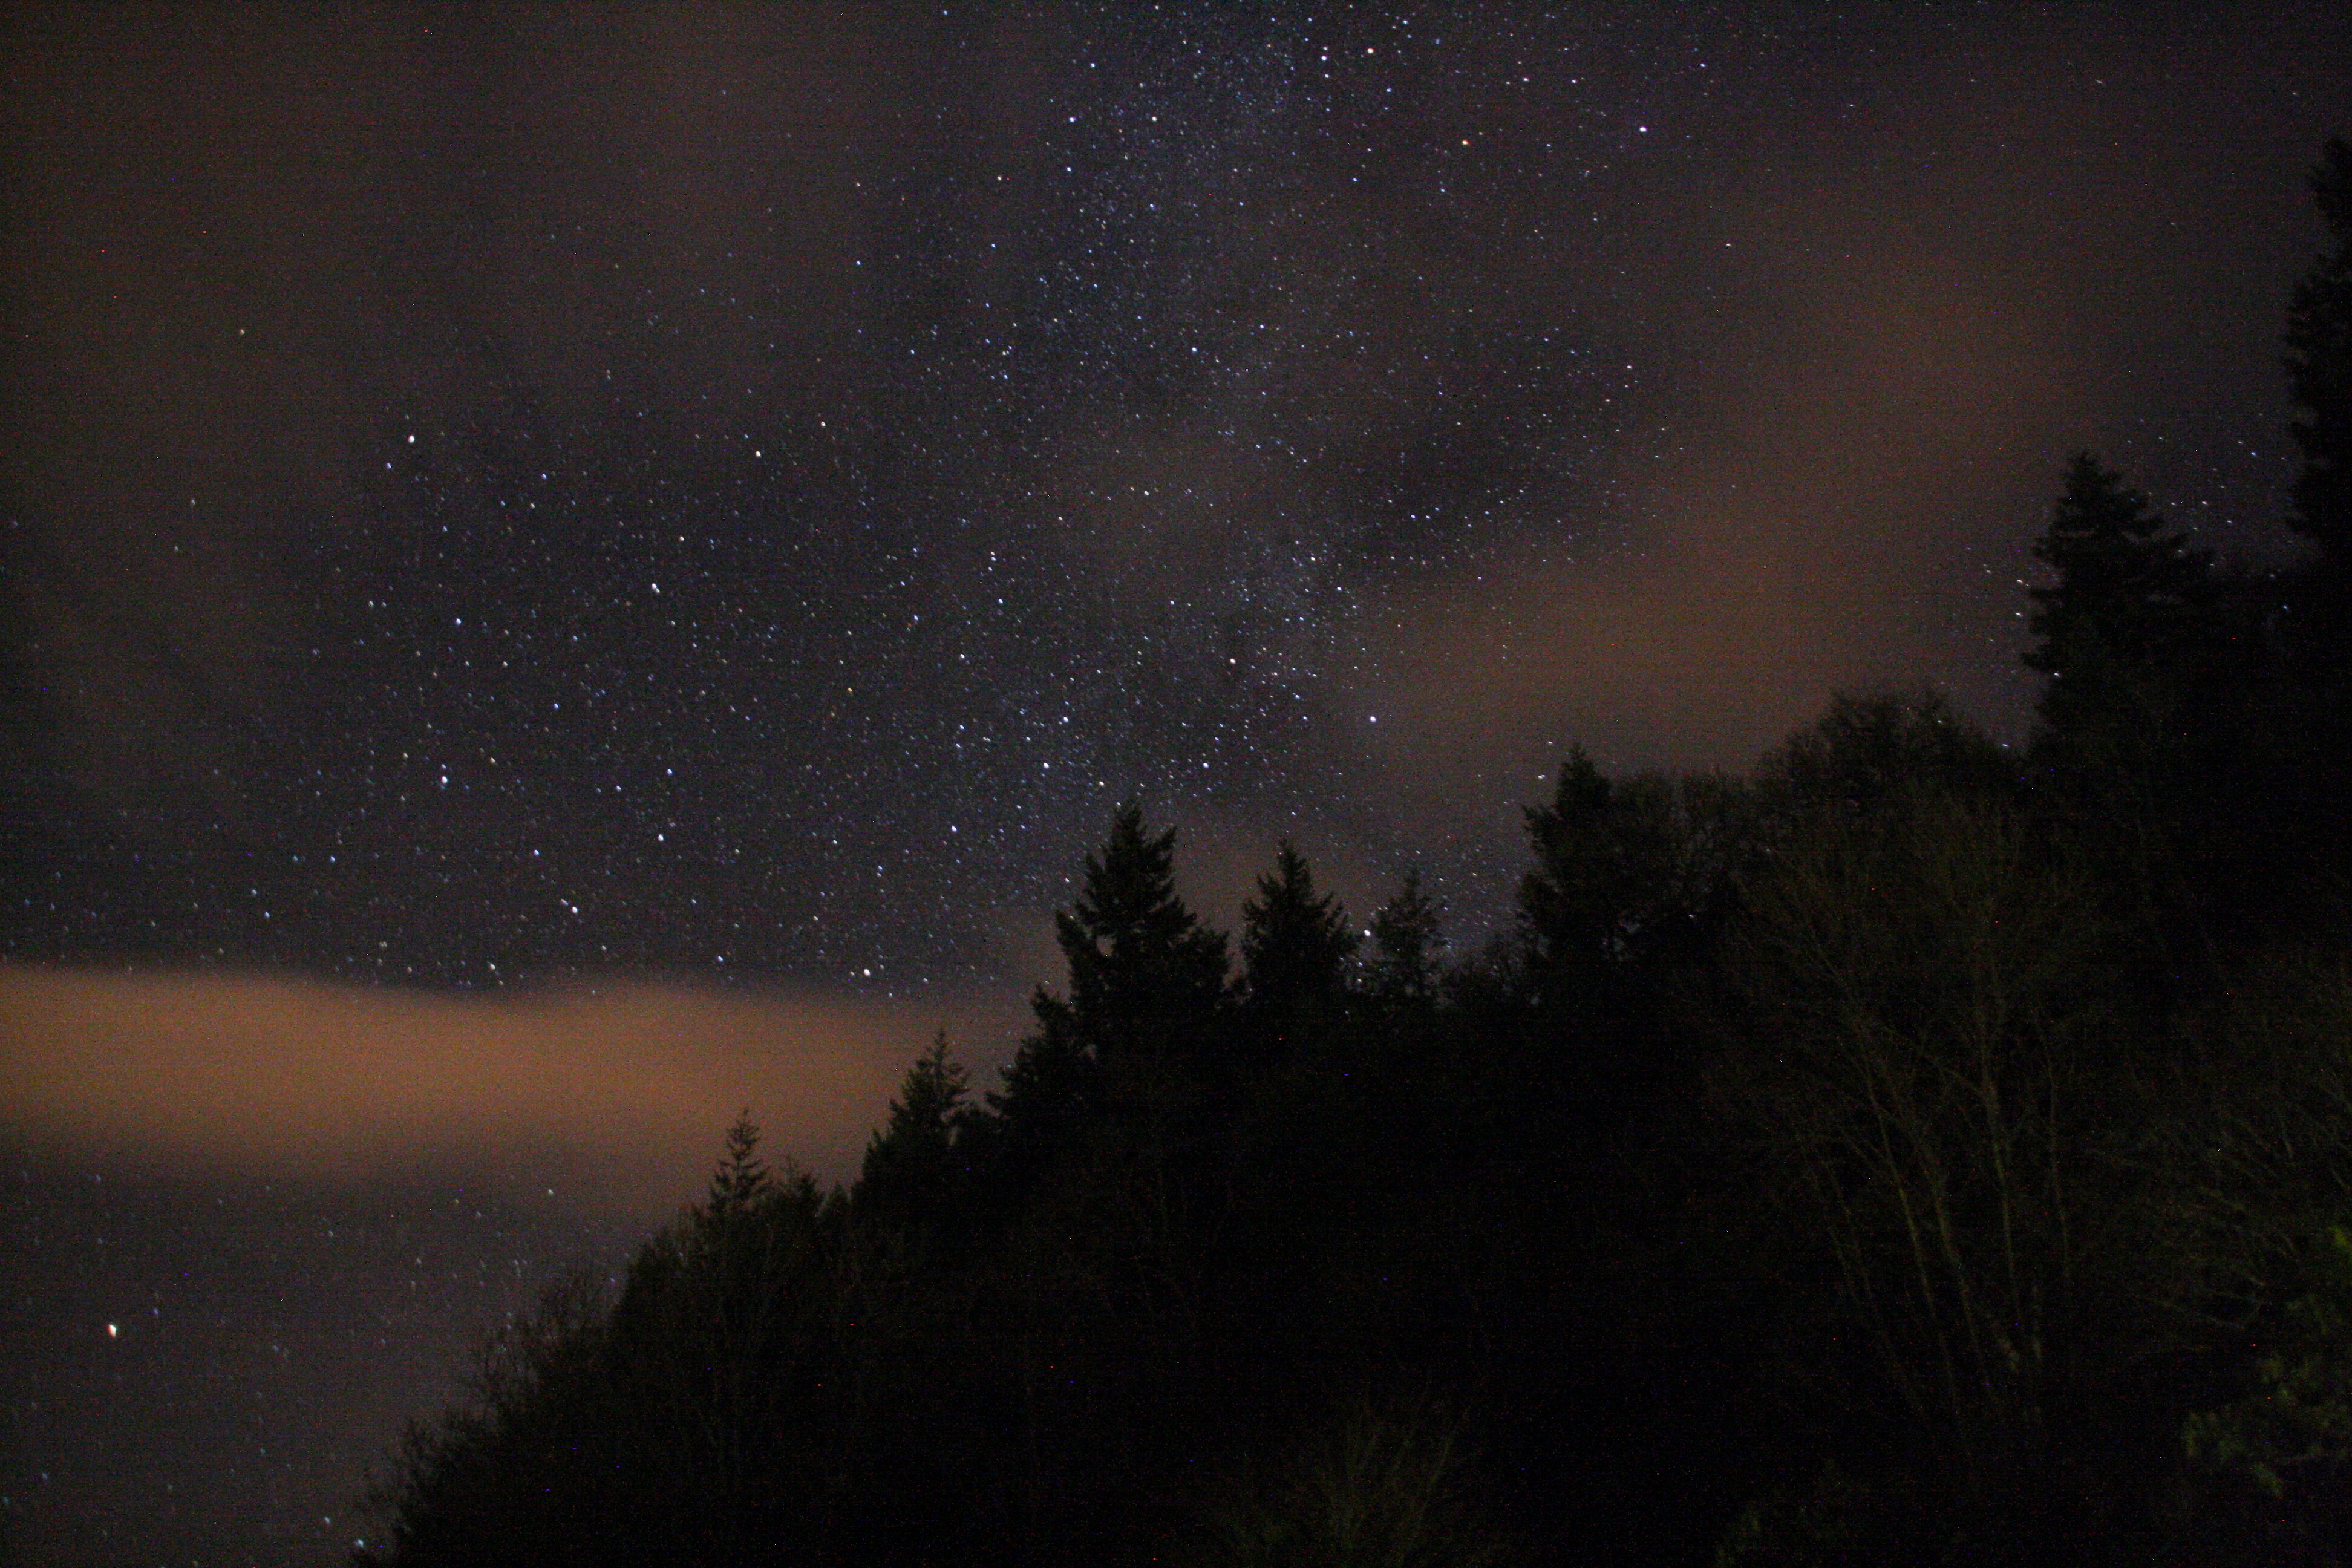
3. Milky Way - at f4 and 30s you'll need a lot of iso... ideally this is done with an f2/8 lens or even f 1.8 if possible
How wide angle does your lens go - 18mm? Generally you're better off shooting these at a wide angle - also use as little iso as possible to keep the noise down.
Have fun
There are (broadly) 3 types of shot you can go for:
1. General star shots - you're fine with 30s, f4 and about iso 400/800 as preferred (you'll get plenty even at iso100)
2. Star trails - as per 1 but you need a sequence of shots and software to overlay the images. Good fun but maybe once you've got the hang of it
3. Milky Way - at f4 and 30s you'll need a lot of iso... ideally this is done with an f2/8 lens or even f 1.8 if possible
How wide angle does your lens go - 18mm? Generally you're better off shooting these at a wide angle - also use as little iso as possible to keep the noise down.
Have fun
There are three exposure variables to play with ISO, aperture (f number) and exposure time. Considering each one individually...
ISO. The higher the number, the more the signal from the the sensor is amplified. Just like your home hi-fi, as you turn up the volume, it becomes easier to hear faint sounds, but you also hear the background hiss.
Increasing ISO number, whilst not varying aperture or exposure time will give more exposure - a brighter image. But as noise increases, you will also get a grainier image.
Aperture. There's a mechanical screen at the back of the lens with a variable size hole. The bigger the hole, the more light gets in when the shutter opens. A small hole only lets in a tiny amount of light. The f number if the ratio of the lens focal length (eg. 14mm for a wide angle, 200mm for a telephoto) to the size of the aperture. Keeping the focal length the same (not zooming) and increasing the f number decreases the aperture.
For normal photography, increasing f number gives a larger depth of field, enabling you to have foreground and background in focus. Decreasing f number does the opposite, sharply focussed subject and blurred background. Since you're focussing on infinity for star photography, depth of field isn't an issue.
Exposure time. Everyone understands this, its the amount of time the shutter is open. More time equals more light, which gives a brighter image. Longer exposures need a tripod, Hang a bag from the centre to give stability, use a timer to avoid moving the camera during the exposure. The stars are not still, leave the shutter open long enough (>30s at 40mm) and you'll start to see star trails.
Now the good bit. These numbers are all related.
Take a picture. Now halve the exposure time, and double the ISO (keep f number the same). The two pictures have the same "exposure", both are equally bright. The first may show star trails because of the long exposure, the second will have star trails half the length of the first, but will have more sensor noise and will be grainier.
Take another picture. Now double the f number. To get the same exposure, you could either double the exposure time, or double the ISO.
Lastly you should consider focal length. If you zoom, you'll get a smaller section of sky, but because you've zoomed, the apparent movement of the stars will be magnified, so if you want to avoid star trails, you will be forced to use a shorter exposure.
And that is all there is to photography. Easy innit?
(ETA Now, could some one please teach me how to take photographs?)
Edited by mikeveal on Tuesday 11th December 07:56
Tripod, tripod, tripod and lower the iso for a 40D.
maybe up the Fstop one as well as that lens might be a bit soft wide open.
F5.6, iso 400 on a good tripod, and see what happens regarding the time needed to get the shot and if that makes star trails or not.
I had a 40D for years great bit of kit, now on a 70D I shot the moon at F11 iso 100 to make it as sharp as possible
I hate noise and soft pictures, some love noise, I just see mess lol
 .
.
maybe up the Fstop one as well as that lens might be a bit soft wide open.
F5.6, iso 400 on a good tripod, and see what happens regarding the time needed to get the shot and if that makes star trails or not.
I had a 40D for years great bit of kit, now on a 70D I shot the moon at F11 iso 100 to make it as sharp as possible
I hate noise and soft pictures, some love noise, I just see mess lol
.Edited by Porsche911R on Tuesday 11th December 11:31
A superzoom lens wont be very good for low light sadly , slow aperture and poor optics (relative to other lenses).
For astro, 18mm, f3.5/4, ISo 3200 and ~20 seconds, take multiple frames in raw and stack them in an app like sequator or stary landscape stacker.
astro is the toughest on gear
For astro, 18mm, f3.5/4, ISo 3200 and ~20 seconds, take multiple frames in raw and stack them in an app like sequator or stary landscape stacker.
astro is the toughest on gear
Gassing Station | Photography & Video | Top of Page | What's New | My Stuff