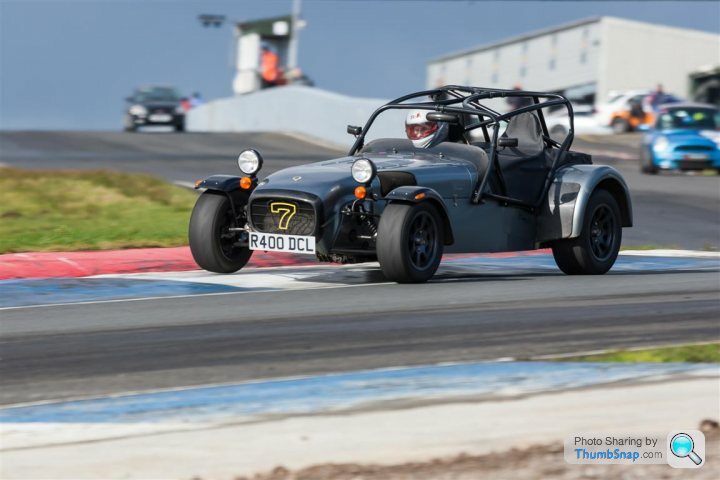
Fitting a roll cage
Discussion
think there are two types of SLR cage, early Safety Devices cage and later Caged version.
SD cage bolts to a bracket behind the scuttle and this Z bracket bolts to the scuttle mount i believe. the side bolt into the bosses in the side of the car below the door apperture, some cars do not have these mounts.
the later Caged version bolts throught the chassis with two bolts each side just below the scuttle at the front and there are two fixings each side below the door apperture.
i believe the rear fixings that drop into the chassis above the shocks and behind the rear panel are the same on both.
there are different ways to fix the mountings through the chassis rangeing from the very quick fix of drilling holes into the chassis and putting a bolt through and a nut on the inside. i believe the best way is to have the required bushes properly welded into the chassis retaining the integrity of the chassis tubes and preventing undue corrosion.
album of pictures showing my fitment of Caged SLR cage to 1992 imperial S3 chassis https://picasaweb.google.com/108790253934099402594...
metric chassis may have the bosses all fittted as standard, unsure. if you are buying a cage speak to more than caterham, you will get a cage in colour other than black with mirror mounts welded on instead of a black cage that needs exhaust clamps to hold mirrors, you may also pay less money
Thanks Russllie, I saw your post on Blatchat - the pictures are a great help. It's bought from Caterham but I must stop thinking they're the only supplier. It must have cost me a fortune over the years.
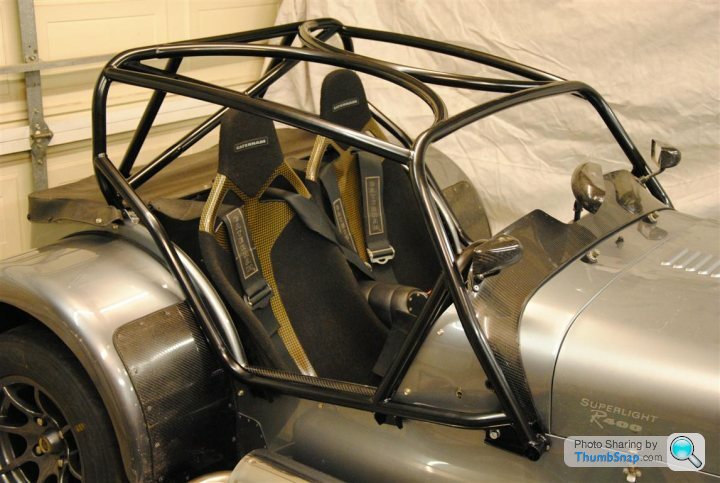
It's the Caged SLR cage with the four bolts on the chassis rail under the scuttle. I'm very impressed with it - a real work of art.
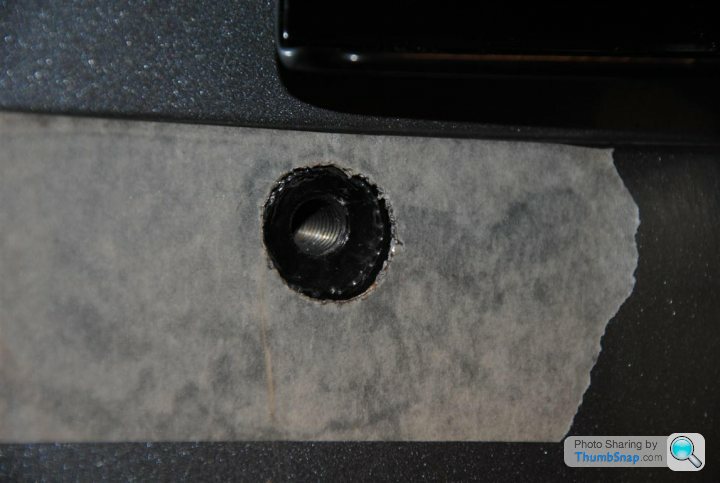
It is a metric chassis and I've just made the first hole. There is a threaded bush in there, phew!
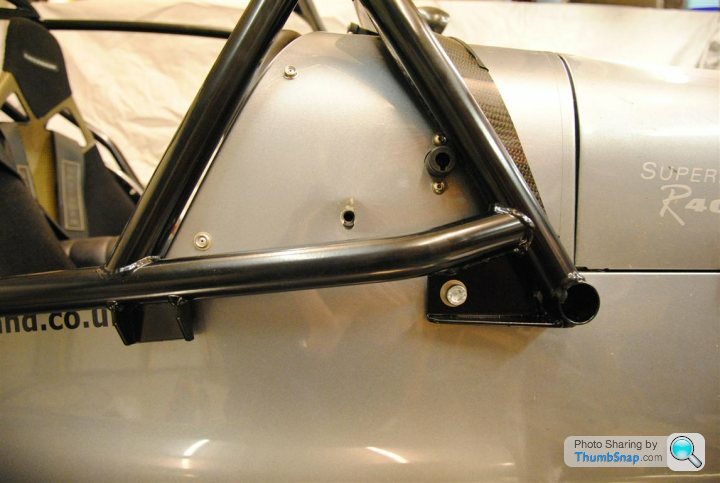
The only outstanding issue is the side bar brackets don't have bolt holes in them. I've seen pictures of them bolted on here and I suppose it is best to bolt it on in as many places as possible, but are they left to give you the option of leaving them un-bolted ? More research required.
It's the Caged SLR cage with the four bolts on the chassis rail under the scuttle. I'm very impressed with it - a real work of art.

It is a metric chassis and I've just made the first hole. There is a threaded bush in there, phew!

The only outstanding issue is the side bar brackets don't have bolt holes in them. I've seen pictures of them bolted on here and I suppose it is best to bolt it on in as many places as possible, but are they left to give you the option of leaving them un-bolted ? More research required.

Edited by DCL on Saturday 4th February 20:37
DCL great to see you have the bushes already fitted in and properly welded. as suggested the other holes are blank to allow for tollerence.
open up the holes for the bushes in the skins and mark through from inside the car to the bracket. thats what i did. i fitted spacers between the cage and the outside of the car to allow my rigidhalf doors to slot in.
open up the holes for the bushes in the skins and mark through from inside the car to the bracket. thats what i did. i fitted spacers between the cage and the outside of the car to allow my rigidhalf doors to slot in.
Some progress to report . . .
The usual method seems to be to remove the rivets on the inner panels but I felt this was a lot of work for a car that has the bushes installed already so I decided to use some woodworking techniques to mark it up instead.
The aluminium panel over the main fixings at the front has a profile on it so the spacers need to run through the panel to stop an unsightly distortion. I had drilled lots of tiny holes on the first one but decided to use a wood brace and bit (with a 10mm tube to prevent thread damage) on the rest - worked really well
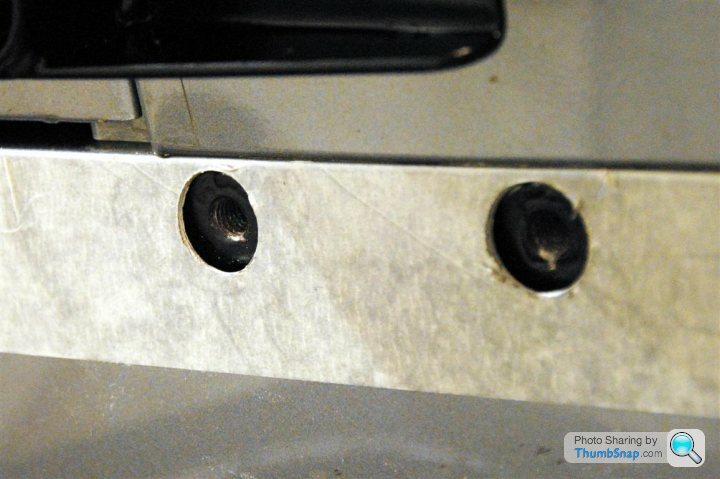
Once that was done the side fixings were marked up and drilled, the skin was flush so only a 10mm hole required this time. The technique was to drill a small hole and open it up with a countersink bit to centralise it in the threaded bush without damage to the threads.
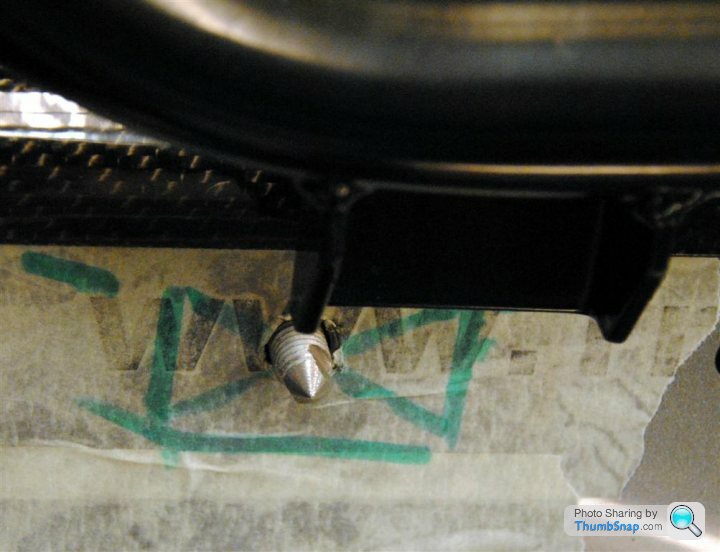
A 10mm stud was then turned to a point and screwed in to the hole. A couple of flats allowed it to be turned with a spanner.
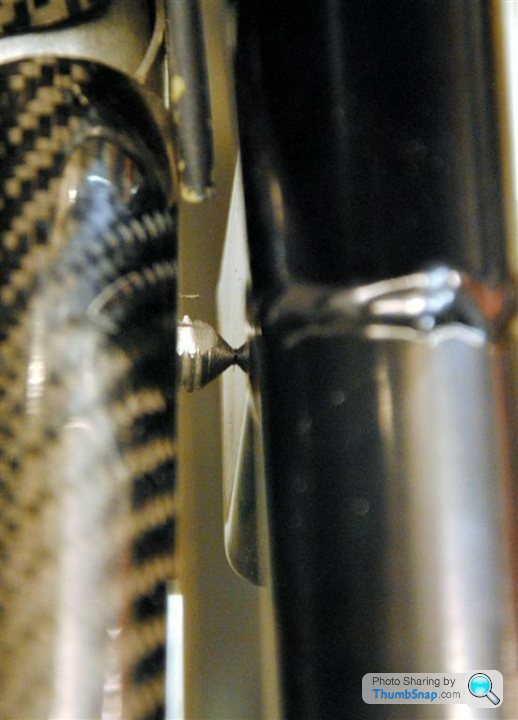
The cage was then refitted and the stud screwed out to mark the where the hole was needed. Once all four had be marked the cage was removed and pilot hole drilled. It was then refitted for the drilling of the final holes as I felt that was the best way to hold it securely for drilling.
The cage came with a washers as spacers - I had thought of turning some solid spacers but, in the end, it seemed washers were a more flexible solution. I wraped them in self amalgamating rubber tape to colour and seal from corrosion.
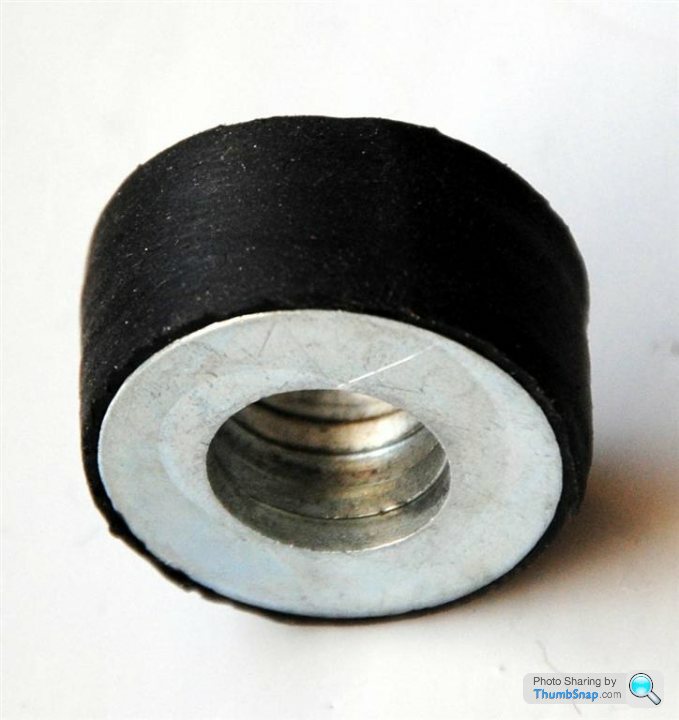
It was then all put together with some RTV sealant and torqued up - job done! Just enough clearance for the Tonneau cover.
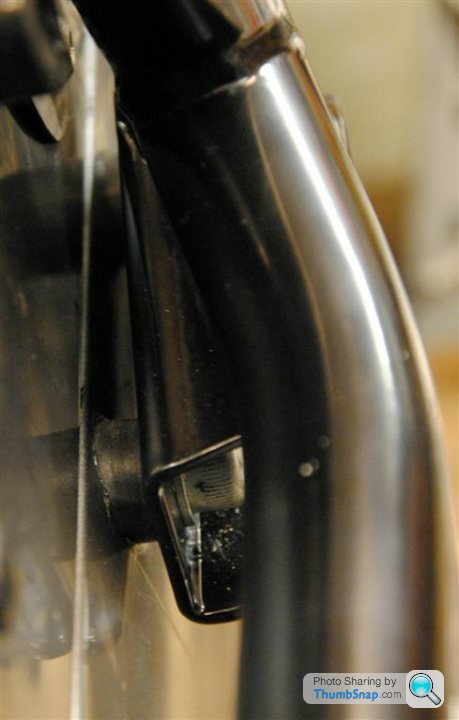
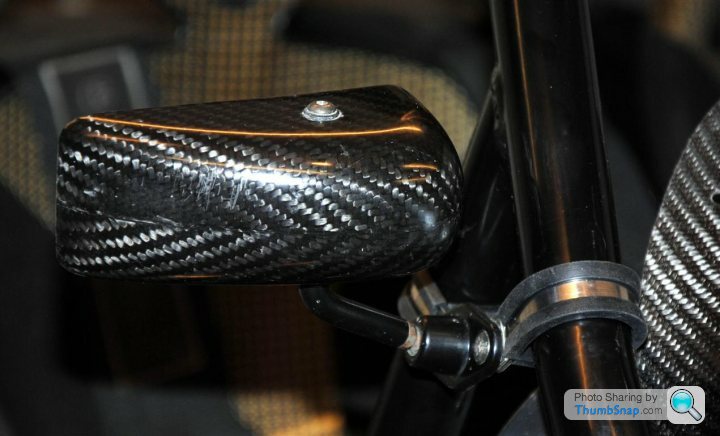
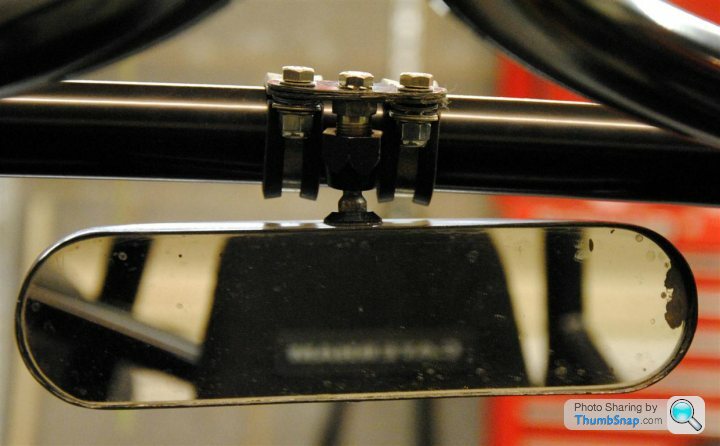
Just the mirrors to do - I used Mikalor stainless steel P-clips which I think look OK with the SPA wing mirrors. The rear view mirror was similarly fixed using a 12mm x1mm brake union to match the SPA mount (maybe over engineered so I might revise later).
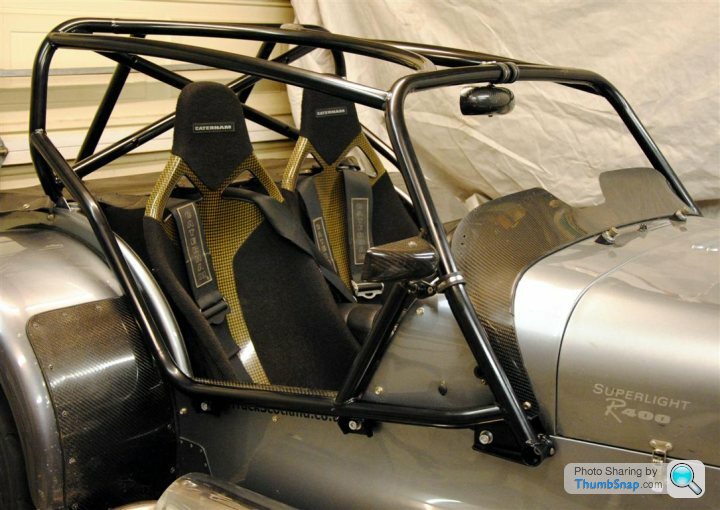
And all finished
The usual method seems to be to remove the rivets on the inner panels but I felt this was a lot of work for a car that has the bushes installed already so I decided to use some woodworking techniques to mark it up instead.
The aluminium panel over the main fixings at the front has a profile on it so the spacers need to run through the panel to stop an unsightly distortion. I had drilled lots of tiny holes on the first one but decided to use a wood brace and bit (with a 10mm tube to prevent thread damage) on the rest - worked really well

Once that was done the side fixings were marked up and drilled, the skin was flush so only a 10mm hole required this time. The technique was to drill a small hole and open it up with a countersink bit to centralise it in the threaded bush without damage to the threads.

A 10mm stud was then turned to a point and screwed in to the hole. A couple of flats allowed it to be turned with a spanner.

The cage was then refitted and the stud screwed out to mark the where the hole was needed. Once all four had be marked the cage was removed and pilot hole drilled. It was then refitted for the drilling of the final holes as I felt that was the best way to hold it securely for drilling.
The cage came with a washers as spacers - I had thought of turning some solid spacers but, in the end, it seemed washers were a more flexible solution. I wraped them in self amalgamating rubber tape to colour and seal from corrosion.

It was then all put together with some RTV sealant and torqued up - job done! Just enough clearance for the Tonneau cover.

Just the mirrors to do - I used Mikalor stainless steel P-clips which I think look OK with the SPA wing mirrors. The rear view mirror was similarly fixed using a 12mm x1mm brake union to match the SPA mount (maybe over engineered so I might revise later).


And all finished


Edited by DCL on Friday 10th February 07:52
Gassing Station | Caterham | Top of Page | What's New | My Stuff


