door hinges… again
Discussion


Thanks Adrian, that sounds a good way to do it !
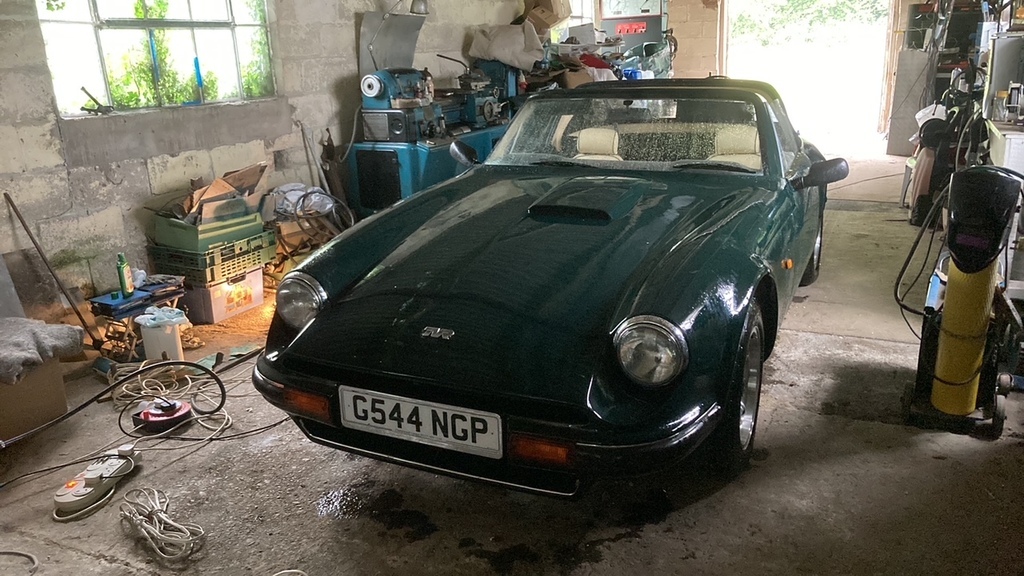
Well things went well with the hanging of the door .
I spoodged a load of p40 in the top plate to body interface to take up any missmatch with the plate to body contouring , and screwed it in , then the bottom one , where i filled the gap with silicone to prevent water ingress around the bush .
the bottom bolt screwed in finger tight , the top one was slightly tighter, but not bad , and it all went together well , i then packed the door into position with cardboard wedges , and tightened down the adjusters .
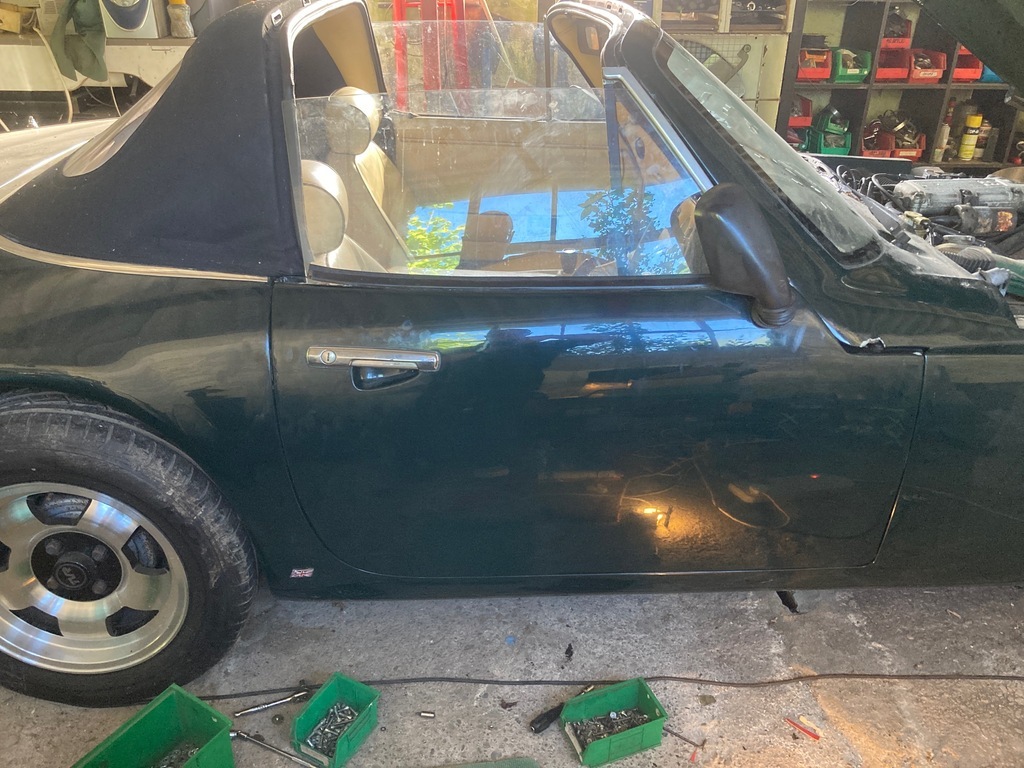
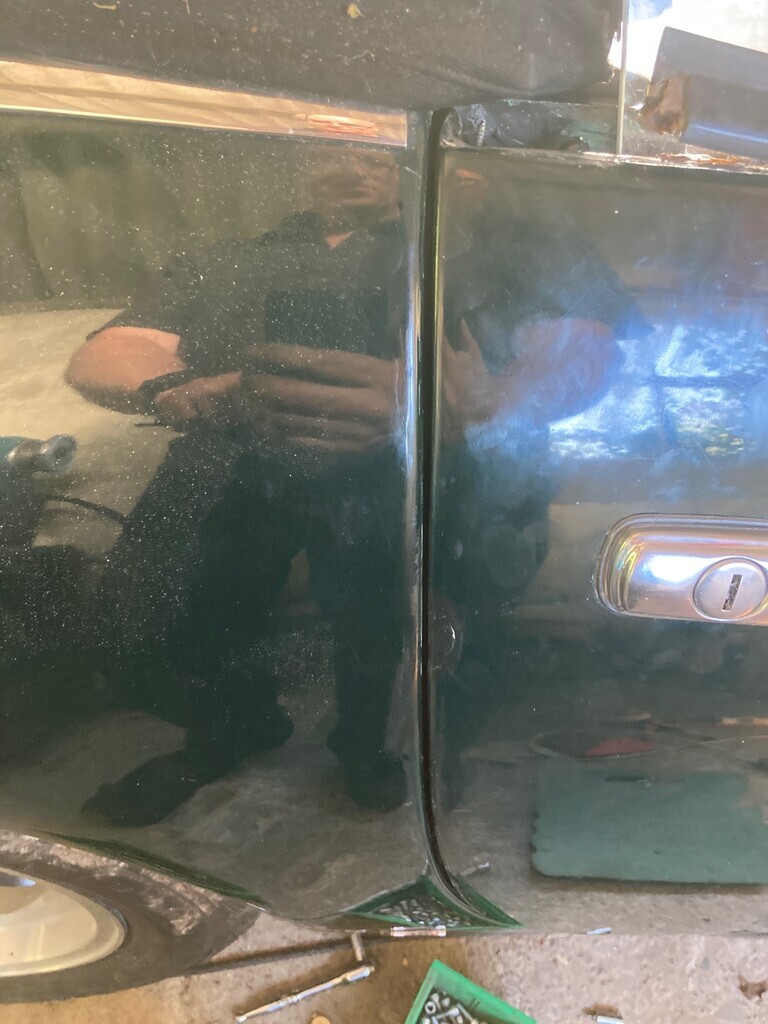
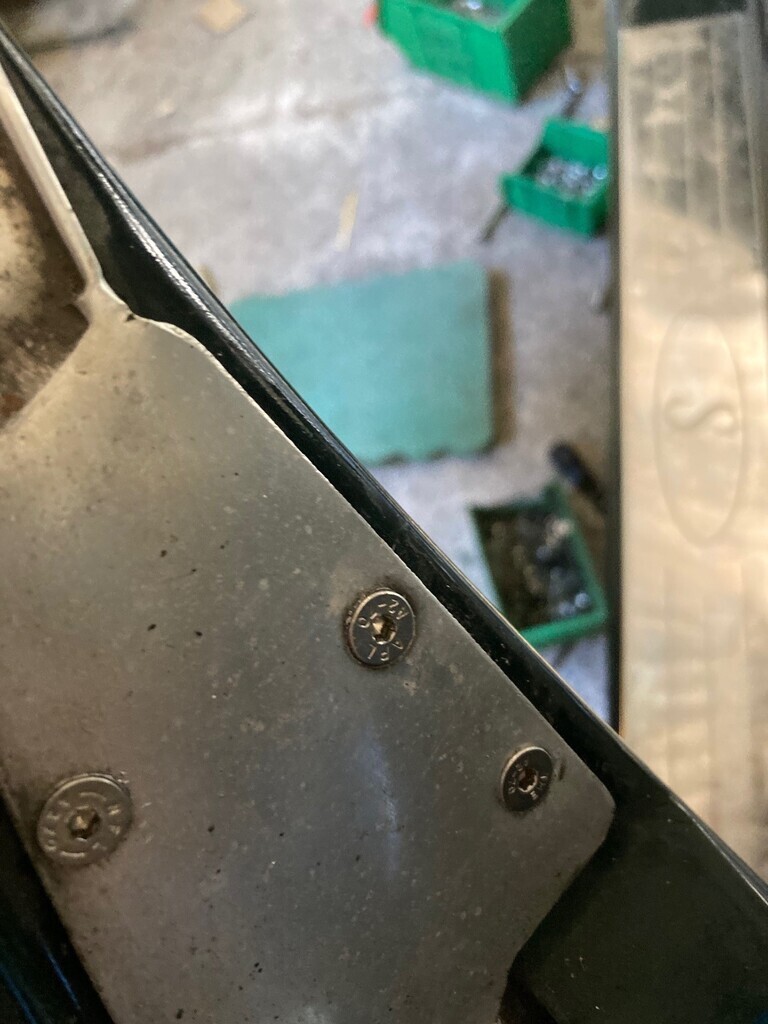
Then onto the window frame . I fitted my new fluffy gutter strip , and faffed about getting the frame as good as i could ,changed three self tappers for nicer s/s bolts and nuts on the mounting plate ..
put the bottom spar bolt in ..
interestingly with the new hinges the ally window frame now sits much better against the rubber door strip .
Now onto wiring up the power window and speakers .
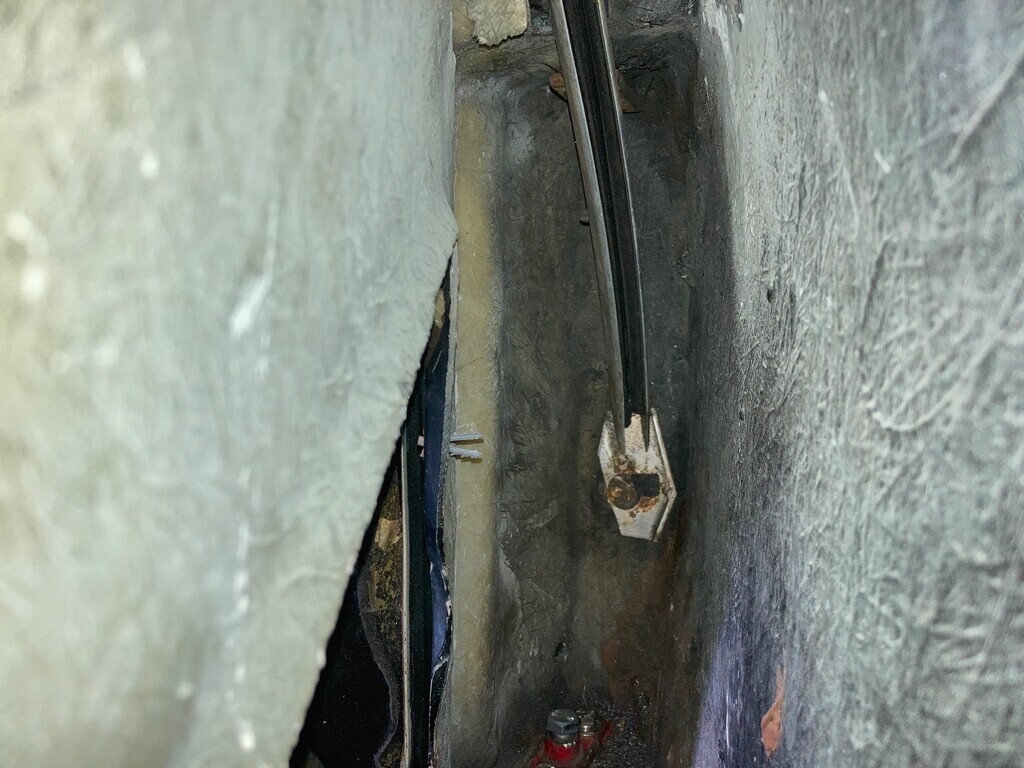
the car had 4 seperate joints in the power window feed ..
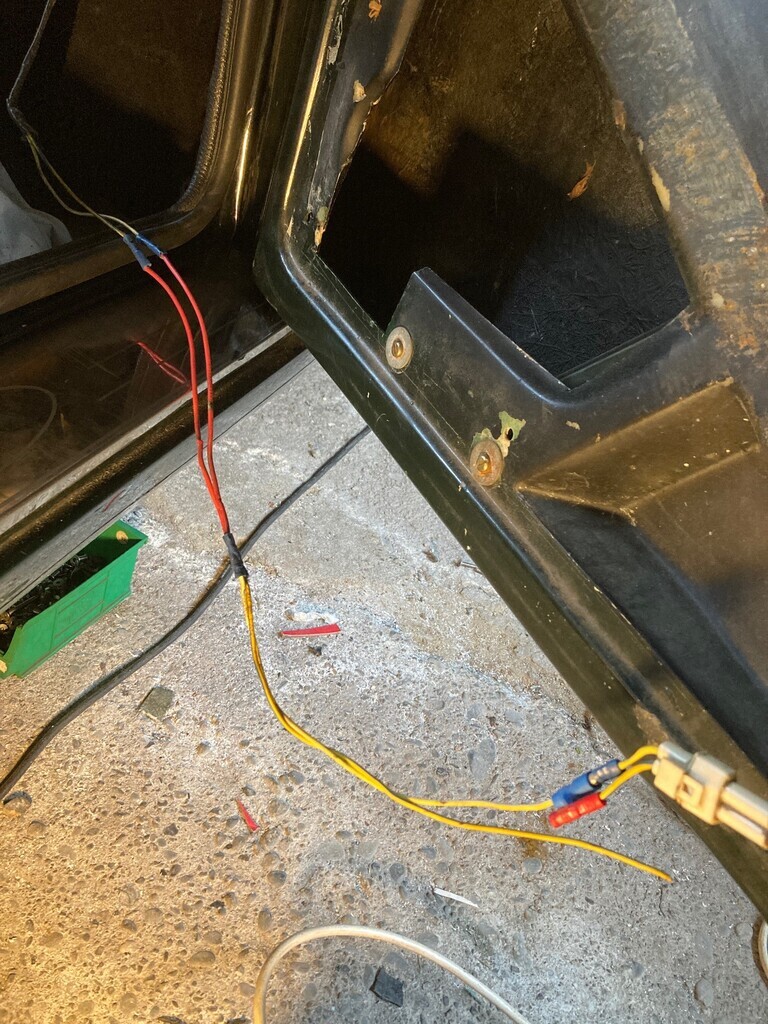
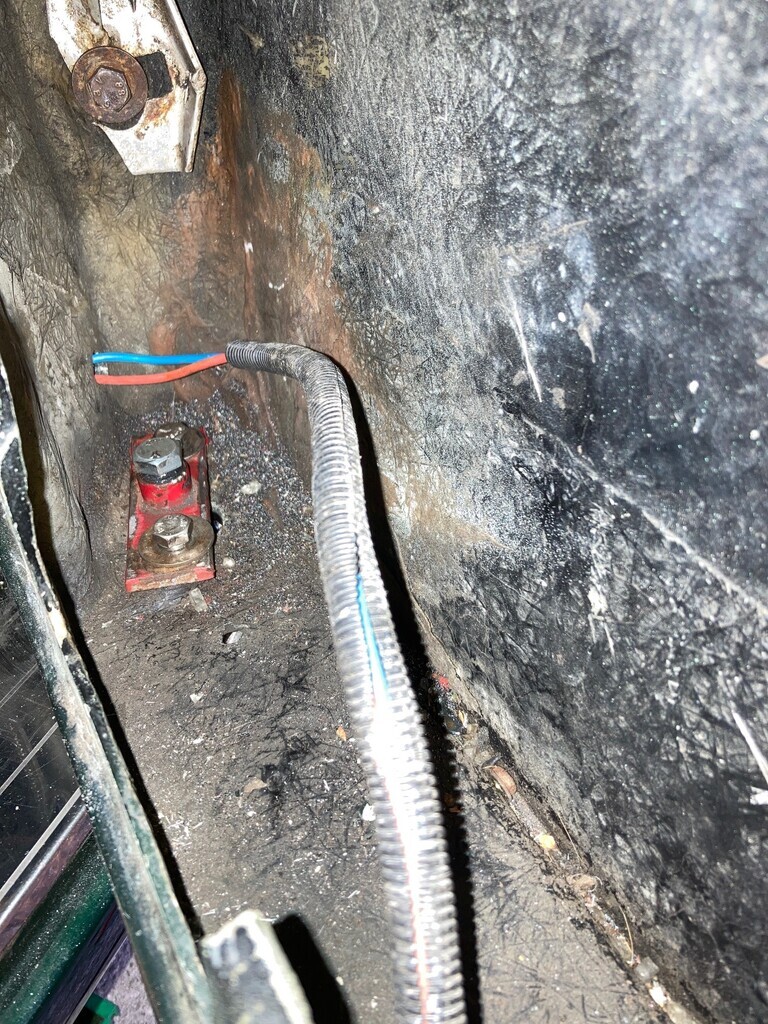
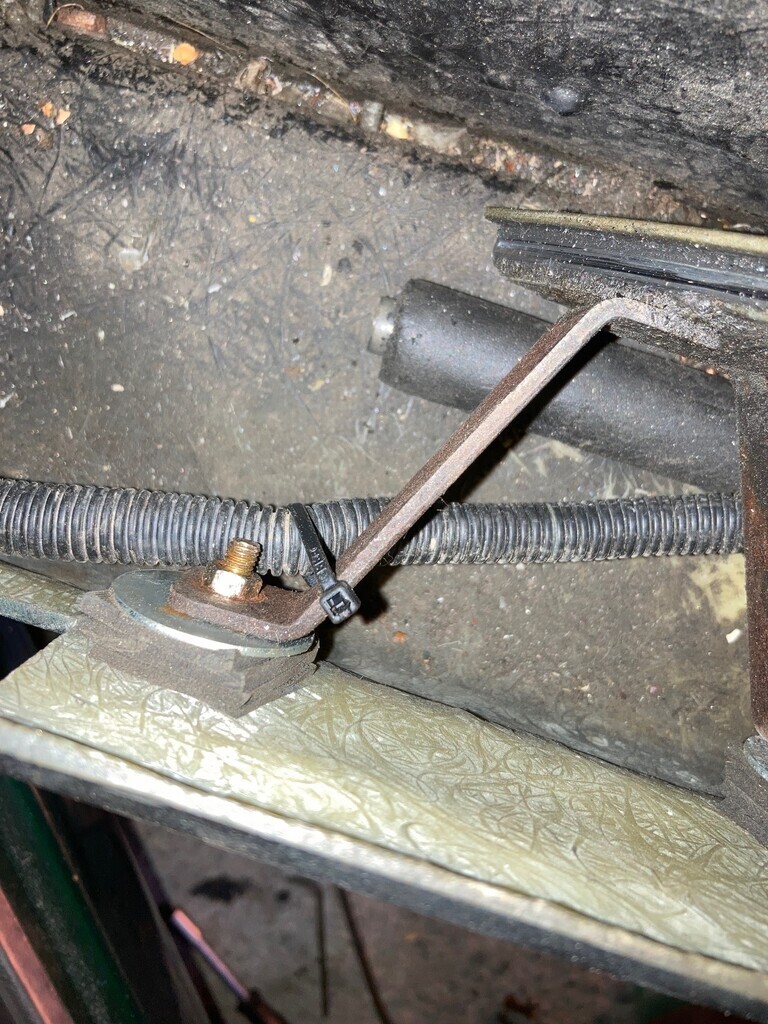
so i cut all that out and put in some heavier guage wires , and now there's two joints in total ,i also put some conduit on it so i could zip it to the brace safely ..
Now i could connect the battery, and wizz the window up and down, to see what compination of spacers and alignment of the frame would help the window work best , in the end i finished with this spacer in the top of the rearward frame part ..
this helped a lot in stopping the glass going diagonal and digging into the sliders , which i sprayed wurth hss 2000 into .
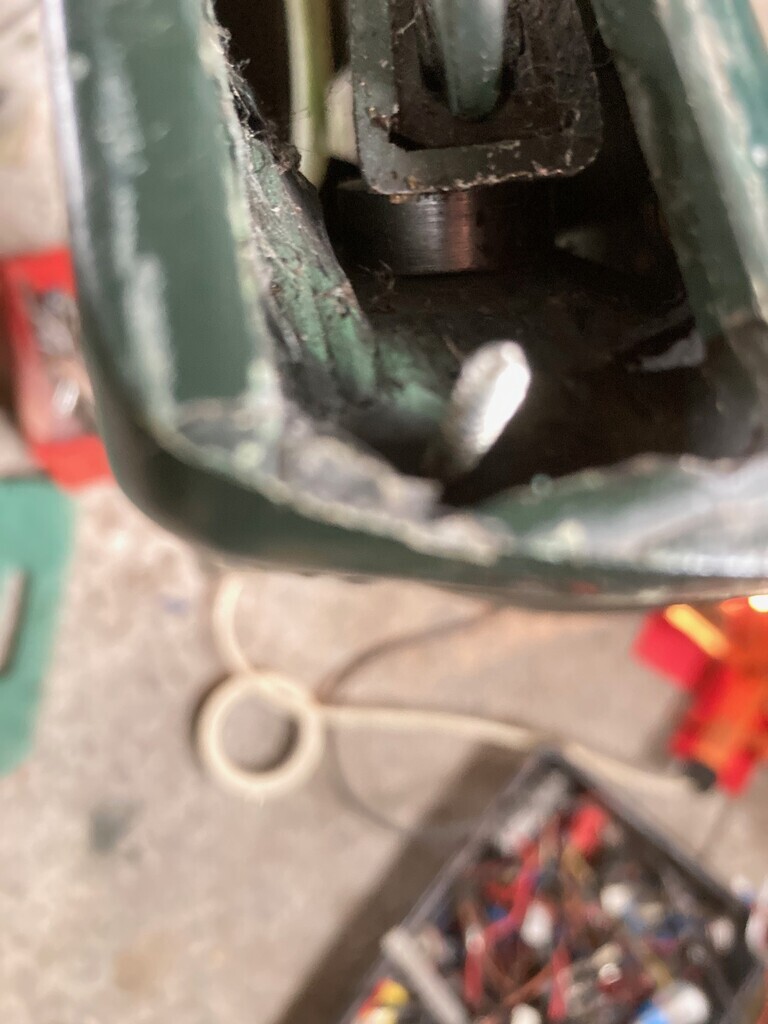
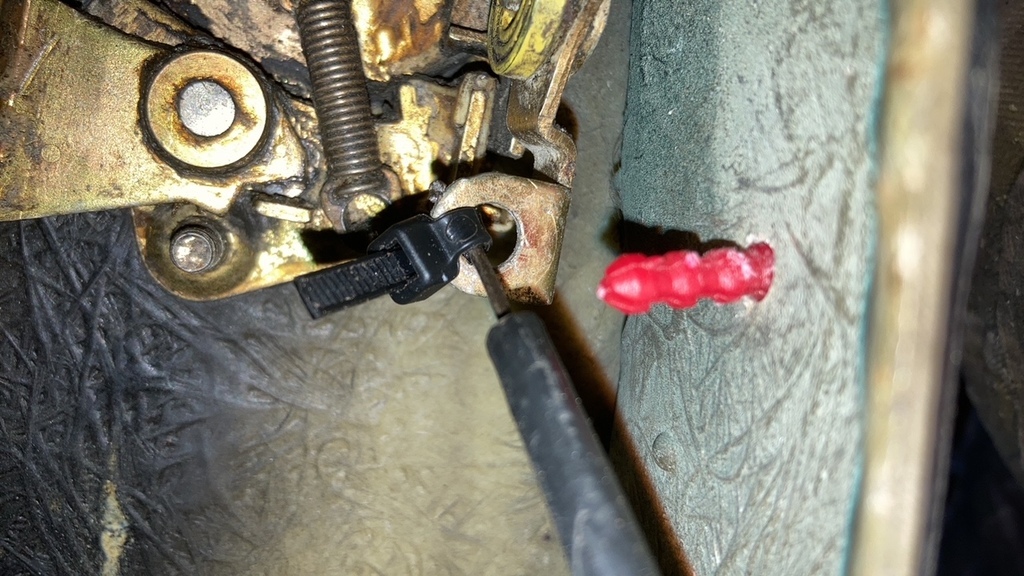
then everyones favourite job, the cable for the inner door pull ..
i found the best way to do this was lay the door card flat under the door on my knees , and hook it into palce , then put a zip tie in the hole it hooks into and use that to retain it .
now i could put the cleaned door card on , fun getting all th plastic rawlpluggy things in the right holes and not doubled over !
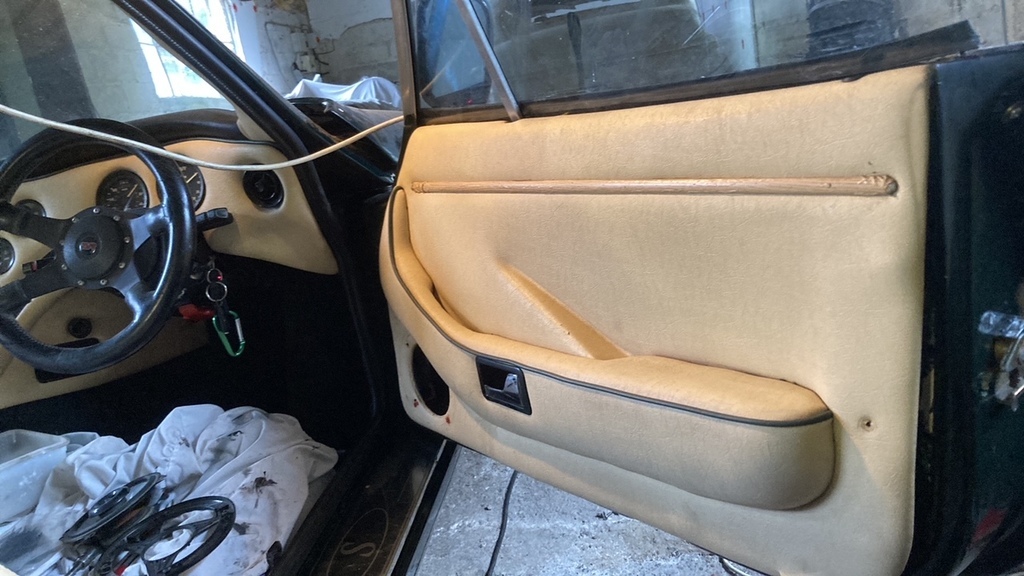
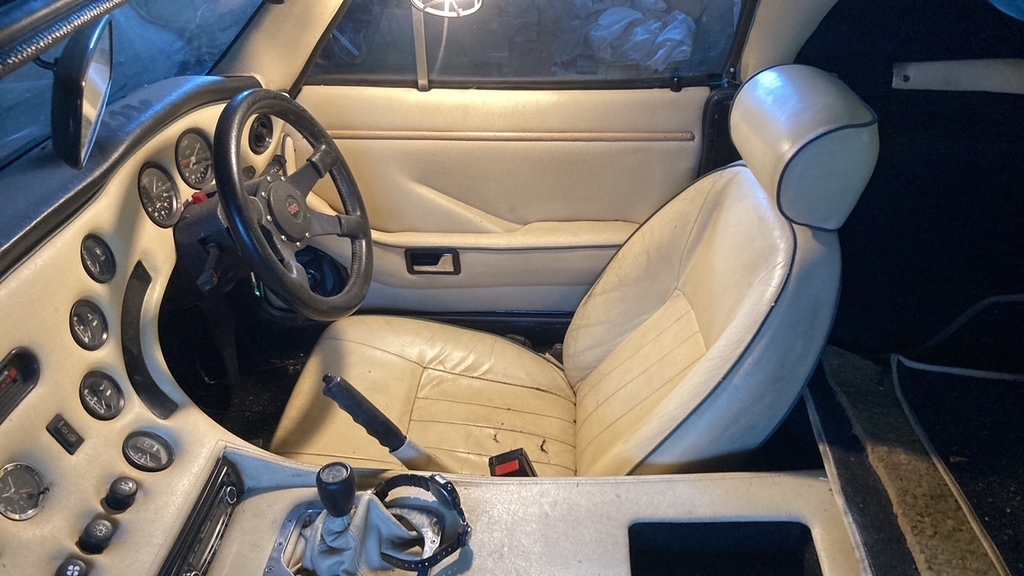
nice to see it complete ..
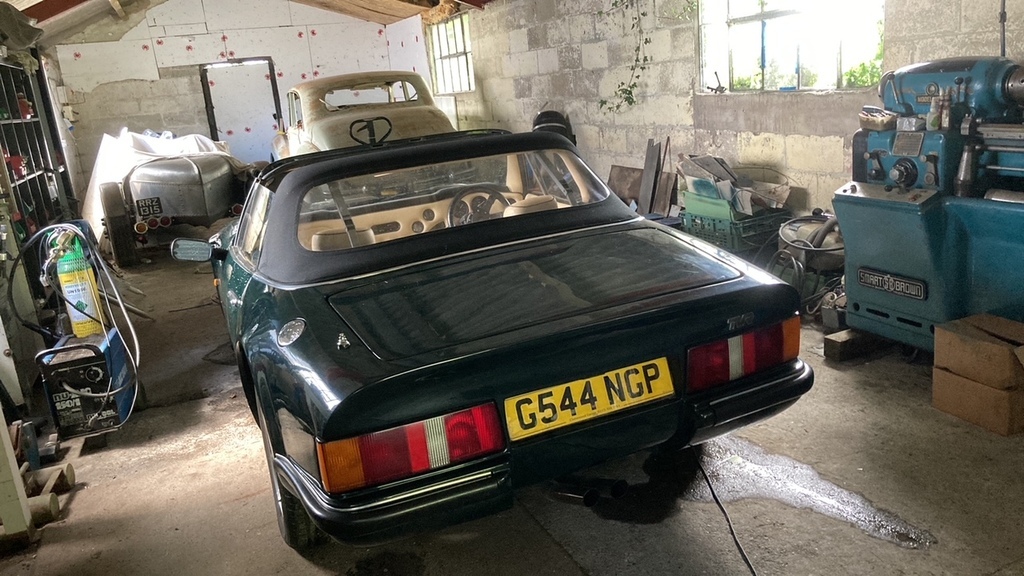
Next.... body repair .
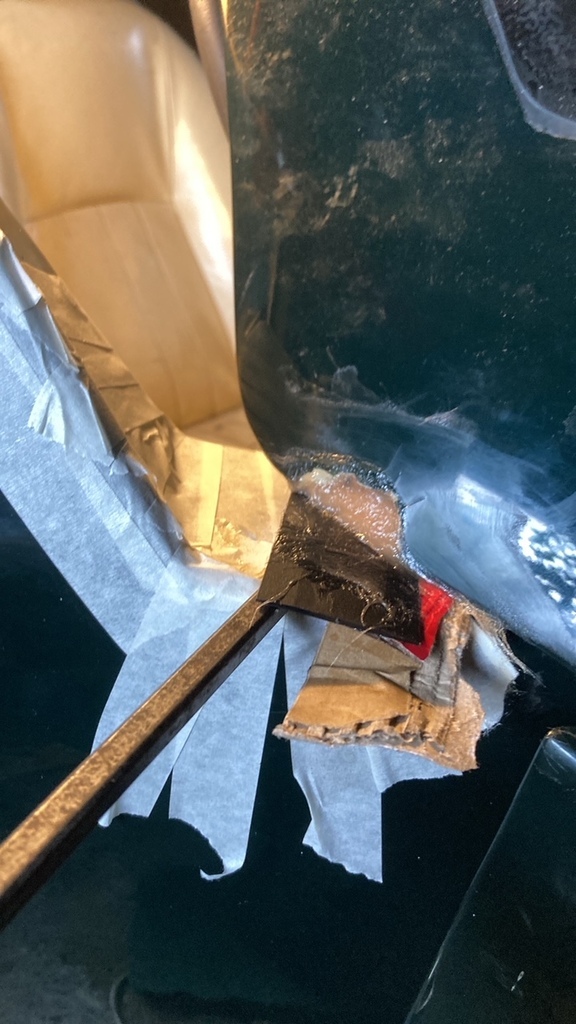
taped up the door ,
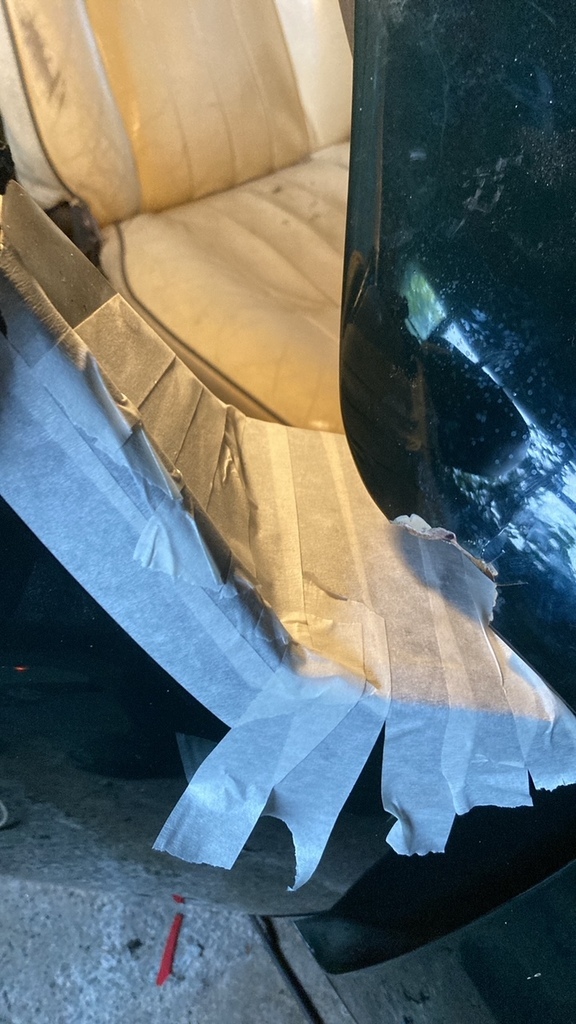
mixed some p40 and filled the hole up with some supports to keep it there while it went hard ..
tomorrow i can sand it , a slight skim of filler, then sand , prime , sand ,and finally gloss paint .
regards
robert
Well things went well with the hanging of the door .
I spoodged a load of p40 in the top plate to body interface to take up any missmatch with the plate to body contouring , and screwed it in , then the bottom one , where i filled the gap with silicone to prevent water ingress around the bush .
the bottom bolt screwed in finger tight , the top one was slightly tighter, but not bad , and it all went together well , i then packed the door into position with cardboard wedges , and tightened down the adjusters .
Then onto the window frame . I fitted my new fluffy gutter strip , and faffed about getting the frame as good as i could ,changed three self tappers for nicer s/s bolts and nuts on the mounting plate ..
put the bottom spar bolt in ..
interestingly with the new hinges the ally window frame now sits much better against the rubber door strip .
Now onto wiring up the power window and speakers .
the car had 4 seperate joints in the power window feed ..
so i cut all that out and put in some heavier guage wires , and now there's two joints in total ,i also put some conduit on it so i could zip it to the brace safely ..
Now i could connect the battery, and wizz the window up and down, to see what compination of spacers and alignment of the frame would help the window work best , in the end i finished with this spacer in the top of the rearward frame part ..
this helped a lot in stopping the glass going diagonal and digging into the sliders , which i sprayed wurth hss 2000 into .
then everyones favourite job, the cable for the inner door pull ..
i found the best way to do this was lay the door card flat under the door on my knees , and hook it into palce , then put a zip tie in the hole it hooks into and use that to retain it .
now i could put the cleaned door card on , fun getting all th plastic rawlpluggy things in the right holes and not doubled over !
nice to see it complete ..
Next.... body repair .
taped up the door ,
mixed some p40 and filled the hole up with some supports to keep it there while it went hard ..
tomorrow i can sand it , a slight skim of filler, then sand , prime , sand ,and finally gloss paint .
regards
robert
Well , time for a bit of fillin and paintin ..
filled and flatted and masked ..
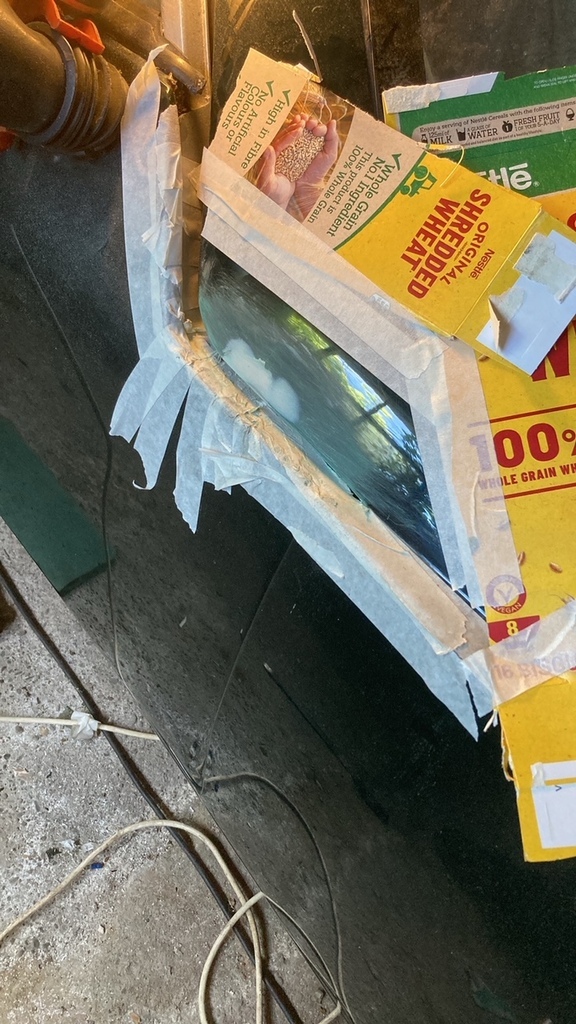
primered..
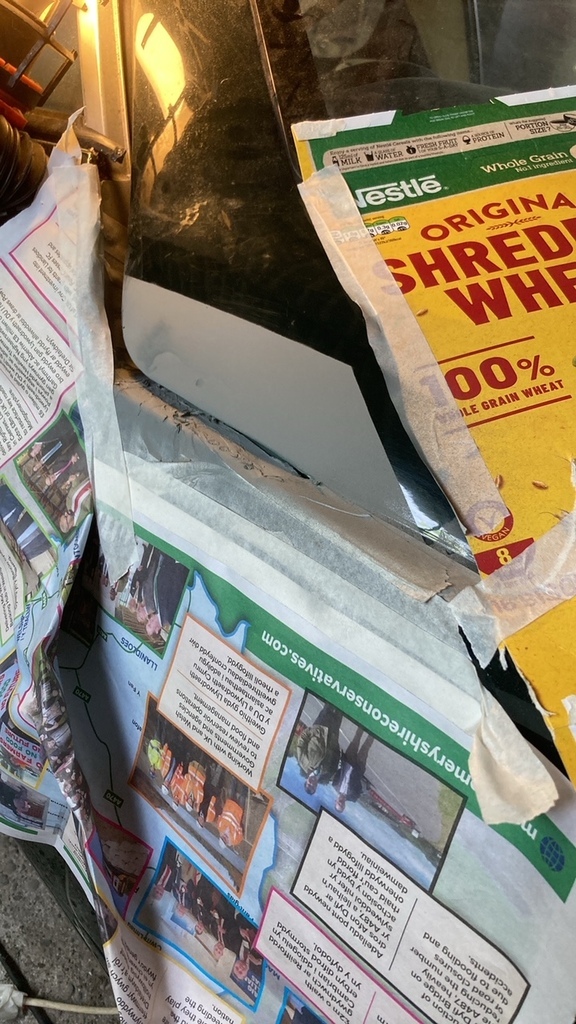
i then featherd that edge back with 2000 grit , and applied my specially ordered , brooklands green ,
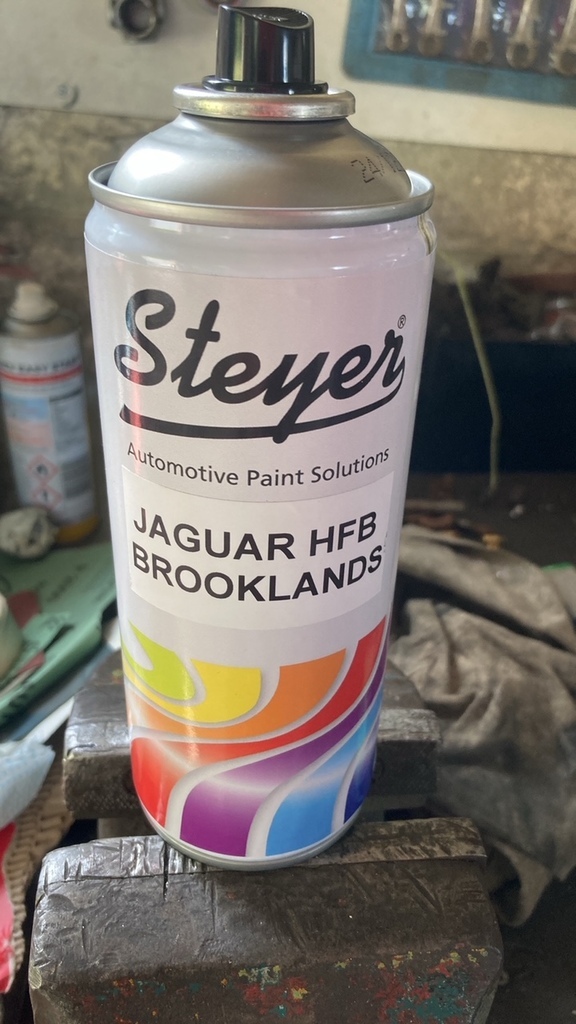
which should be a perfect match ..
oh pox .
less brooklands green more depressing grey with a touch of gloomy black !
oh well , at least its sealed and weather proof , i cut it back and polished anyway ..
In case the primer was too dark ,i painted a bit of white card to see if it would make it match better , here it is next to the boot lid ..
Well, that's a perfect match isn't it .........NOPE .
to cheer myself up i started her up ,first time in 1 1/2 years , backed out of the barn and washed the saucy monkey ..
of course , halfway through this , it started biblically tipping it down , and a frantic rush back into the barn ensued , slighly hindered by that poxy alarm system where you have to put a little wand in a hole to make the red led go out ,that needs taking off and no mistake !
once back in the barn , i then rolled the v wet lawn mower in too , and wiped them both down a bit ..
looks much better for a wash .
regards
robert
filled and flatted and masked ..
primered..
i then featherd that edge back with 2000 grit , and applied my specially ordered , brooklands green ,
which should be a perfect match ..
oh pox .
less brooklands green more depressing grey with a touch of gloomy black !
oh well , at least its sealed and weather proof , i cut it back and polished anyway ..
In case the primer was too dark ,i painted a bit of white card to see if it would make it match better , here it is next to the boot lid ..
Well, that's a perfect match isn't it .........NOPE .
to cheer myself up i started her up ,first time in 1 1/2 years , backed out of the barn and washed the saucy monkey ..
of course , halfway through this , it started biblically tipping it down , and a frantic rush back into the barn ensued , slighly hindered by that poxy alarm system where you have to put a little wand in a hole to make the red led go out ,that needs taking off and no mistake !
once back in the barn , i then rolled the v wet lawn mower in too , and wiped them both down a bit ..
looks much better for a wash .
regards
robert
Nice job Robert! Now that lathe is a serious bit of kit 
I wish I had a workshop like yours.
Have you got an automotive paint supplier near you? They should have a spectro thingy which will scan the paint and give them the formula for a good match. Failing that, if your local "Chips Away" man is any good he would be able to tidy that up for you.
I wish I had a workshop like yours.
Have you got an automotive paint supplier near you? They should have a spectro thingy which will scan the paint and give them the formula for a good match. Failing that, if your local "Chips Away" man is any good he would be able to tidy that up for you.
Edited by v8s4me on Tuesday 18th June 08:31
v8s4me said:
Nice job Robert! Now that lathe is a serious bit of kit
I wish I had a workshop like yours.
Have you got an automotive paint supplier near you? They should have a spectro thingy which will scan the paint and give them the formula for a good match. Failing that, if your local "Chips Away" man is any good he would be able to tidy that up for you.
thank you v8s , im not sure , i'm fairly new to the area , so i will have a hunt around .I wish I had a workshop like yours.
Have you got an automotive paint supplier near you? They should have a spectro thingy which will scan the paint and give them the formula for a good match. Failing that, if your local "Chips Away" man is any good he would be able to tidy that up for you.
Edited by v8s4me on Tuesday 18th June 08:31
re that lathe ,yes , you can imagine the fun i had towing that 2600 lb lathe and a 1800 lb mill up here 140 miles from oxon , on a borrowed from local farmer L200 and small flat bed agricultural trailer .having never towed in my life before my hs move .
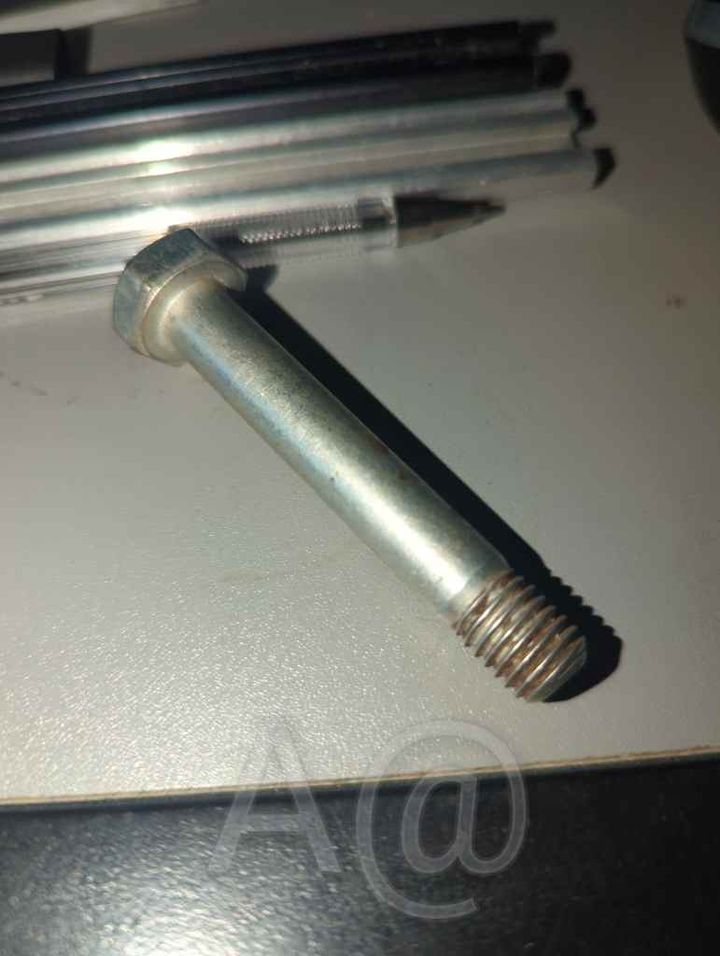
Just information really, here is an OE hinge bolt. It starts life as a much longer bolt and the thread is cut off to 11mm (this so the taper of the shank limits out and locks onto the brass bobbin and does not burst through the top or bottom bobbins) I doubt the shank here is critical (53mm), but it what the hinge bush floats/rotates on.
A@
A@
phillpot said:
It's only the top bolt that needs the short thread, plenty of room for longer thread on the bottom one 

Q. Mike, why is that. The bottom bobbin is glassed over in production (you only have that depth thread to work with) and you will force the fibre glass to break and fracture (maybe lifting the bush up and loose), the hinge bush will run on thread instead of shank. With the bolt never limiting out on the end of the shank (which will then leave the bolt rocking on the thread). A@Edited by Adrian@ on Monday 1st July 06:41
Adrian@ said:
Q. Mike, why is that.
I can only speak for my car, brass bobbins set in the fibreglass are open, not glassed over. There is plenty of space below the bottom one for the bolt to go through into the sill void whereas the top one risks punching through the fibreglass above.Old and new bolts from one side . . . . . . . . .
Edited by phillpot on Monday 1st July 08:17
On the two i have repaired ,
This car, a s2 G reg , had the brass bobbins mounted in a 5mm thick fibreglass surface , and glassed in with a bubble of fibreglass over the top of them .
However, on the previous car , i fixed in 1992 , whih was a F reg s2 tvr prototype with cats and air con , bought crash repairable from the breakers , the fibreglss was much much thicker , and the bobbins were open ended like phils.
regards
robert
Hi Both, I will say short covers all bases (but then, I have never seen an open lower brass bobbin AND I have easily done 30 plus cars in my time). Back in the day this was an evolving item, as the earlier versions were M8 bobbins and not M10. (I have drilled and tapped them out to M10 to recover threads). A@
Gassing Station | S Series | Top of Page | What's New | My Stuff